Hobby Tutorial: Moonstone – Painting the Shadowglade Set

A Moonstone painting article today. This time it’s a handful of definitely good, or at the very least, certainly not evil fairies.
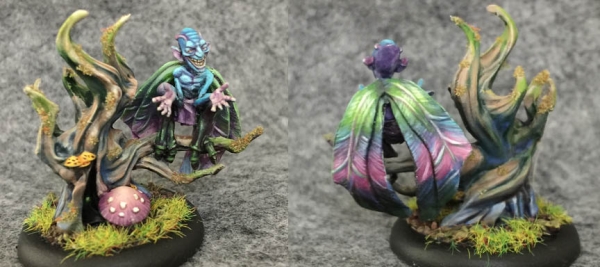
In my last article I painted the goblin half of the Moonstone 2-player starter. Since goblins and faeries are allies in Moonstone, I went with one of the three fairy sets for my next Moonstone project. Silvertongue will be the first from the Shadow Glade fairy box.
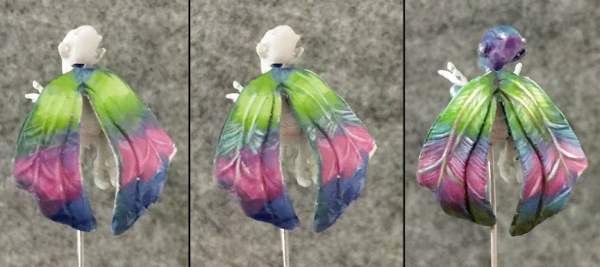
Let’s start off with some iridescent wings. I took to Pinterest to find some shiny bug wing images. Alternating bands of color looked like they’d do the trick nicely. Unfortunately they’ve yet to develop transparent paint so we’ll have to overlook that part.
That’s GW Moot Green, blended into P3 Exile Blue, then into P3 Murderous Magenta, then back into Exile Blue again.
Then I pick out the little wing veins with P3 Menoth White Highlight. Blending those lines of highlight back into the surrounding area was the trickiest part. If you look closely you’ll notice the veins aren’t shaded with the adjacent color but darker color from elsewhere on the wings. This was to try to help enhance that shiny bug look.
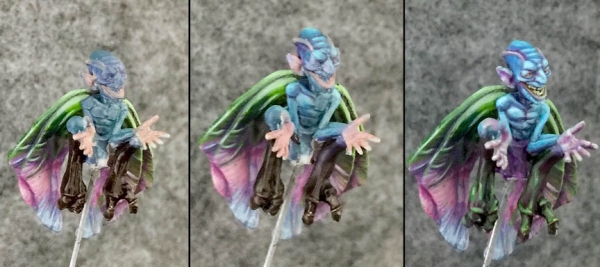
I decided on a nice bright blue for Silvertongue’s skin. The base coat was P3 Cygnar Blue Highlight mixed with a little P3 Beaten Purple. P3 Ryn Flesh was used on the palms, lips, and ears.
I build up highlights of pure Cygnar Blue Highlight, with Menoth White Highlight blended in as it gets lighter and lighter. Beaten Purple is used to shade the Ryn Flesh areas like the palms, ears, etc.
I wanted the legs to look more bug-like than the rest of the body so I gave them a dark black basecoat with a stark thin green highlight. There is a little purple in the shadows to add more color.
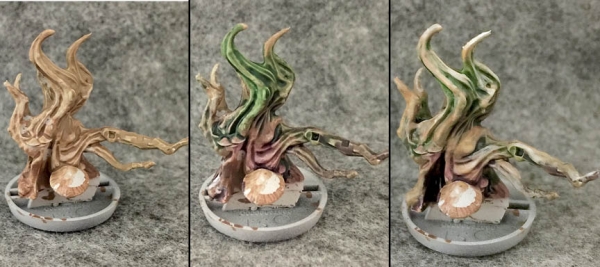
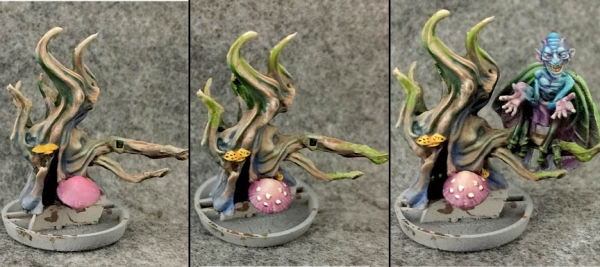
The scenic tree base was base coated with Baneblade Brown, then washed with Agrax Earth. While the wash was still wet I added some Caliban Green around the top. Plain brown is never that interesting so any color you can add will make it that much more engaging. As I highlighted the tree with Screaming Skull I covered up more of the green than I wanted.
I basecoat some of the mushrooms with Averland Sunset and paint another with Pink Horror.
Then I add some green back in to the tree branches with Moot Green. I also put some blues and purples into the shadows to really give it a rich appearance. I even hid some glowing eyes in the crack in the stump. If you want more on painting trees be sure to check out this Groot painting article.
The Averland mushrooms were highlighted with Flash Gitz Yellow and given little spots of Kantor Blue. The pink mushrooms were highlighted with kislev flesh, and given Screamer pink spots. Each spot was then given another spot of Screaming Skull, leaving a little line showing beneath to kind of create the illusion of raised bumps.
With everything glued together I added some grass to the base and some flock to the stump to represent moss or lichen. And with that he was finally complete.
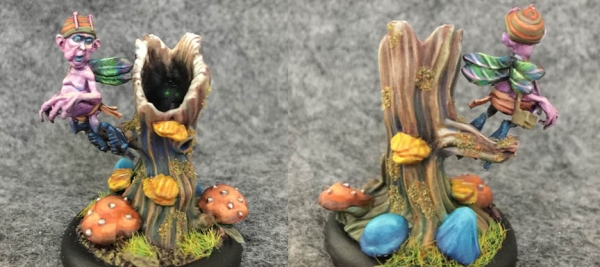
Next was Butterfingers.
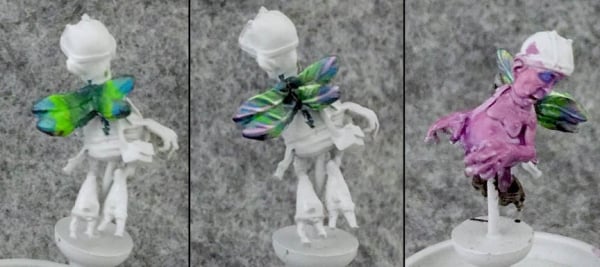
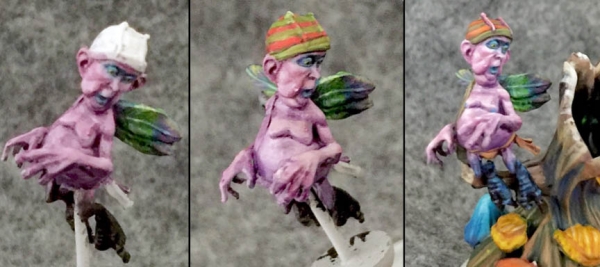
I went with the same iridescent wing method I used for Silvertongue with lots of color and bright highlights. When the wings were finished I went on to the skin using Citadel Pink Horror with a Purple wash to ad some quick shading.
I built up the highlights in layers, starting with more Pink Horror, then adding in Pallid Wych Flesh to brighten it up even more.
I used Caledor Sky for his lips and the area around his eyes. Is it makeup or just natural coloration? I don’t know if it really matters tbh.
As with Silvertongue, his legs are darker than the rest of him with a few stark “shiny” highlights for that insect-like look. This time though, it’s blue highlights to match his lips.
With so much color elsewhere on the model, I didn’t go too crazy with the hat. The green is Loren Forest highlihted with Ionrach Skin. The orange is Wild Rider Red highlighted with some Troll Slayer Orange and then a little Pallid Wych Flesh used very sparingly.
I didn’t bother with any WiPs of the tree since the technique is not so different from Silvertongue’s stump. I went with some orange and blue mushrooms here in addition to the yellow.
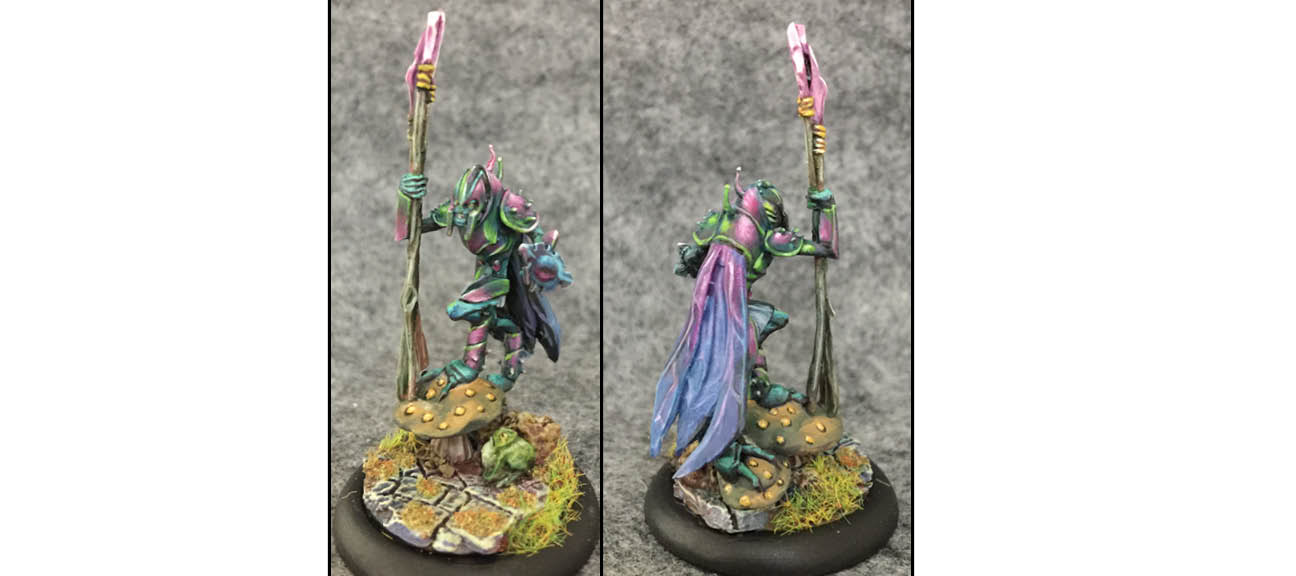
Wasp here was another opportunity to really work on the shiny bug technique. I decided to go with an iridescent chitin look for his whole suit of armor. It’s similar to an actual insect called a cuckoo or emerald wasp.
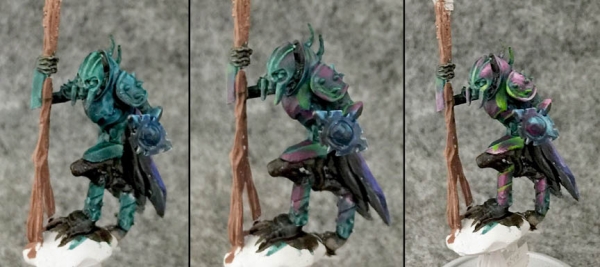
I started with a wash of Biel Tan Green adding some Kantor Blue to it in a few places building up a base layer of color.
I begin adding highlights with Warpstone Glow and P3 Murderous Magenta. The shield is highlighted with Caledor Sky to differentiate it from the rest of the armor. All the areas beneath the plates are painted black.
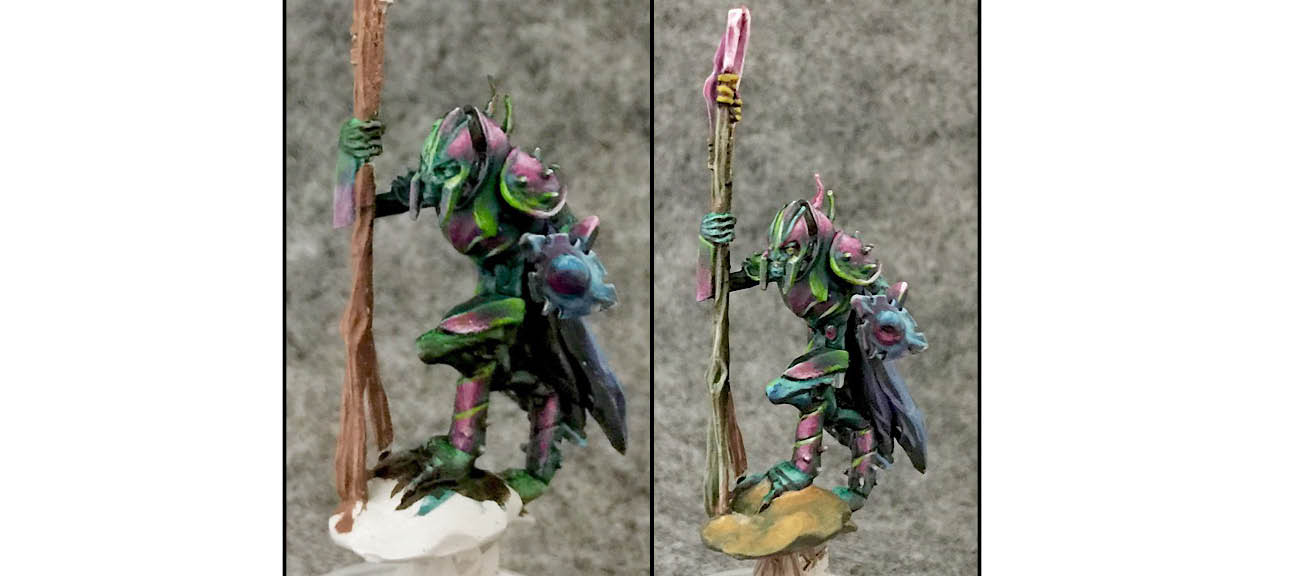
The Magenta areas get additional highlights with P3 Ryn Flesh. The Warpstone Glow areas get additional highlights of Moot green. In some places I switch it up – highlighting Magenta with Green and so on – to help push the iridescent feel.
As I continue evening out the highlights on the armor I also begin highlighting the skin (at least that’s what I’m calling the area under the armor) with P3 Coal Black – although it looks very green in the picture Coal Black is a deep Blue-Green. The Coal Black is highlighted with GW Temple Guard Blue.
The crystal tips of the javelin begin with a base of Murderous Magenta, then are highlighted with Fulgrim Pink, and then some P3 Menoth White Highlight.
The base is another one from the CMoN/Micro Art Studios team-up that are now out of print. I chose this particular base because of that tiny frog who looks like he’s reconsidering eating this particular bug.
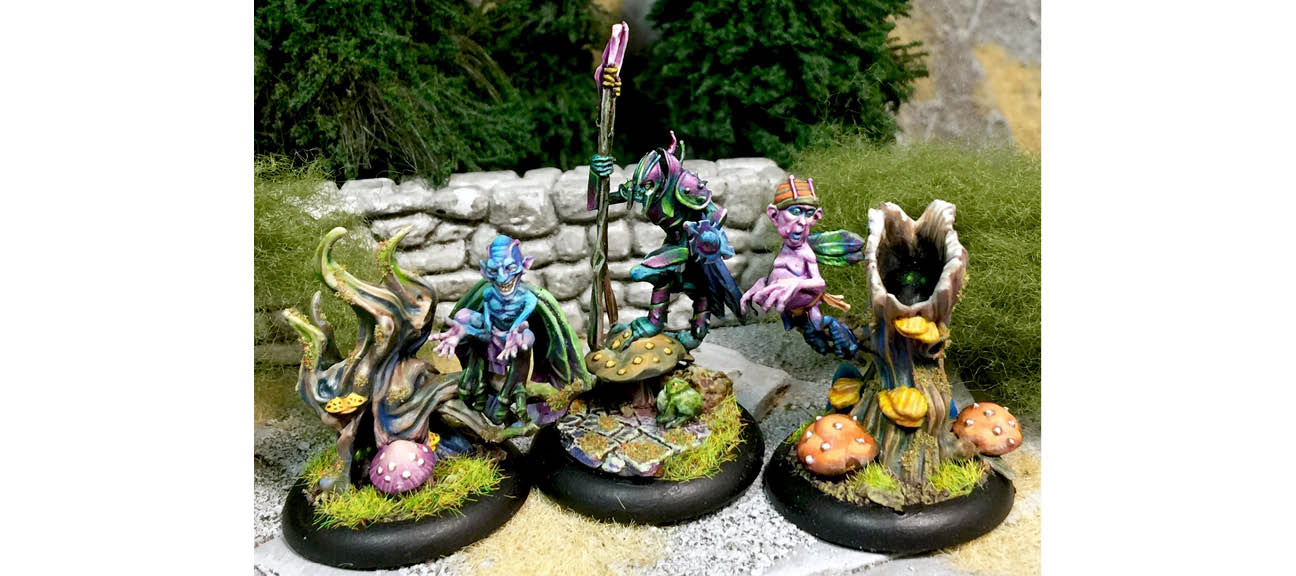
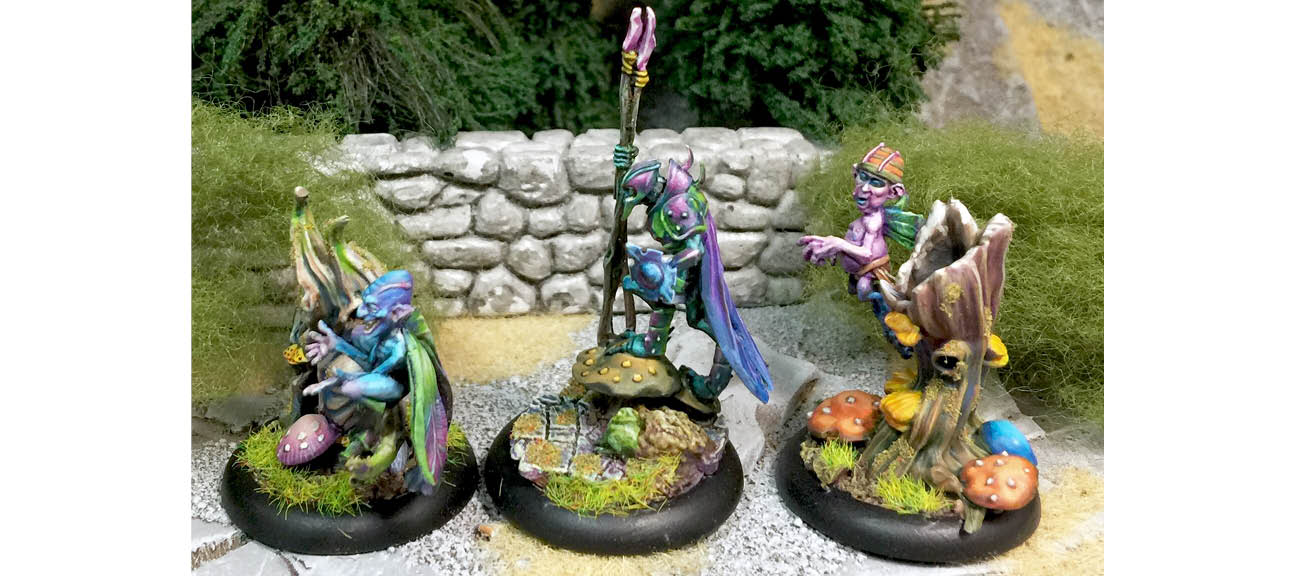
And now here’s a picture of the whole box.
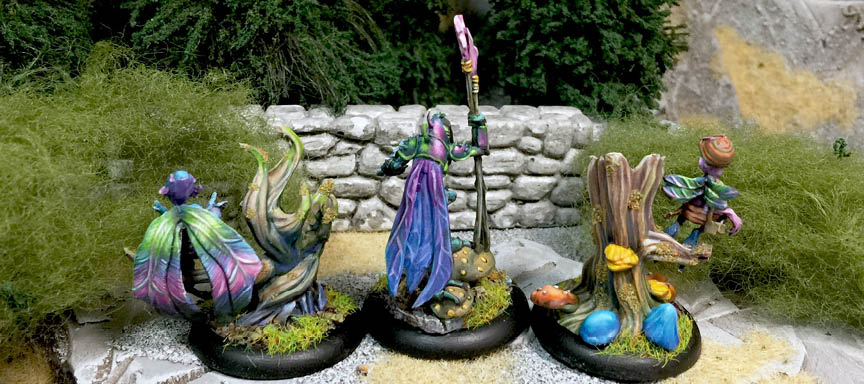
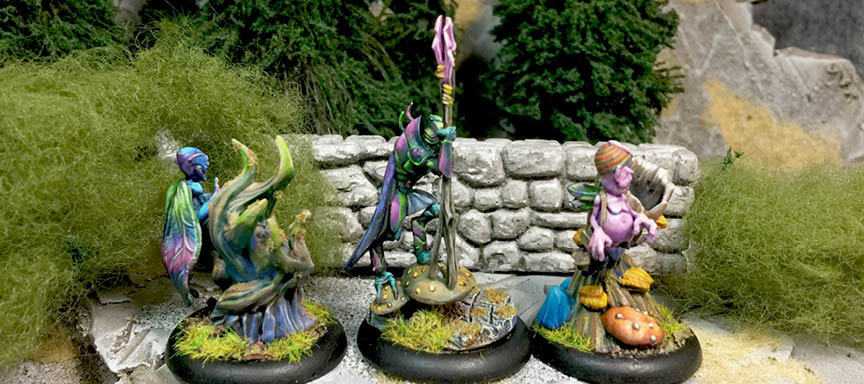
Also more angles.
~Hope you’ve enjoyed these Moonstone painting articles. I have more planned but for the moment I am consumed by Warhammer 40,000 Salamanders.

