Age of Sigmar: Fomoroid Crusher Unboxing & Build

Check out the Fomoroid Crusher’s contents plus some build tips and tricks!
Hey everyone! We got the new Fomoroid Crusher in the studio and are looking at the contents – check it out:
Wait a minute. Where’s the video? Oh the Editor took Valentine’s Day off so he could be with his “family”?! What kind of lies and deceit is this? Doesn’t he know that the people want to see the INSIDES of the boxes of things! Well then – I guess we’re going old school with this one.
Fomoroid Crusher Unboxed
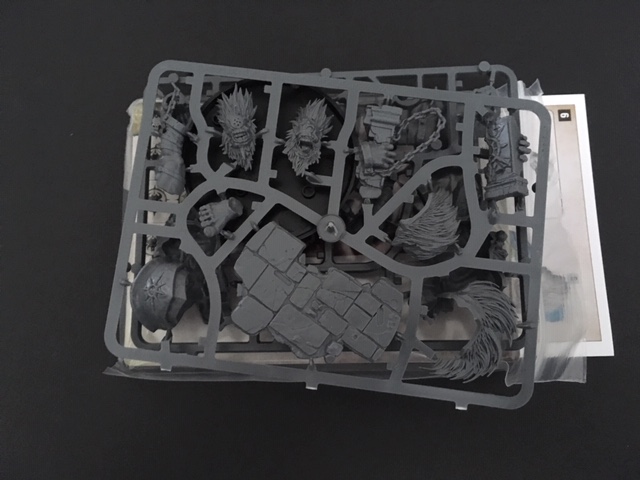
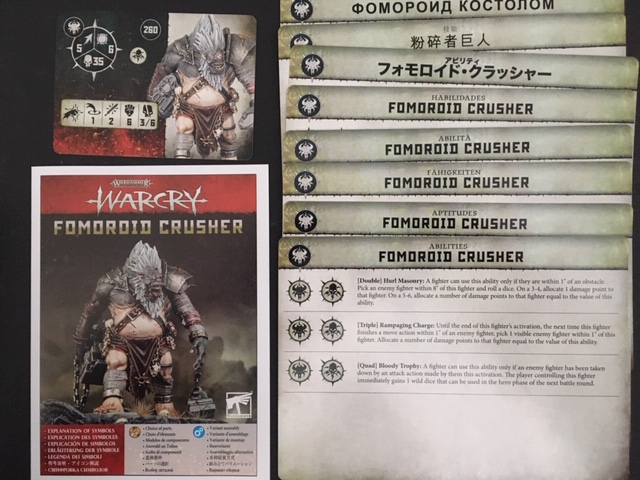
Alright, let’s get this out of the package. Boom: Sprues, cards and instructions.
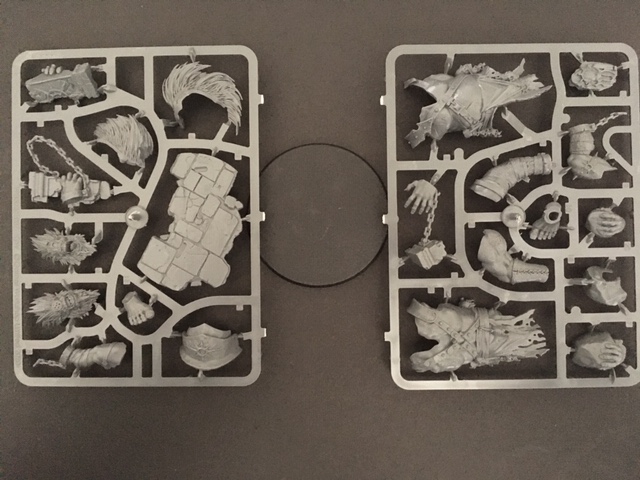
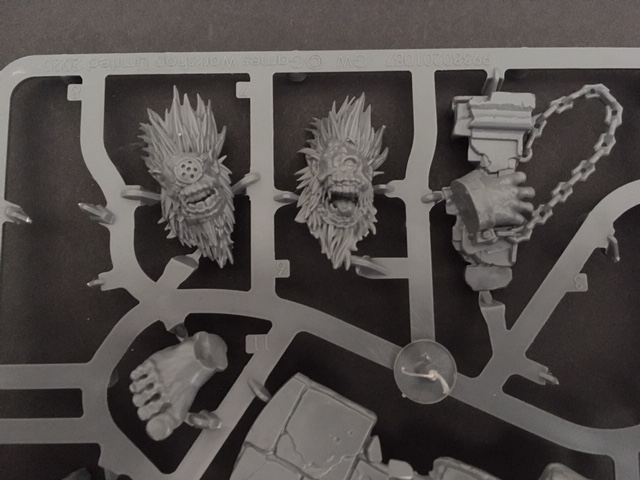
The Crusher comes in two sprues and has all the Warcry cards you’ll need to add this creature to your warband:
And we’re done? Well…that’s kinda short. Let’s build the thing!
Fomoroid Crusher Build
The assembly instructions are pretty straight forward. You do have a couple options when assembling – more on that below. For starters, let’s get the main body built.
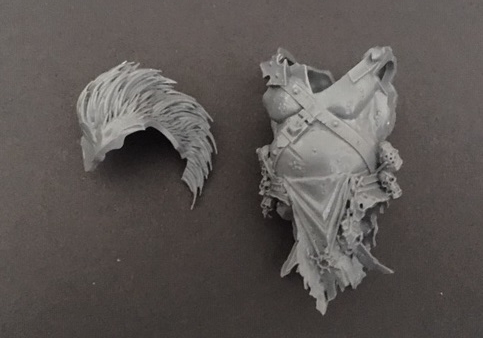
Easy enough. The torso is 2 parts and the mane is another 2 parts. Thanks to GW’s sprue layout, each part only had 2-3 sprue contact points so clipping and cleaning was pretty quick. Invest in a good pair of hobby snips and always have extra hobby knife blades. If your blade is sharp you’ll get cleaner results. I also assembled the entire model with Plastic Glue because, well, it’s all plastic. And once everything sets this thing is never coming apart.
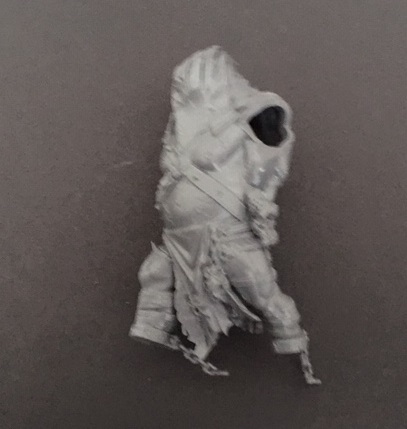 Blurry pic. The model just wanted to come to life and wouldn’t sit still!
Tip: Make sure you dry fit this model. Some of the joints are tricky (to hide the cuts) but that can mean if you apply glue before you know how it fits, you might have a bunch of excess glue. That can fudge details. So dry fit once so you KNOW how it fits.
The first choice we have to make is which head. I went for the one on the left because the Fomoroid only has one eye! Gotta protect it, man!
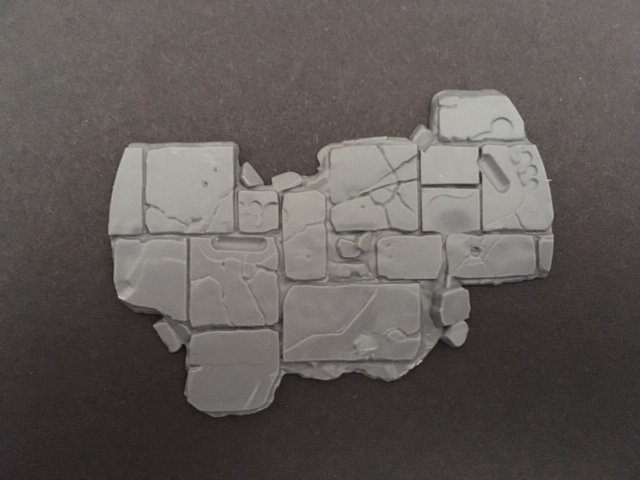
The model also comes with this cool stone slab base. I liked it! and I appreciate that GW had all these imprints for the feet. It made assembly a breeze. Now, if you don’t want to use the base, you’ll need to shave off the nubs on the bottom of the feet – but if you’re doing custom base work, you’re probably a hobby pro and can figure that out for yourself.
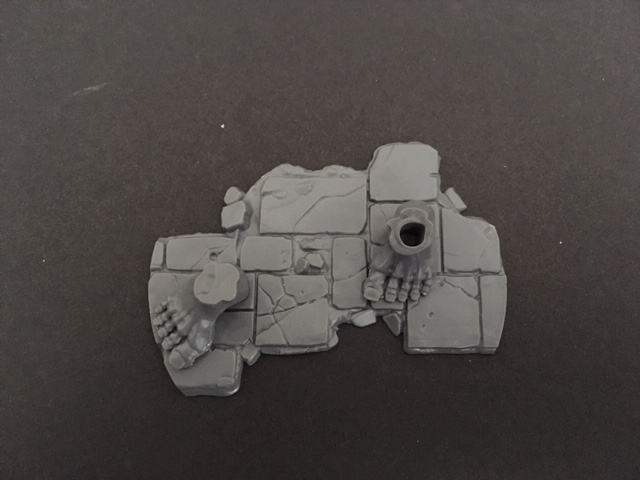
Otherwise, they slide right in. A little glue goes a long way. Notice on right foot (which is on the left side of the screen) that there is an indention. That’s for the ankle of the model to fit properly. The other foot is hollow so just apply glue around the rim and you’re good to go.
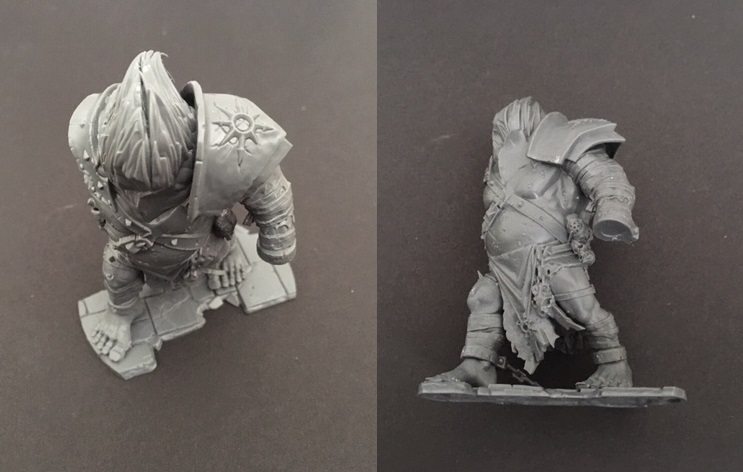
Here’s the model with the legs and one arm built and attached to the base. The arm, and the shoulder plate are all separate and fit like a glove. Same with the legs. It was a pretty straight forward build. At this point, I also had not attached the face. I was debating on which head to go with until after I was done. This did create a slight issue with the shoulder plate.
Tip: Glue the face in before the shoulder plate or you’ll have to slide the left side of the face in carefully behind the rim of the shoulder plate.
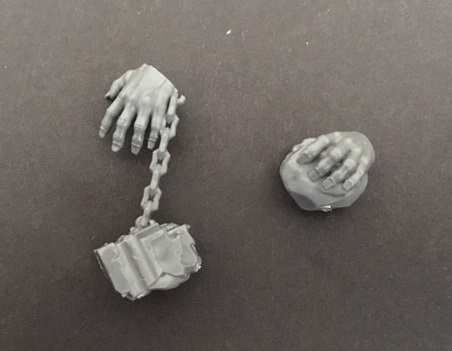
You get a total of 4 hand options with this model. I went ahead and clipped out both left hands. I didn’t bother to clean one of them because I knew I wanted to have the chains attached. The good news is that a lot of the contact points are in good spots so when you’re cleaning them, if you don’t do a great job, the burrs will either be hidden or look like part of some rubble. But just clean the bits, people!
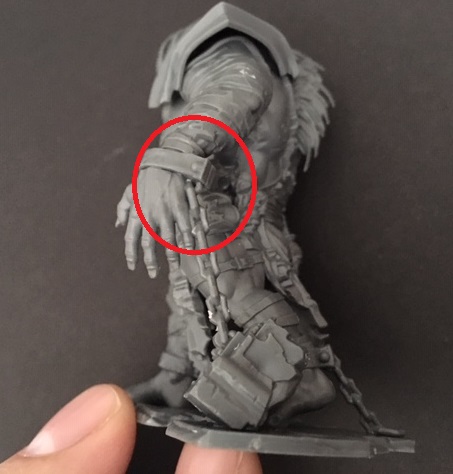
Tip: Line up the chain with the wrist shackle to get your hand orientation correct. Who ever sculpted this model – thanks for thinking of us builders!
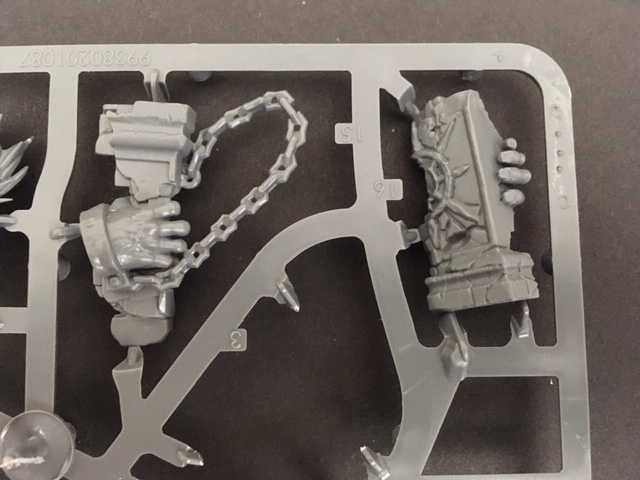
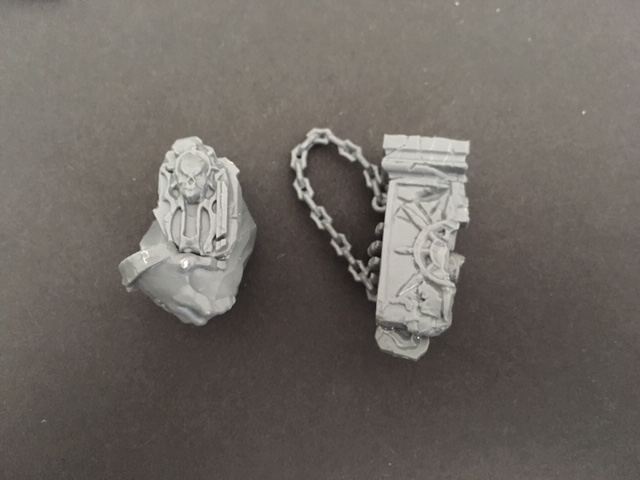
The right hand had a two options but those were multi-part bits. The hand I opted for was the one with the chains still attached. I liked the idea that this Fomoroid had broken out of jail and was stomping around causing trouble in some lost ruins. At least that’s what I’m telling myself in the ol’head canon.
I did build both bits. Again, I liked the chain attached look more.
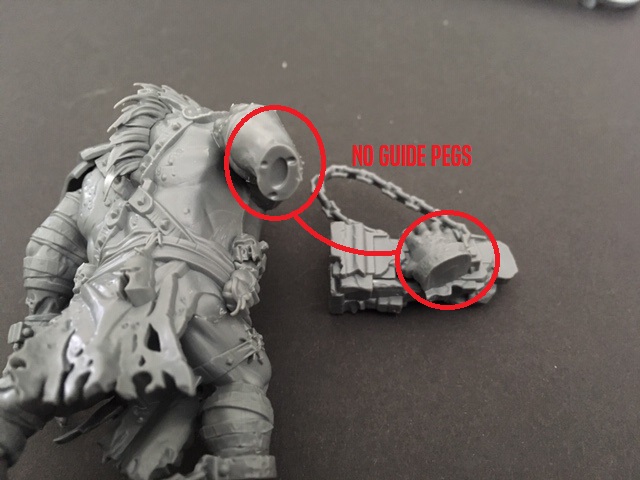
One thing I didn’t like was that the bit I ended up going with didn’t have the same guide pegs as the other hand. I guess SOMEONE liked the other bit more. Assembly was still pretty simple, just make sure you get your orientation correct and don’t have the hand backwards…
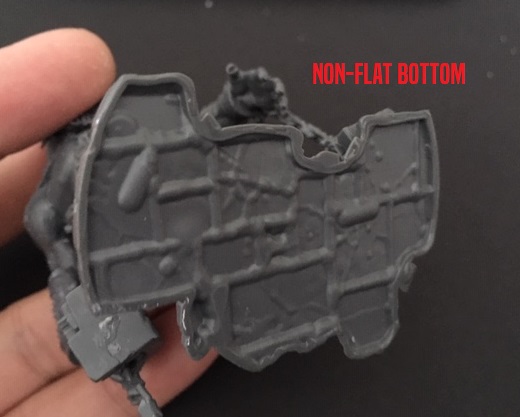
With all the assembly pretty much done, it was time to attach it to the base. This was when I noticed that the stone work didn’t have a flat bottom. Eh, not a BIG deal, just apply glue around the “raised” rim and you’re good. Also note that the sides are a little curved.
Tip: Dry fit the model on the base so you can see how the curve will look ON the base. You probably don’t want a section hanging off the side…
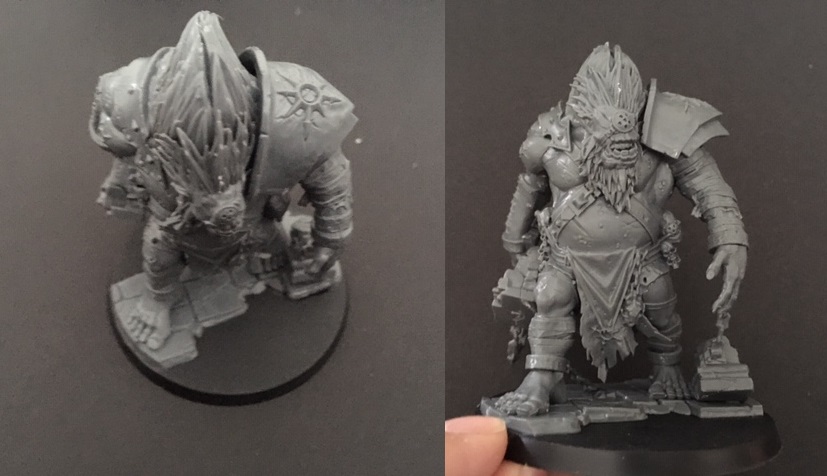
And the model is done and on the base. You can see where the base has that slight curve and it follows the edge. Mine is a little off but that’s easily fixed with some static grass or more texture added when I paint this guy. So even when you mess up, it’s just an opportunity to stretch some other hobby muscle. No mistakes – only happy accidents.
Well that’s it for the Fomoroid Crusher unboxing and build. This model goes up for pre-order this weekend from Games Workshop!
Fomoroid Crusher
Brutish creatures from a lost age, the Fomoroid Crushers now exist only to tear down and destroy. In battle they fly into a terrible rage, torturous memories of the creatures they once were lending their blows a maddened strength.
This set lets you add the mighty Fomoroid Crusher to your games of Warcry – a brutal and potent ally for any Chaos warband, if you have the guts to tame one! This set includes the abilities and fighter cards for your Fomoroid Crusher, making adding it to your games simple.
This model can also be added to a Slaves to Darkness army for Warhammer Age of Sigmar, where it’s a deadly shock unit capable of smashing through scenery with superb effect. A variety of build options including heads and arms means that you can add multiples of these bulldozing brutes to your force while ensuring no two look alike.
This set is supplied in 21 plastic components and includes a 60mm round base. This set also contains the fighter card and abilities card for the Fomoroid Crusher.
Build Time: It took me about 30 minutes and that’s cause I had to document the process.


