Crisis Protocol: Punisher & Taskmaster Prepare for War
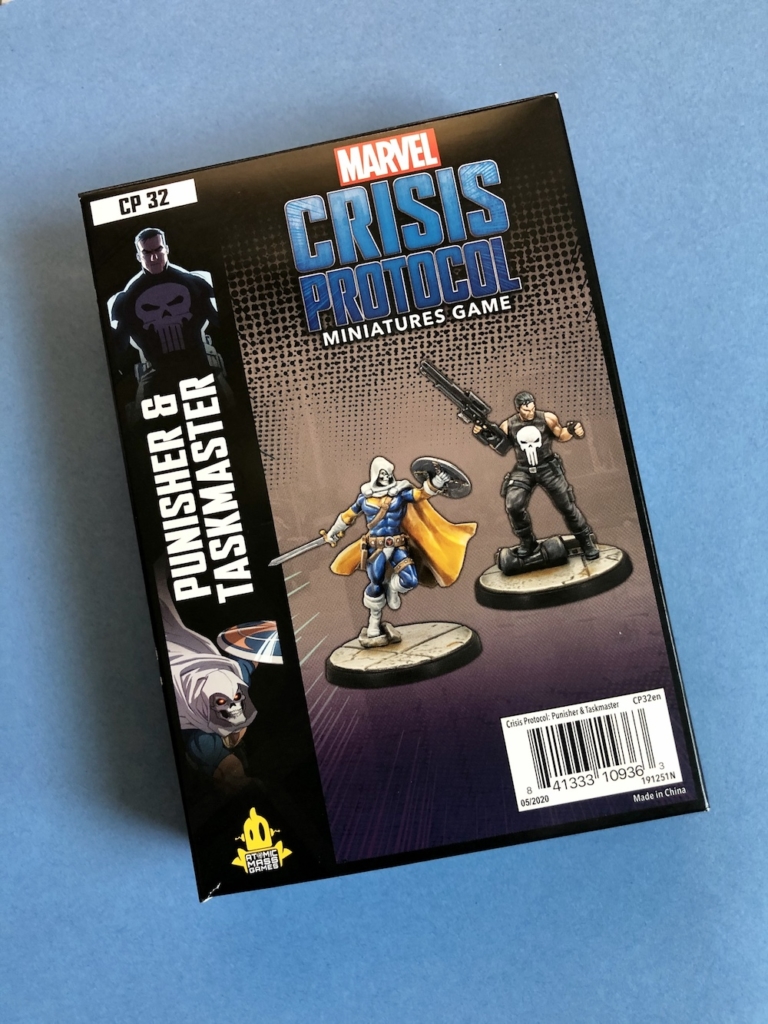
We’ve got our hands on the newest expansion for Marvel Crisis Protocol. Let’s unbox and assemble Taskmaster and Punisher!
What’s In The Box
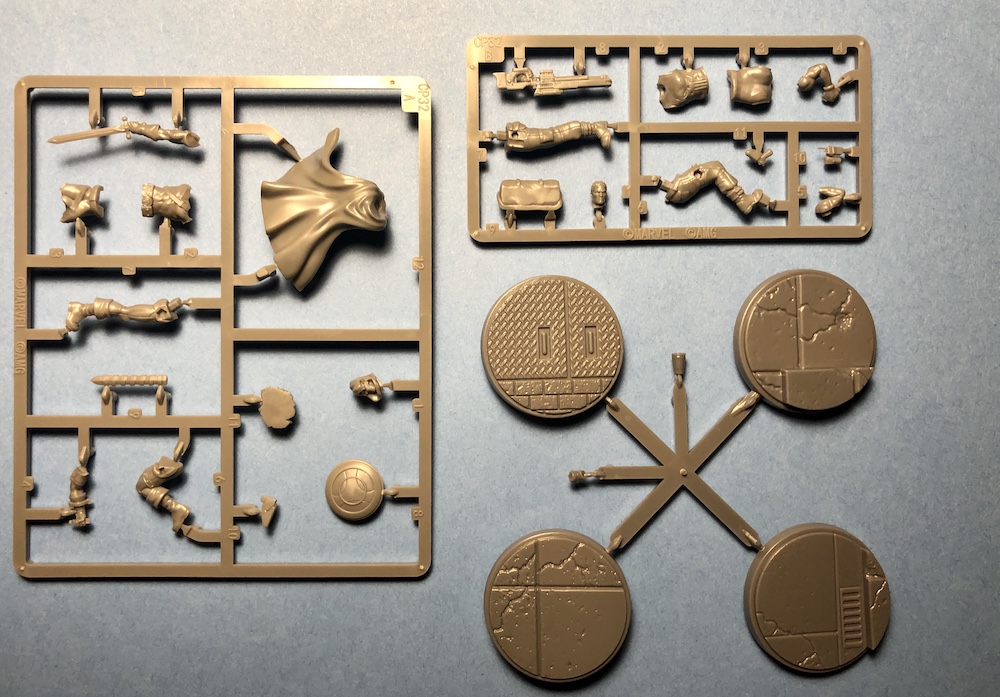 Taskmaster Sprue(left) Punisher(top) with bases
As usual, you’ll get some tokens as well, we’ve seen Slow Stun and Bleed tokens before. There is a new Red checkmark token, which doesn’t seem to correspond to any particular ability. Perhaps AMG is just making some new colors of checks to use? (Let us know if you think this is for a particular ability) The purple tokens are Punishment tokens for use with Punisher’s The Fallen and No More Second Chances abilities.
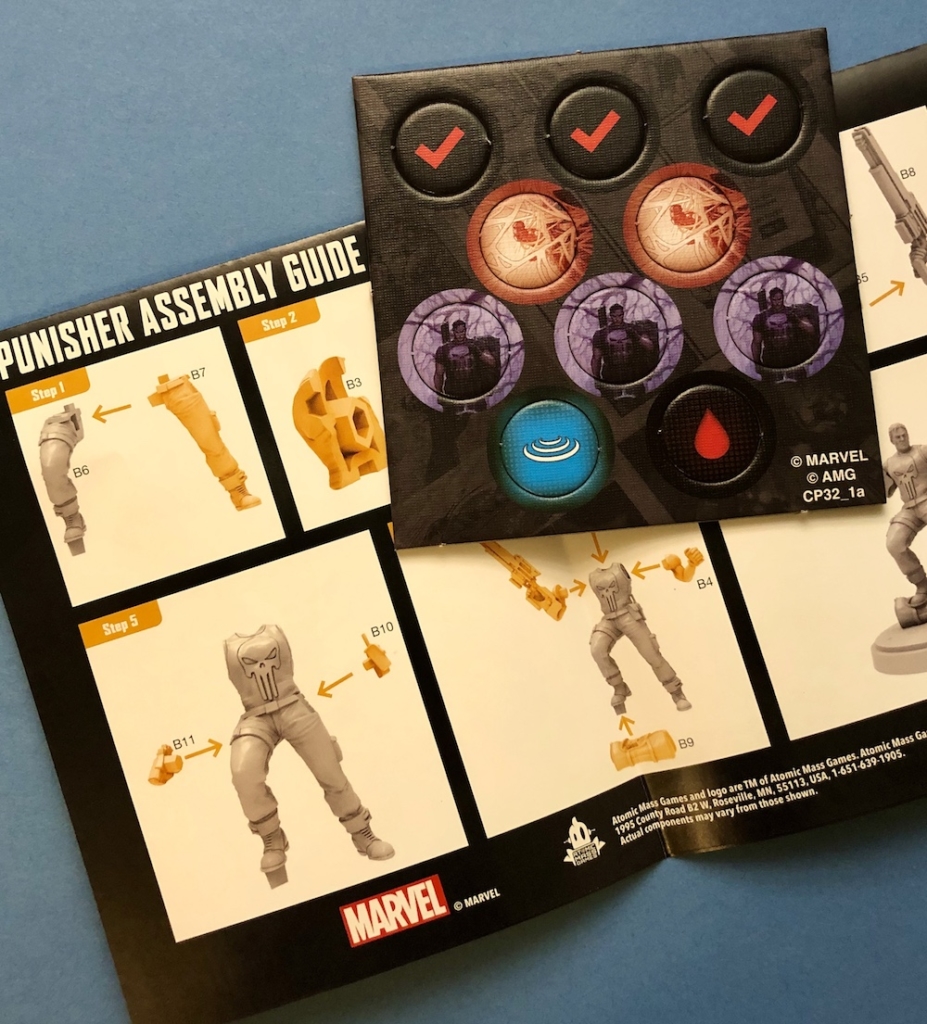 Assembly Instructions & Tokens
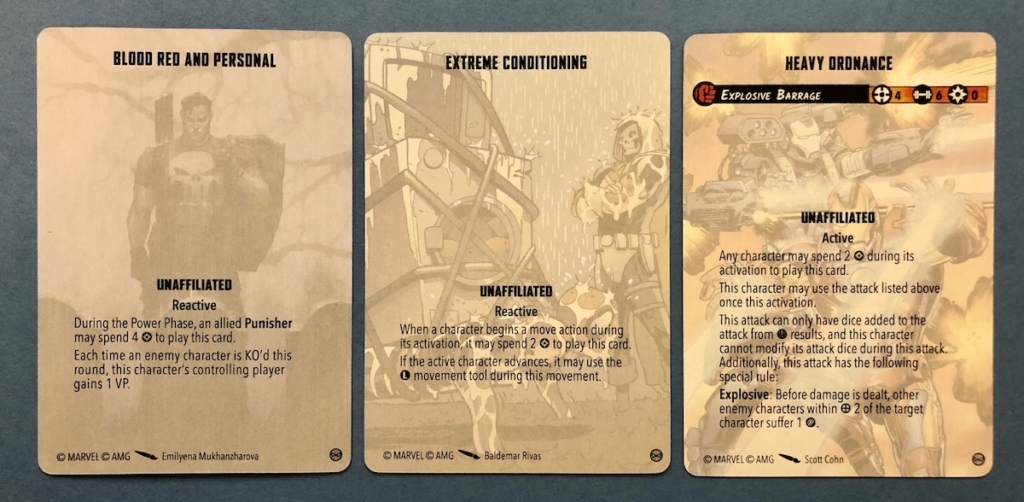
Tactics Cards
All Unaffiliated cards, with one specific to the Punisher.
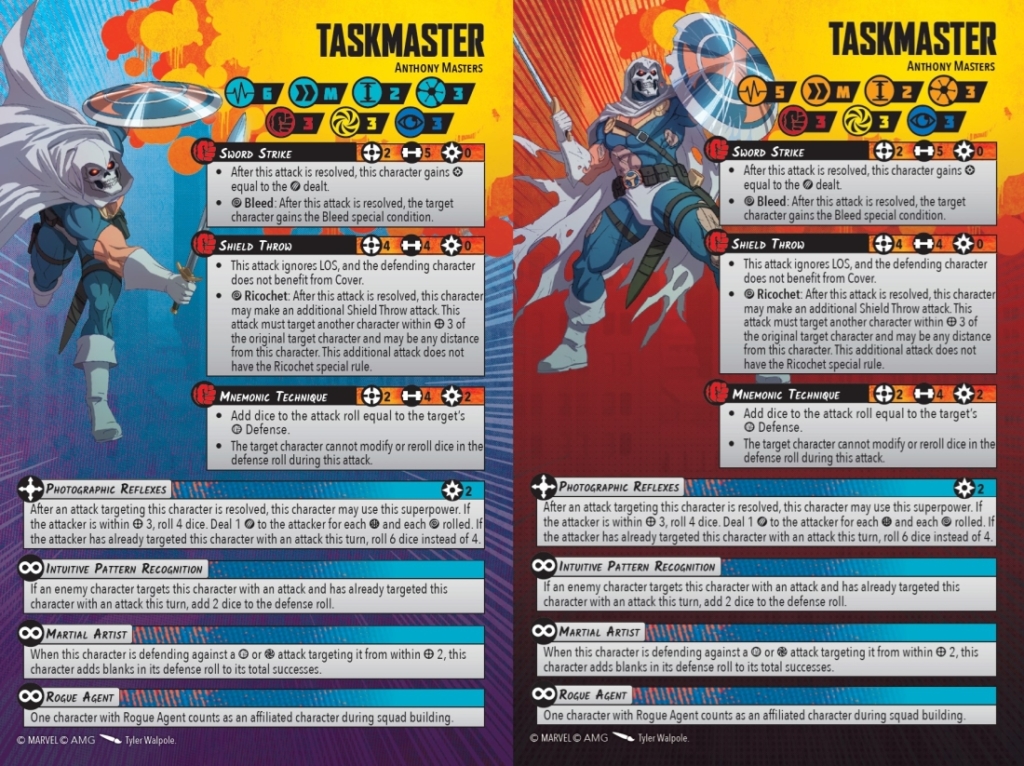
Stat Cards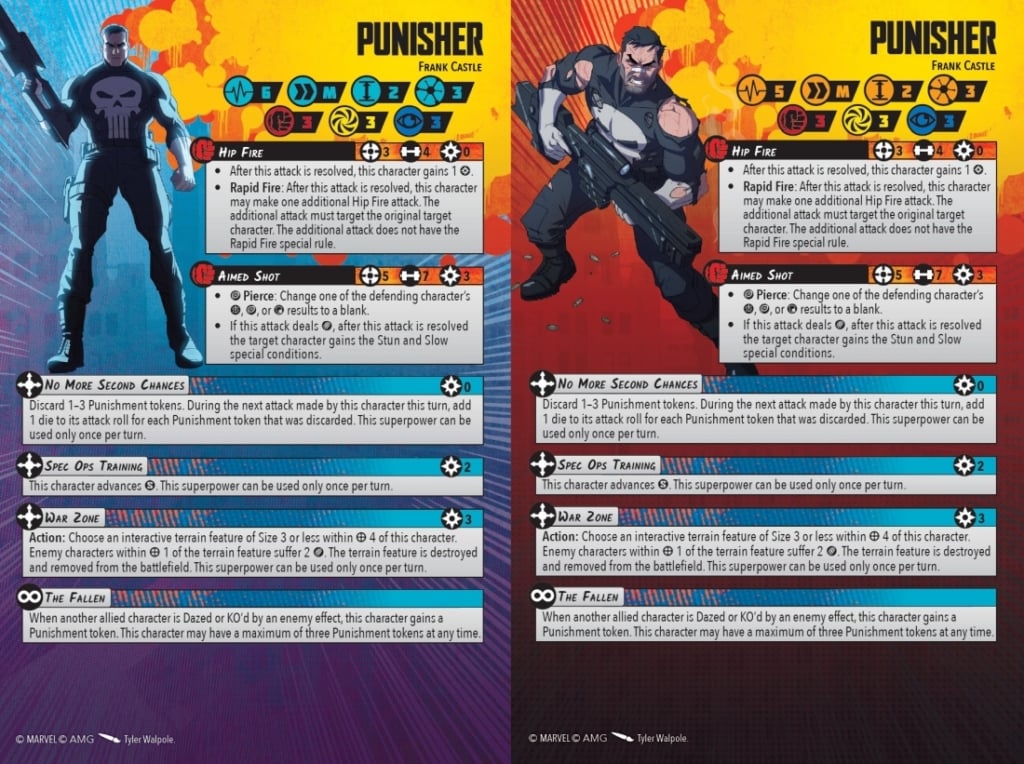
Definitely got a solid guerilla warfare feel going on. With some excellent ranged attacks and War Zone to destroy terrain for 2 automatic damage to enemy models, the Punisher is going to be hanging back and causing mayhem. Super solid for only 3 points.
Another 3 cost character, Taskmaster is all about close combat. I like all his low-cost attacks, letting Taskmaster save power for Photographic Reflexes. Combine that with Martial Artist and Intuitive Pattern Recognition, Taskmaster is going to be a puzzle to try and take out.
Assembly
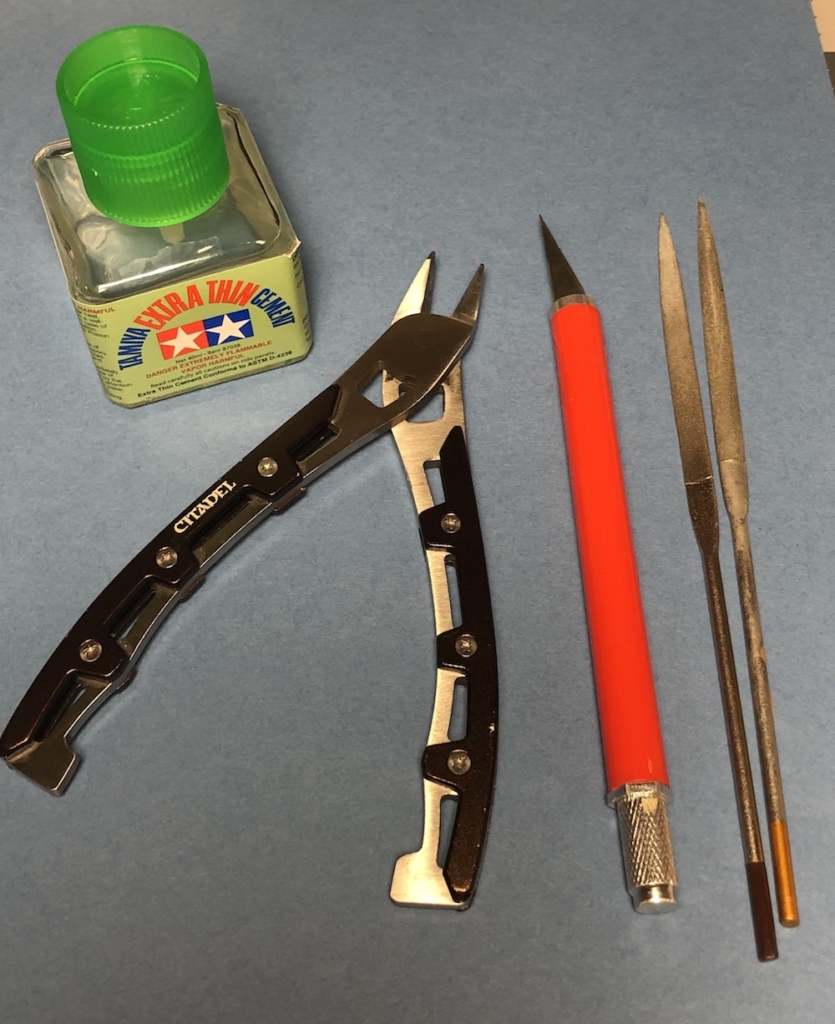
For assembling my Crisis Protocol models I like to have the following.
- Plastic Glue – I really like the Tamiya below, the brush makes it easy to get the glue exactly where you want it.
- Clippers – Any brand that cuts and leaves behind a flat surface. With a good pair of clippers, you can cut exactly where the sprue meets the model and have little to no cleanup.
- Hobby Knife – For cleaning up pieces as needed(which isn’t much on these models). Army painter brand pictured below, but any brand with a clean blade will do.
- Files (Optional) – I don’t always use them, but every once in a while you’ll need to smooth something out for a perfect fit or to clean up an imperfection. Citadel brand pictured below.
Punisher
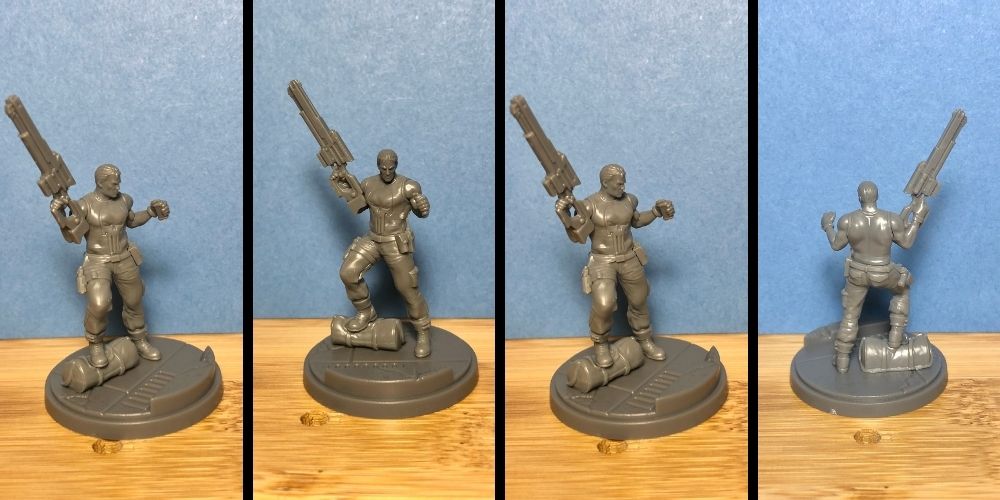
Normally I would highlight any problem areas of assembly, but Punisher is an easy build. Just follow the step by step instructions and Frank Castle will be ready for a game in no time. There was only one area I needed to use the hobby knife to clean up, on his torso under his left arm.
Taskmaster
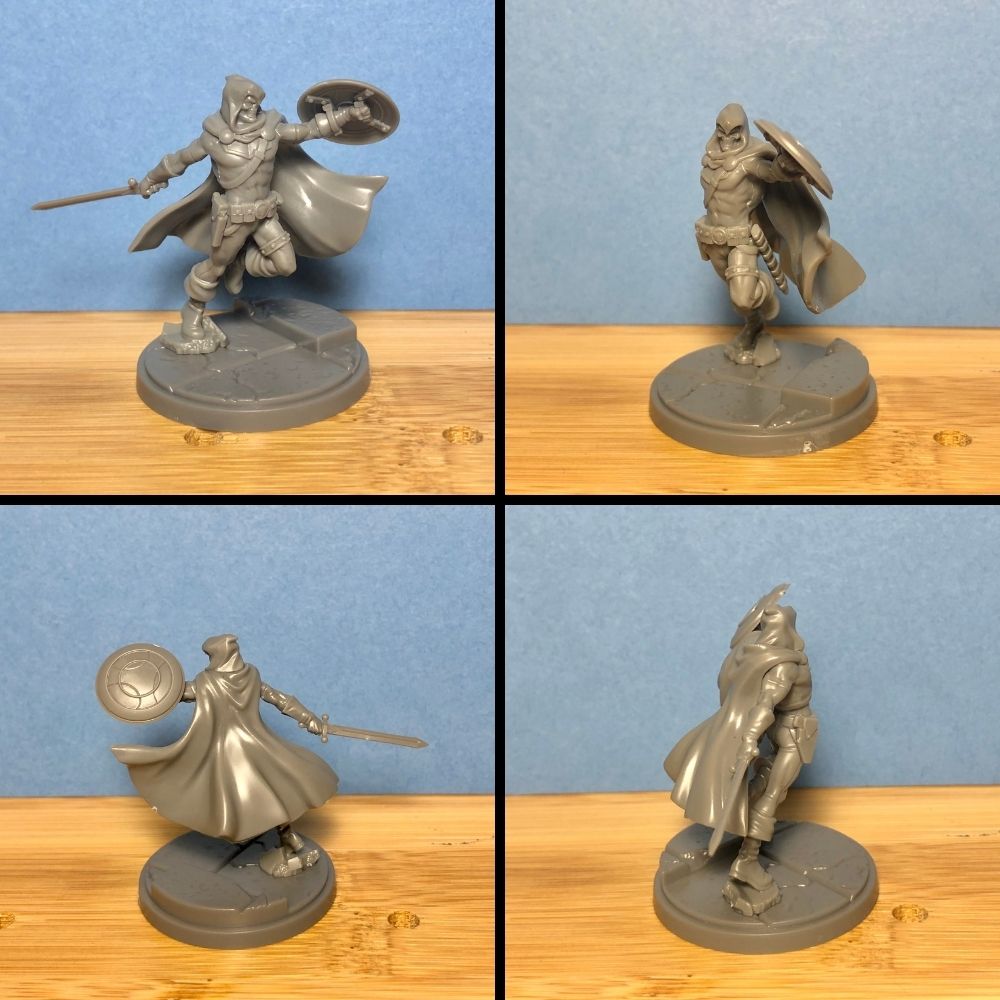
Another straightforward build, just follow the included instructions and you shouldn’t run into any surprises. A few connection points to the sprue needed some cleaning up with the hobby knife/file. A small part on the shield, one point towards the bottom of the cape, and the connection point on the underside of the sword.
Wrap Up
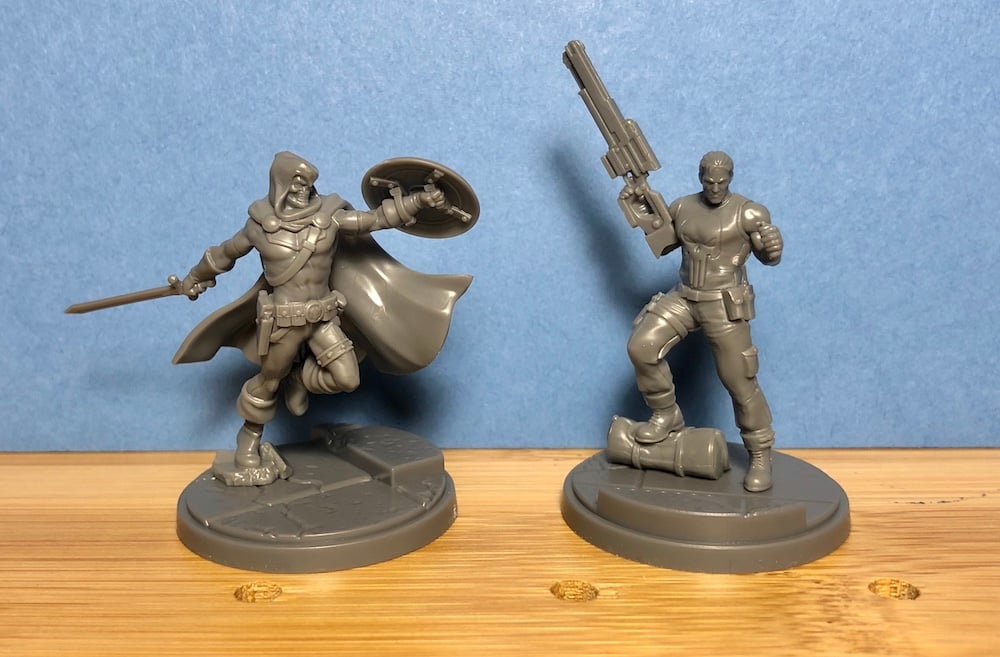
Overall these models went together quickly and cleanly. Excited to get these on the table!
Which model do you like more, Punisher or Taskmaster?

