Crisis Protocol: How Punisher Got His Sleeves Back
Punisher is a great character on the table, with some excellent thematic rules and attacks. I just had one problem with him, the tank top! Here’s a quick and easy way to get the sleeves back on your punisher model.
I’m sure a lot of people like the tank top look a lot, but it just wasn’t doing it for me. I wanted to change it up and I decided that the easiest solution would be to go for the wet suit look, similar to his card art in the game.
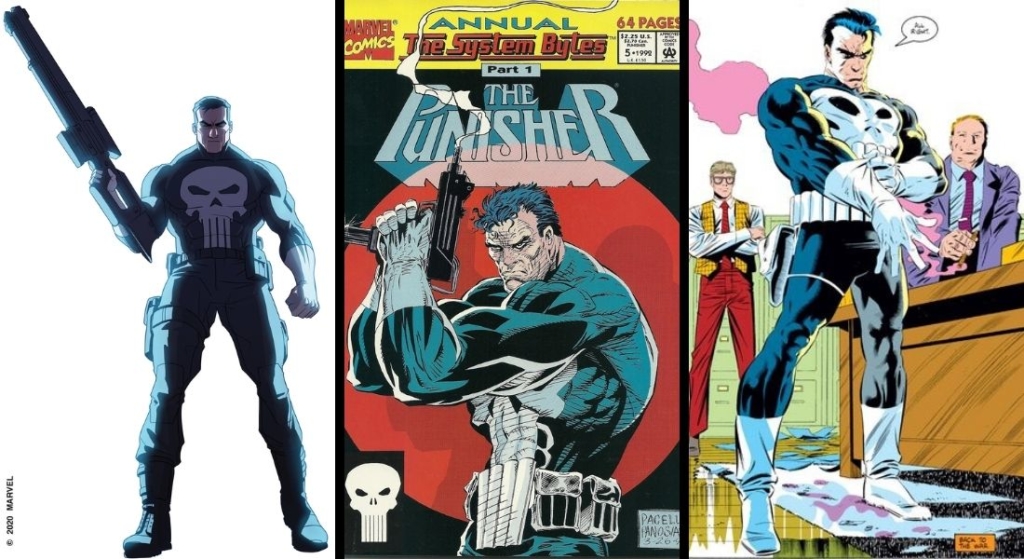 Crisis Protocol cart art on left
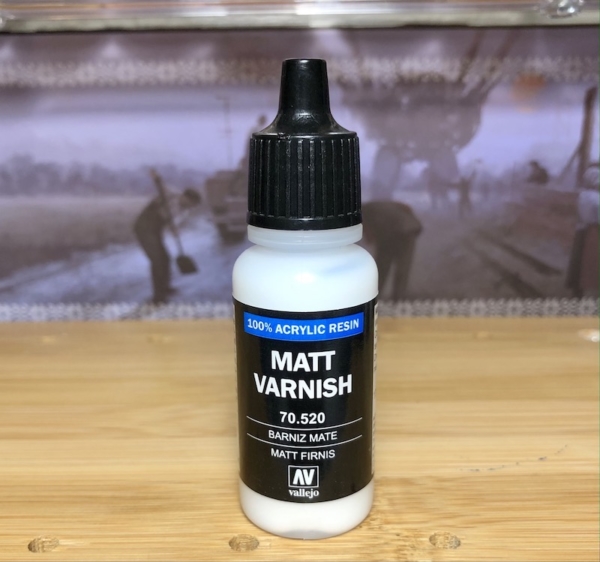
While you could just paint the arms black, the tank top lines would still be visible. I also didn’t want to spend the time with green stuff, mainly because I’m not very good with it. However, there is one awesome trick I learned for gap filling that also happens to work nicely in this situation. Enter our star of the show for this quick modification, brush-on matt varnish.
I’ve heard from others it doesn’t actually matter if the varnish is matt, glossy, or satin, but I’ve only personally done this with matt varnish.
What Is This Gap Fill Trick?
In case you don’t know this trick, you can use brush-on varnish to fill gaps on models. Simply brush it on in a somewhat thick coat and let it dry. Then repeat as needed until the gap is gone. This works due to how the varnish levels itself out and dries, filling in gaps underneath. There is definitely a more scientific reason behind it – but I don’t know what it is. All I know is that it works and it’s easy. In this case, we’re just going to treat the sleeves on Punishers tank top like gaps we want to fill.
First Pass
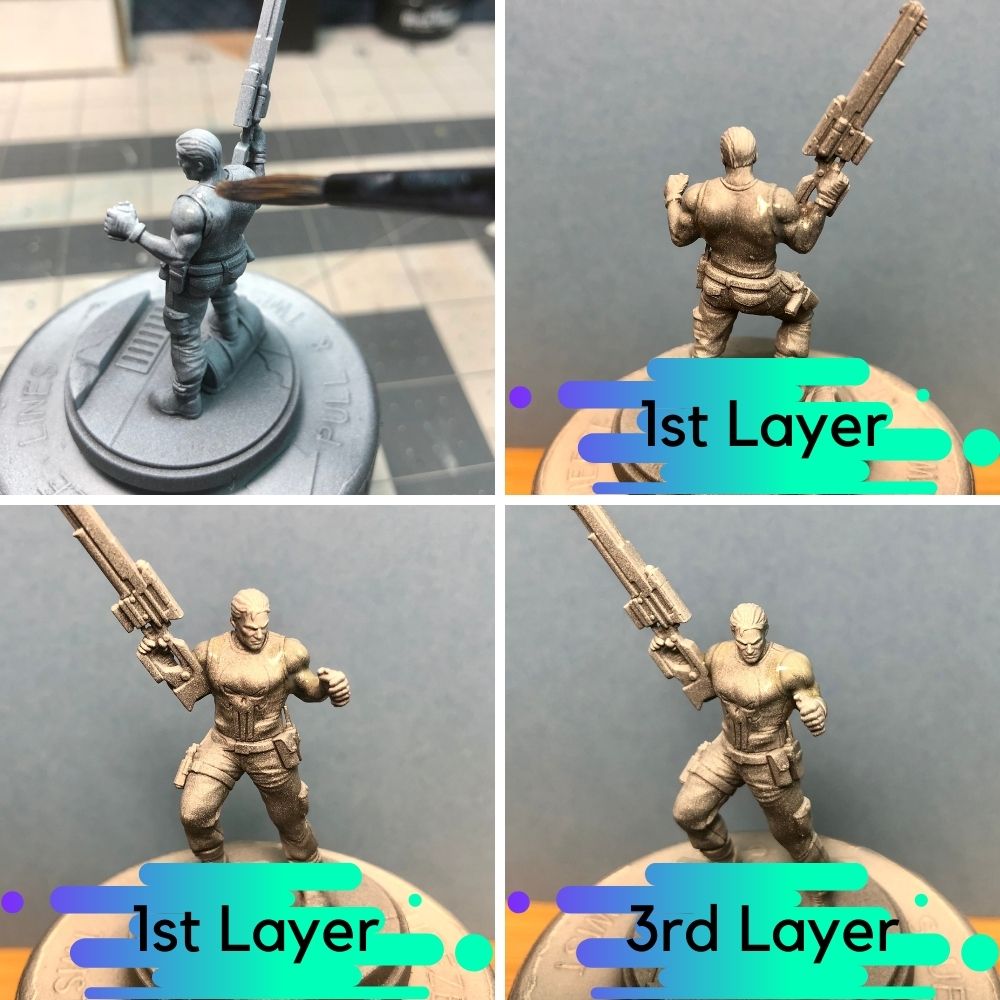
It can be hard to see in pictures because it goes on pretty transparent and dries clear. These images were taken right after applying a coat of varnish. I’m also putting varnish on Punishers arms down to the base of the gloves. This is to thicken up the sleeves a little bit so they don’t quite look so much like bare arms. The last image is after the 3rd layer, giving each layer a few minutes of drying time.
Adding Paint
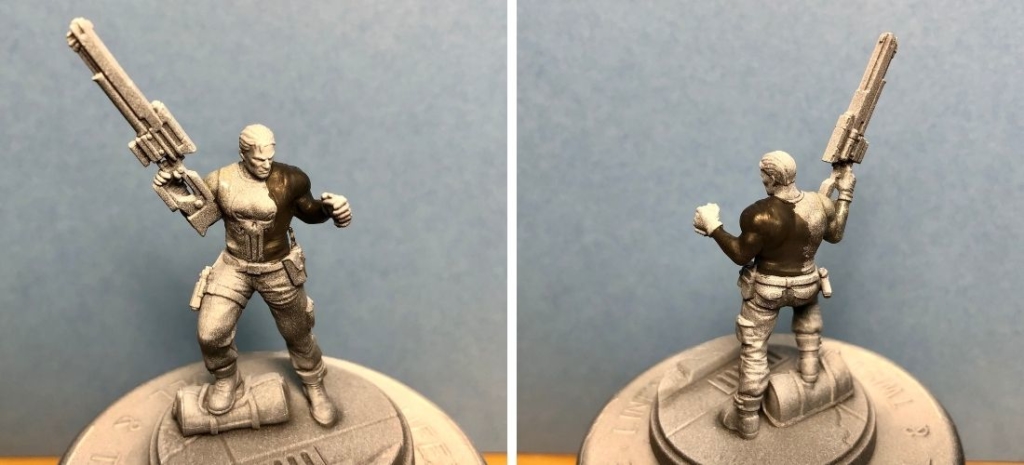
At this point, I decide that I am ready for some paint. The nice thing about this trick is you can keep applying layers even if you already have paint on the model. So if it turns out the sleeves aren’t quite as filled as you would like, just add more varnish. As you can see below when comparing the painted and unpainted shoulders, it can be hard to tell how filled the sleeves actually are until you add some paint.
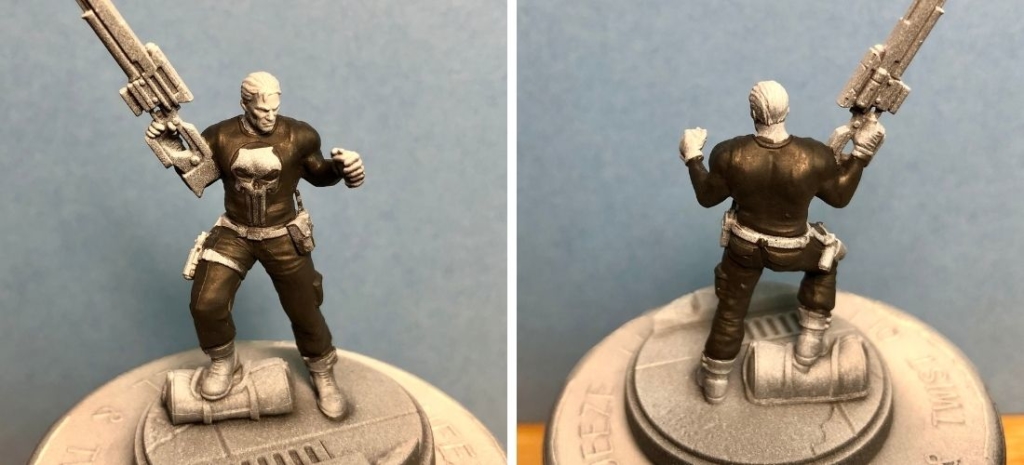
And now with the black base layer completely added.
That’s looking a lot more how I wanted it to. There is still a little indent on the sleeves, but when it gets fully painted up it’s not going to be noticeable. Now you can set off and paint up Punisher however you best see fit.
Final Results
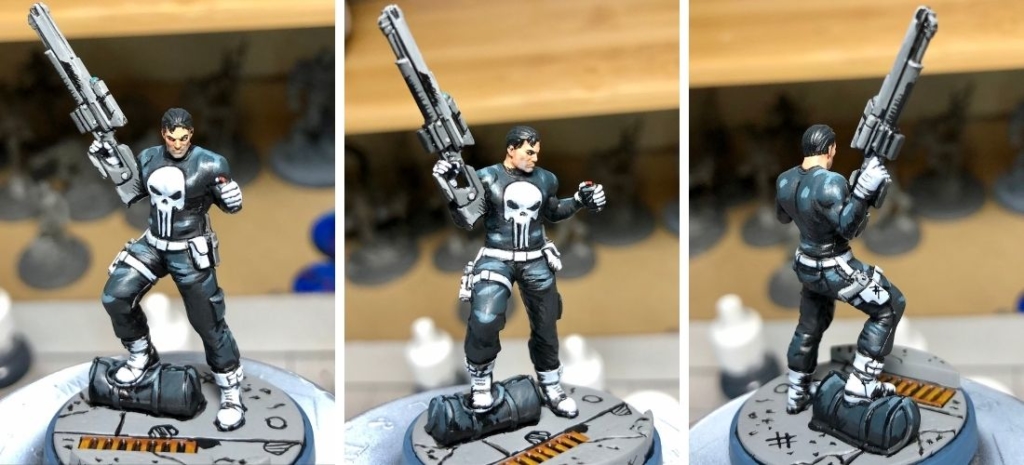
While this isn’t a painting tutorial, I couldn’t leave you without some finished shots of what was started above. Here is the fully sleeved Punisher painted up in comic style.
Hope you found this trick helpful, I know that matt varnish has forever found a home on my painting table!

