Hobby: Magnetize Your Atomic Mass Games Bases
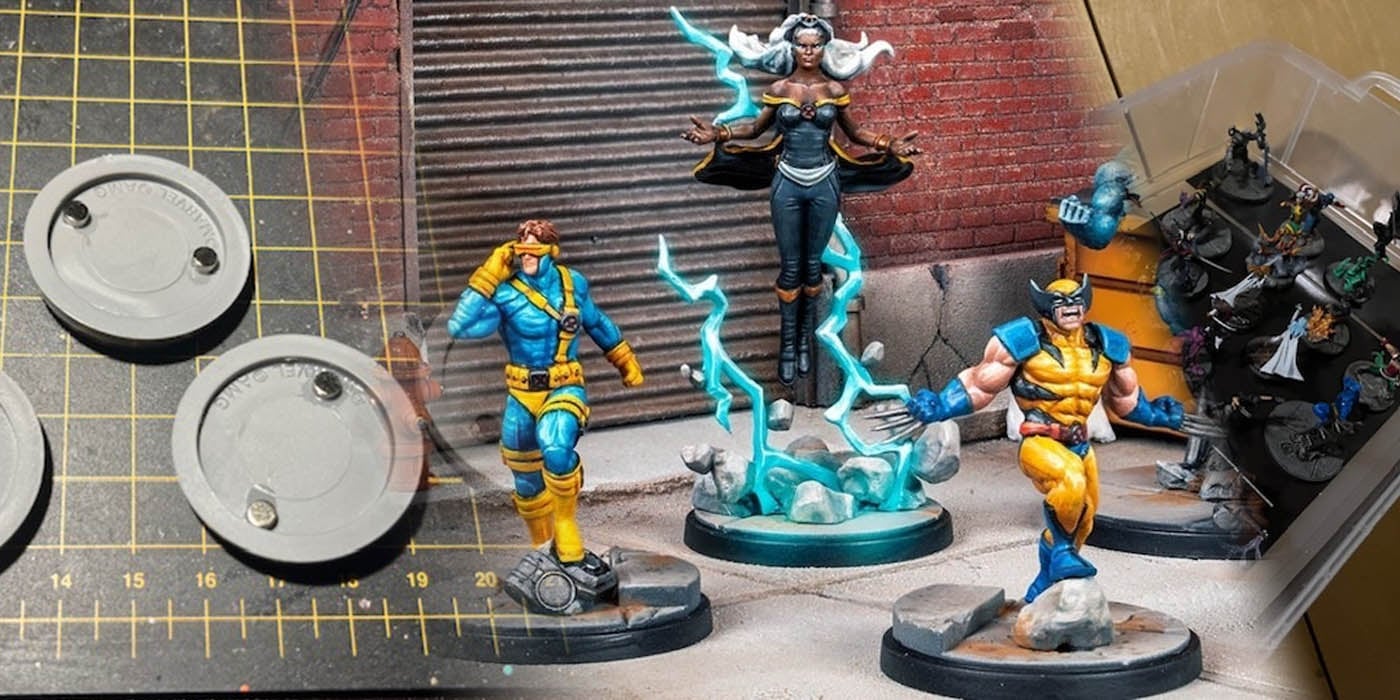
If you’re looking for a way to magnetize your bases for Marvel: Crisis Protocol or Star Wars: Shatterpoint I’ve got a tutorial for you!
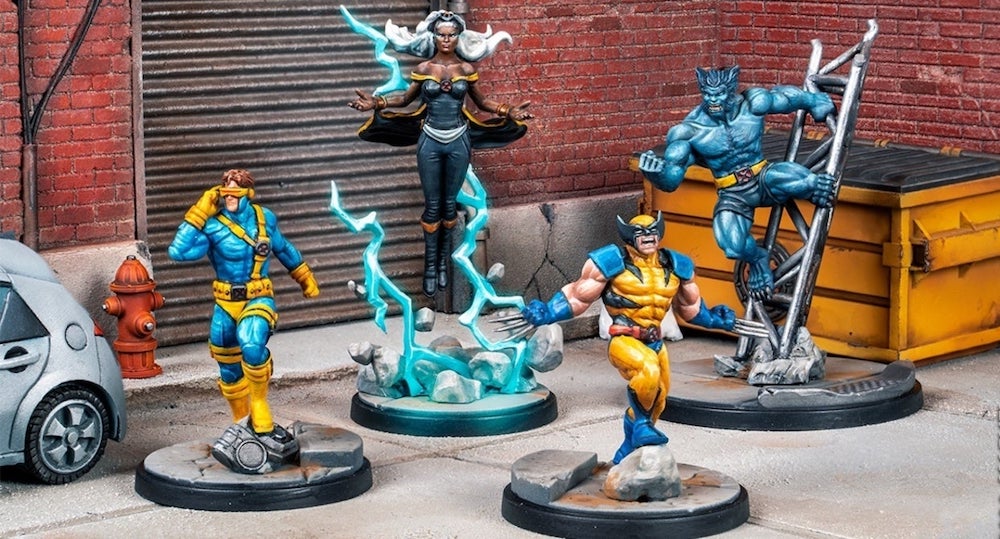
When I first started working on my Marvel: Crisis Protocol collection I was impressed with the miniatures. There’s a lot of basic sculpts from the earlier minis but lately the characters are getting pretty wild — in an impressive way. Many of them look like they were pulled straight from the comics in the most action-pose possible. In many cases, that means they can also be quite spindly. Which, as you probably know, can be troublesome to transport. I’ve broken way to many spikes or claws off in my carrying cases because they got caught in the foam.
So I have been looking for other options. And while I really like other solutions, I was looking for a relatively cheap option involving magnets and plastic cases. I blame Ben for that. But with his recommendation, I had my magnets and my case. Now I just needed to actually magnetize the bases…But how?
I know you’re probably thinking “just use some superglue and slap them in there.” But have you actually done that? Overtime they will pop out and that sucks. And while my method below doesn’t stop that from happening I’ve only had two magnets pop out so far out of the hundreds I’ve used at this point. This process has many steps. But it’s been working well so I wanted to share this process with you. This concept should apply to most other bases but the AMG ones in particular work really well because of that lip on the bottom. Plus you get a lot of extras so you can prep them ahead of time.
The Bases And Materials
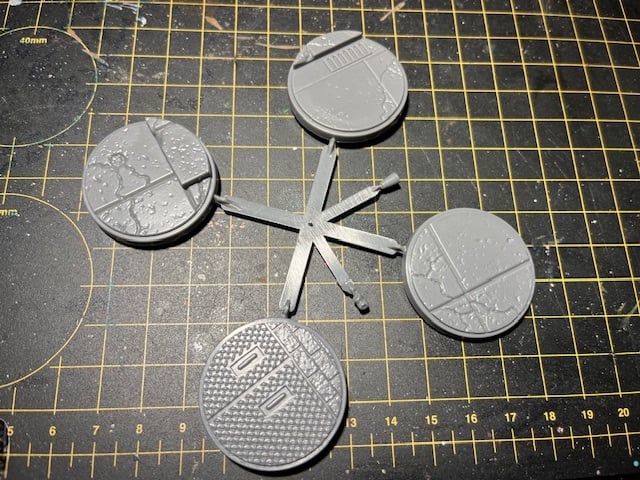
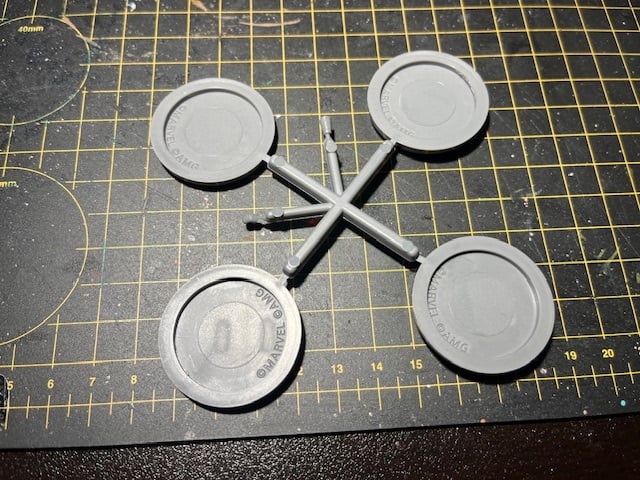
Again, these are the regular AMG bases for Marvel: Crisis Protocol. These are the 35mm ones but I’ve done this same process on the 50mm and 65mm versions. The 65mm ones have a thinner lip so you’ll have to use thinner magnets.
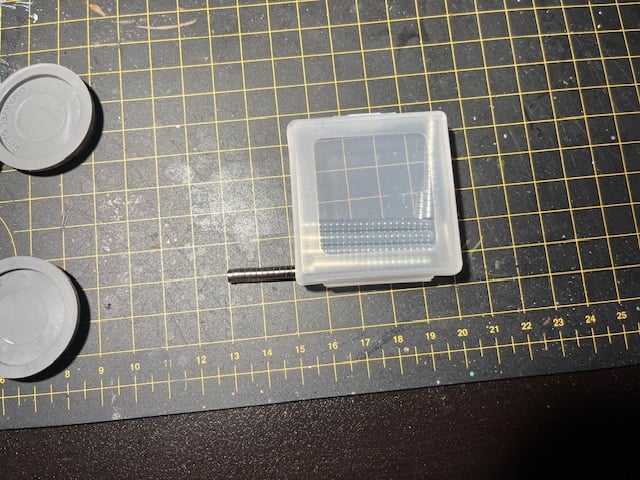
The magnets are these ones. They come in a variety of sizes. For this process I’m using 4x2mm for this. For the 35mm and 5omm they seem to fit best. For the 65mm bases, I’d go with the thinner 4x1mm or even 5x1mm options.
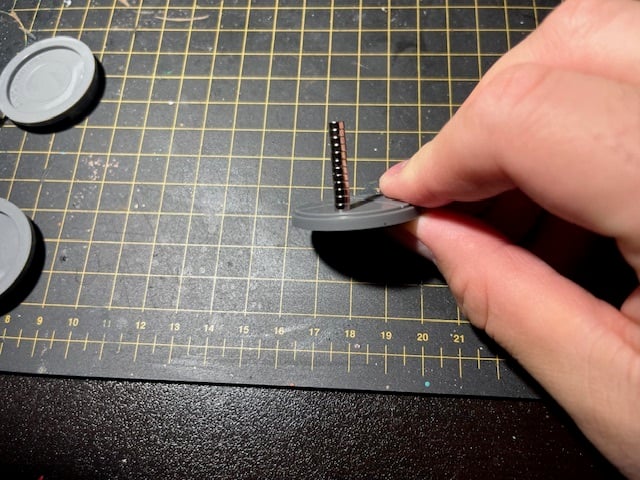
Once you get the first batch done, I recommend using on of the bases as your reference base in some way. You can store a stack of magnets on top of the base like the picture above so you always know what polarity to apply your magnets in. I’ve got another trick for when you’re dropping the magnets in, too. But first let’s talk glues/adhesives.
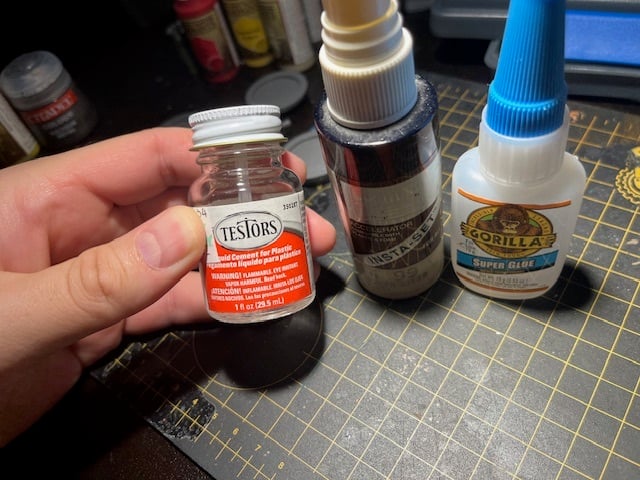
I use a plastic glue (the Testor’s bottle) for the first part and then a super glue (the Gorilla Glue bottle) for the second part. I also use some insta-set for that step just so I can move on with my day quicker. Why two types of glue? We’ll get to that below.
The Process
Okay, so you’ve got your bases and you’ve clipped them out. Now we need to add the glue. For this part and for the extra hold, I like to do two magnets per base. You can try just one in the center, but I found that one of this size (4x2mm) doesn’t hold all the minis from AMG in place. I haven’t had any issues with two. For the larger bases you might even go with more. The 65mm bases in particular take more magnets — but you’re going to have to judge that based on the size and weight of the model that’s going on top.
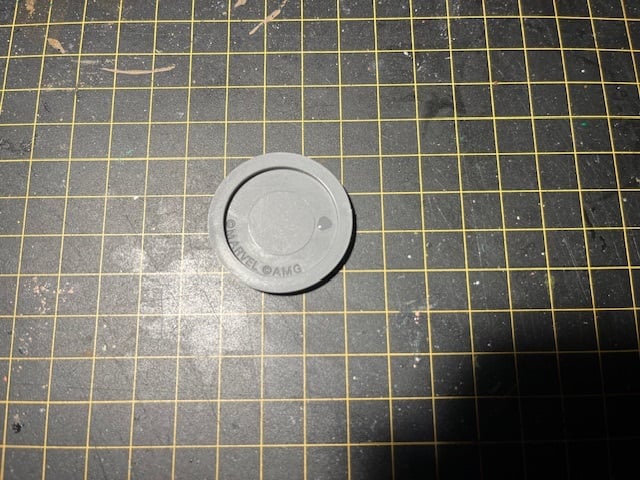
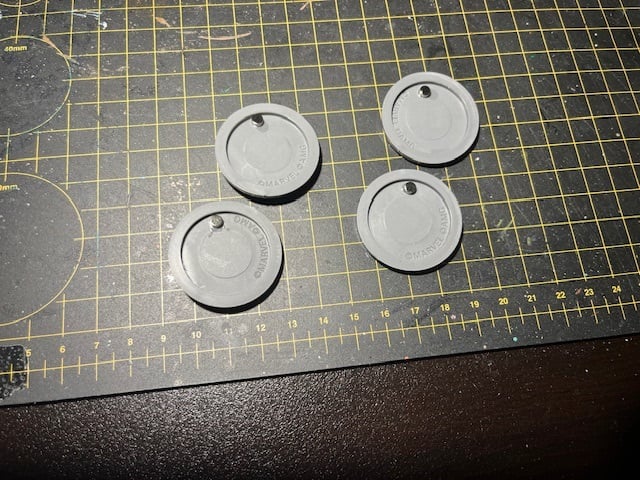
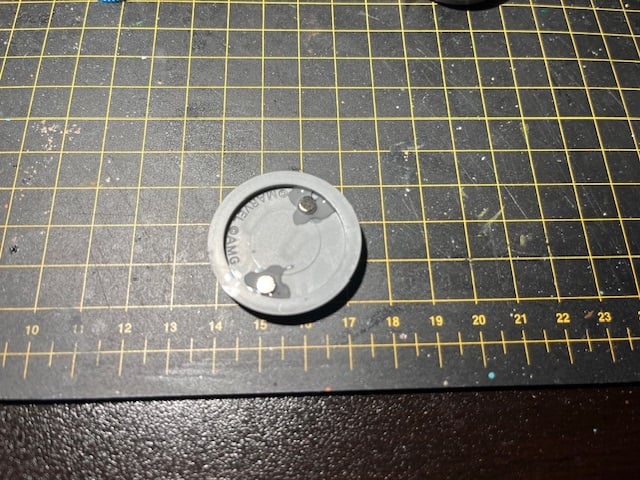
First, I put a dab of the plastic glue near the rim as above. The plastic glue is there to soften the plastic which is key for this whole process. Next, we place the magnet down — with the correct polarity. If this is your first base this one should be your reference base from here on out.
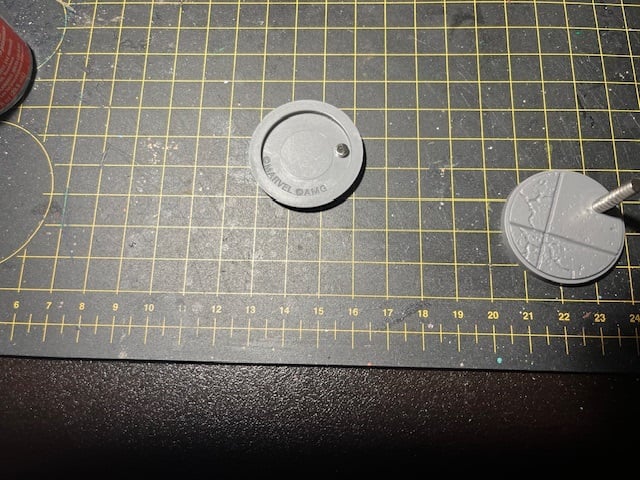
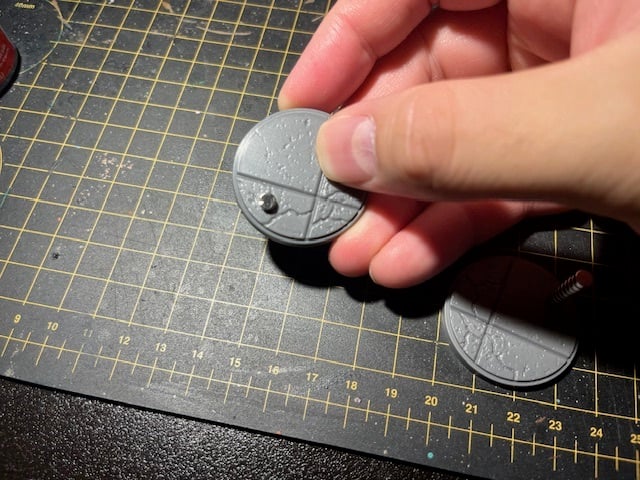
It should look like this. Now we’re going to take another magnet and place it on the TOP of the base like this:
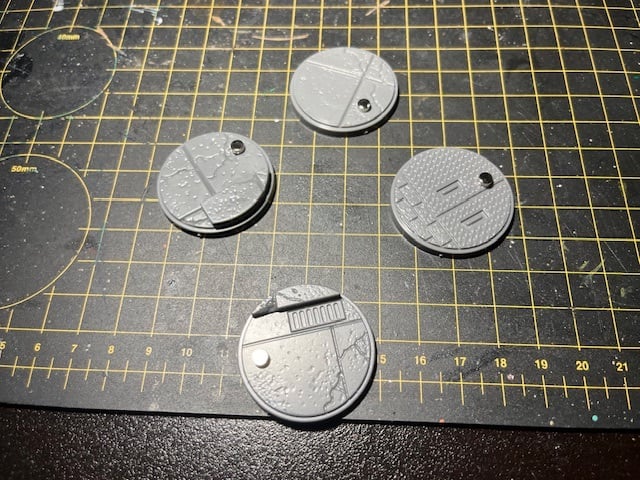
The magnet should be strong enough to pull and hold the other in place. What this is doing is key to the entire process. It’s not just holding the other magnet in place for the rest of this, it’s also pulling the other magnet deeper into the base. This actually creates a perfectly molded divot for the magnet to rest in. Repeat this process for the other bases.
Another tip for this is to be mindful of what the TOP of the base looks like. The MCP bases not only have texture but also have raised blocks on them. You don’t want to place a magnet below one of the raised parts as the hold from the top magnet won’t be as good.
Another tip is you can take your stack of reference magnets and place the base upside down on the point where you glue is. Then just drop your magnet in place. It will “right-side” it so you get the same polarity across the bases.
The Second Magnet
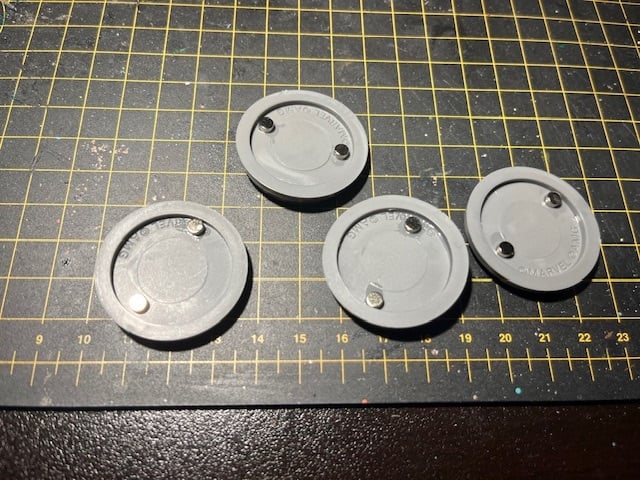
Now that we’re done with the first magnet on each, with their top magnets in place, we’re going to repeat the process a second time adding a magnet to the opposite side.
These magnets are potent, but the distance should be far enough way they won’t pull the opposite-side magnets. And use the magnet stack to make sure your magnets are being placed correctly. Between the top magnets and the plastic glue, these magnets should be locked in — for now. But once the plastic glue finishes it job there’s a good chance that the magnets will just pop out over time. This is where the super glue step comes in.
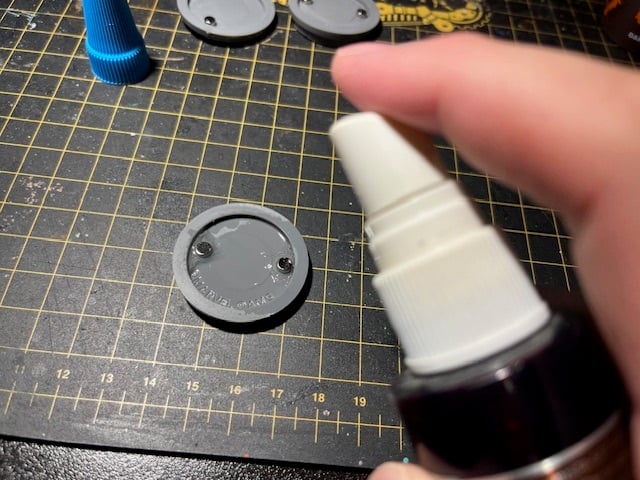
I like to do 3-4 dabs around the magnet in a clover pattern. You could just glue around the magnet in a ring, but I found that to be too messy. Just a dab works — but you want to make sure the glue is touching the sides of the magnet. If you get any on the “top” of the magnet you can use your finger wipe it off really quickly. Just make sure you wipe the glue off your finger before this next step.
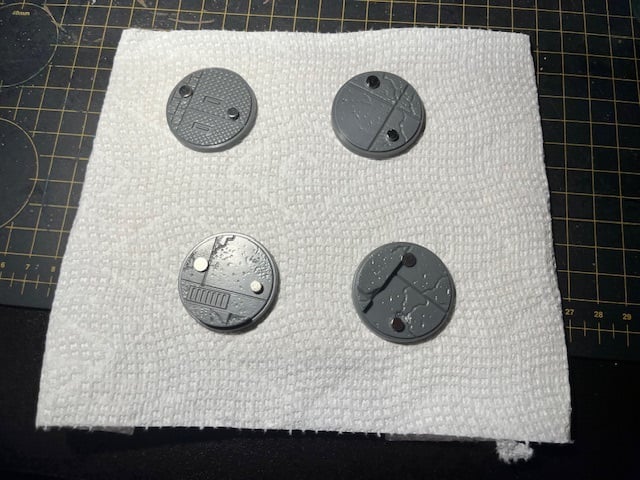
This is the insta-set step. Just spray some on there and make sure both magnets get sprayed — one or two sprays should be more than enough. Now I like to flip them over and place them on a paper towel overnight to let them dry off.
Once they dry out and everything set you can take the magnets off the top and use them for your next batch. That’s the process! It goes pretty quick once you get in the groove. I usually knock out a batch of these at a time. When I’m running low I’ll just do another couple sets. Most of the time MCP miniatures come with at least 4x 35mm bases or 2x of the 50mm ones.
Storage Tips
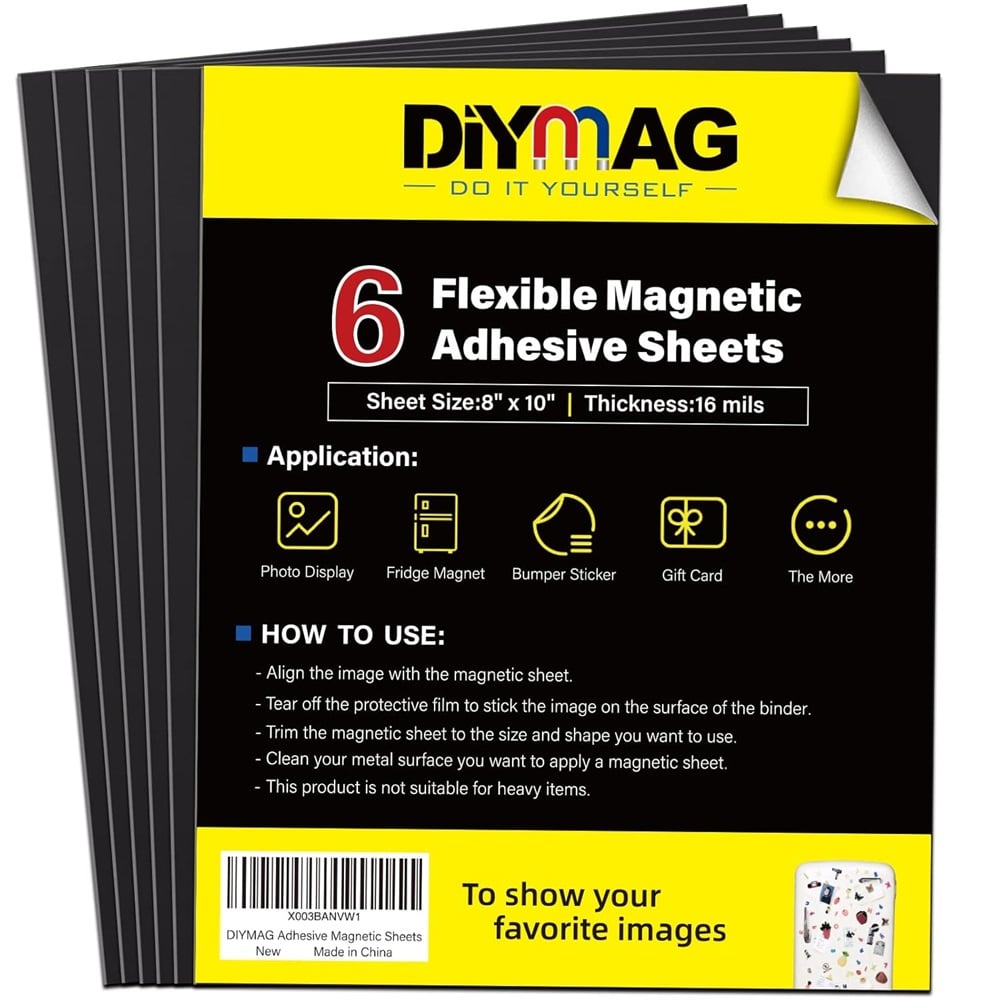
Whatever case you’re using, I don’t recommend gluing these magnets to the case for magnet-on-magnet contact. That’s REAL bad. It’s a fast way to break magnets or have them fall out of the base. My recommendation is to use magnetic sheets like these.
You can cut them to fit you case and they have an adhesive side that will stick to plastic really well. Just make sure you case is tall enough for the minis you want to store in there! The magnets in the bases are strong enough that the miniatures will hold their spot in the case barring any major jarring or serious impacts. Don’t throw your cases with minis around is what I’m saying. If you’re looking for that sort of drop protection you might need to look at foam.
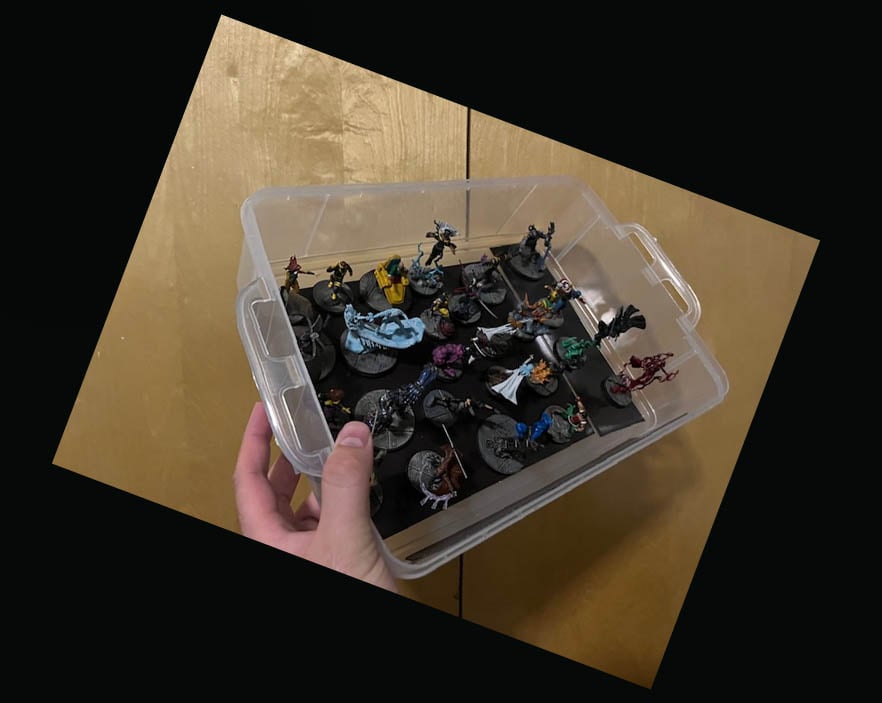
But for me, if I’m just taking a quick trip to the game store or to my buddies place to play these magnetized bases and magnetic sheets have been great. In the above picture I’m holding these at close to 40° angle and they aren’t sliding. I wouldn’t want to DROP my case or anything but it’s working. Plus these cases are stackable and come with a lid with a handle. But you do you!
Hopefully this was helpful for anyone out there looking to magnetize their AMG bases. I’ve done the same thing with Star Wars: Shatterpoint minis and it works perfectly, too.
Happy Hobbying out there.

