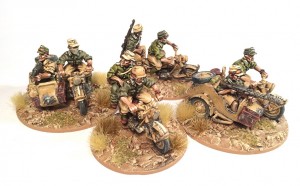
Warlord Painting Tutorial: Afrika Korps


Check out Warlord Games’ awesome guide on how to paint desert colors like a pro!
A BIG Hobby thanks to Bryan from WWPD and Warlord for putting together this awesome painting guide. If you’re looking to paint military camo for any system or setting then you have GOT to follow along with this guide. Take it away guys!
via Warlord Games
Bryan, from the blog WWPD, sent in a fantastic Free French army list the other week and along with it mentioned his work on the German Afrika Korps, particularly his Kradschützen motorbike and sidecar combinations. Even better Bryan has jotted down his guide, giving us all an indepth step by step to follow:
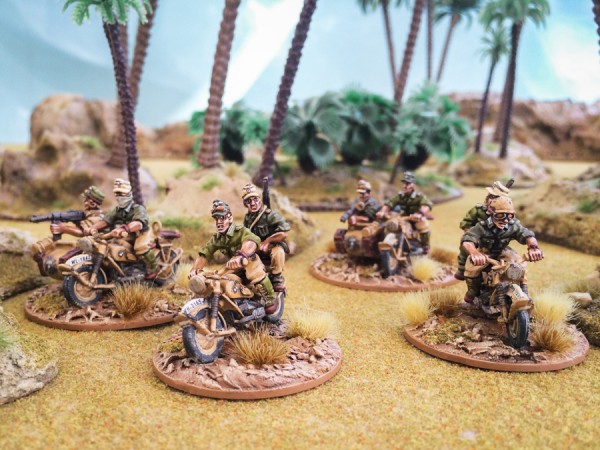
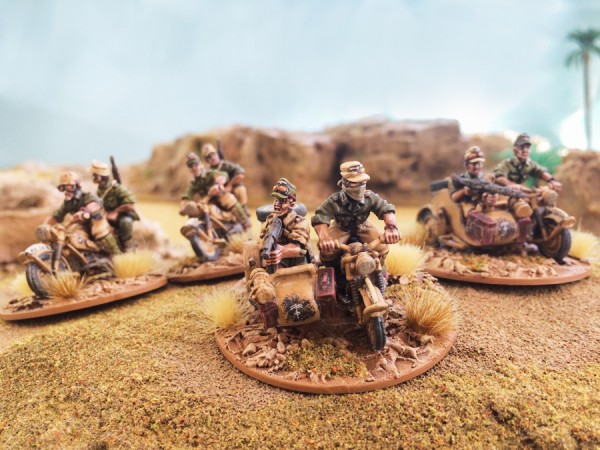
Bryan: I’ve recently painted a platoon of the famous Deutsches Afrika Korps (DAK) for Bolt Action. With the release of Duel in the Sun, I thought I would share how I painted mine. Here I use a squad of Kradschützen as an example, with a photo at each stage to explain the process. What follows is a step by step painting guide for Rommel’s vaunted veterans.
Step 1: Spray primer
As the heading says, I sprayed my miniatures with Army Painter ‘Desert Yellow’. This spray is rather thick compared to the rest of the range, so be careful to use short sweeping bursts. This spray will be the primer and one of the main colours in one step, so saves you a lot of time. I added polly-filla and small rocks to texture my bases prior to the spray undercoat.

Step 2: Base colours
Time for the basic block colours. One of the most characteristic things about the DAK uniform is that there were many variants of it. The first Tropical uniforms where more of a greenish hue, with later uniforms being more accurate for the sand covered terrain. Also, the African sun faded the uniforms and equipment, so veterans (or newer guys who wanted to look like veterans) had very faded caps. To achieve this ‘mixed’ look and still paint a coherent looking army I broke my uniforms down into three types. I then mix up what the three colours will be used on, if it’s the tunic on one guy, it’ll be the pants on the next for example. That way, you still get the squads painted quickly and are not slowed down while still getting that mixed look.
Colours are either Vallejo (VJ) or Games Workshop (GW)

| Uniform variant 1: | VJ 924 Russian Uniform |
| Uniform variant 2: | VJ 881 Yellow Green |
| Uniform variant 3: | VJ 977 Desert yellow (already done by the spray primer) |
| Helmet/Gas mask canister: | VJ 977 Desert yellow (already done by the spray primer) |
| Field cap, webbing straps: | VJ 847 Dark Sand |
| Belts, ammo pouches, water Bottle & Boots (leather): | VJ 984 Flat Brown |
| Canvas boot tops: | VJ 881 Yellow Green |
| Bread bag: | VJ 821 German Camo Beige |
| Mess tin, rifle barrels and water bottle lid: | GW Leadbelcher (steel) |
| Wooden rifle stock: | GW Rhinox Hide |
| Skin and bases: | VJ 876 Brown Sand |
| Motorcycle hull: | VJ 977 Desert yellow (already done by the spray primer) |
| Motorcycle tyres: | VJ 995 German Grey |
| Motorcycle engine: | GW Leadbelcher (steel) |
| Motorcycle seats and panniers: | VJ 984 Flat Brown |
Step 3: Wash
Wash the entire miniature with Army Painter Strong Tone ink, I used the brush on type from the bottle, not the ‘dip’. Also apply a second wash using a black wash to the metallic areas.

Step 4: Highlights 1
Re-apply all the base colours, but be careful to leave the recessed areas so the wash helps create the shading.

| Uniform variant 1: | VJ 924 Russian Uniform |
| Uniform variant 2: | VJ 881 Yellow Green |
| Uniform variant 3: | VJ 977 Desert yellow |
| Helmet/Gas mask canister: | VJ 977 Desert yellow |
| Field cap, webbing straps: | VJ 847 Dark Sand |
| Belts, ammo pouches, water Bottle & Boots (leather): | VJ 984 Flat Brown |
| Wooden rifle stock: | GW Rhinox Hide |
| Canvas boot tops: | VJ 881 Yellow Green |
| Bread bag: | VJ 821 German Camo Beige |
| Skin and bases: | VJ 876 Brown Sand |
| Motorcycle hull: | VJ 977 Desert yellow |
| Motorcycle seats and panniers: | VJ 984 Flat Brown |
Step 5: Highlights 2 and details
In this stage you apply some careful highlights to the raised areas or edges. Often I applied two successive highlights one after the other.

| Uniform variant 1: | 70/30 mix of VJ 924 Russian Uniform + VJ 847 Dark Sand |
| Uniform variant 2: | 70/30 mix of VJ 821 VJ 881 Yellow Green + VJ 847 Dark Sand |
| Uniform variant 3: | VJ 819 Iraqi Sand |
| Helmet/Gas mask canister: | VJ 819 Iraqi Sand. |
| Field cap, webbing straps: | VJ 837 Pale Sand |
| Belts, ammo p0uches, water Bottle & Boots (leather): | GW Doombull brown, then GW Tuskgor fur |
| Wooden rifle stock: | VJ 983 Flat Earth |
| Canvas boot tops: | 70/30 mix of VJ 881 Yellow Green + VJ 847 Dark Sand |
| Bread bag: | 50/50 mix of VJ 821 German Camo Beige + VJ 837 Pale Sand |
| Skin: | GW Kislev Flesh, VJ 928 Light flesh, wash with watered down sepia wash afterwards. |
| Motorcycle hull: | VJ 819 Iraqi Sand. |
| Motorcycle seats and panniers: | GW Doombull brown, then GW Tuskgor fur |
Step 6: Bases and details
At this stage I painted the final details like buttons (Iraqi Sand), eyes and the Afrika Korp cuff insignia on the right tunic sleeves. This cuff title was painted VJ 890 Reflective Green, then a trim of white. The cuff is too small to accurately paint the ‘Afrika Korp’ text so I simple scribbled some paint on in white to give the impression of writing. I also added chipping effects to the motorcycle hull using a piece of foam (like from a blister pack) and lightly dabbing on some VJ 995 German Grey.

The bases are drybrushed last and are done carefully so as to not paint over any of the miniature itself. First layer is VJ 876 Brown Sand, followed by VJ 847 Dark Sand and finally VJ 837 Pale Sand. I then re-paint the base sides with VJ Brown Sand.
Step 7: Transfers , varnish and flock.
I have added some Afrika Korp decals from the set here . The model is then given a matt varnish, I used Testors Dullcote but you equally use the Army Painter Anti-Shine Matt varnish. Finally add a variety of different grass tufts and flock as you please.

I found painting this colour scheme over the desert yellow base coat very easy, and was happy to get so much depth while working with predominately light colours. In fact, apart from the pupils of the eyes, I had no need to use black at all! The Army Painter Strong Tone works wonders with this colour pallet, it’s perfect for the DAK.
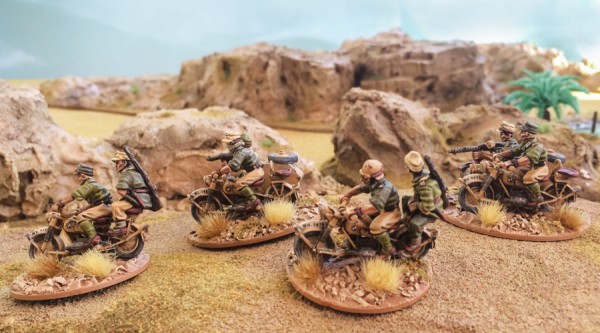
Use this simple guide on all your Afrika Korps as you start your new army with the Warlord desert range:
GERMAN AFRIKA KORPS RANGE
GERMAN AFRIKAKORPS PLATOON
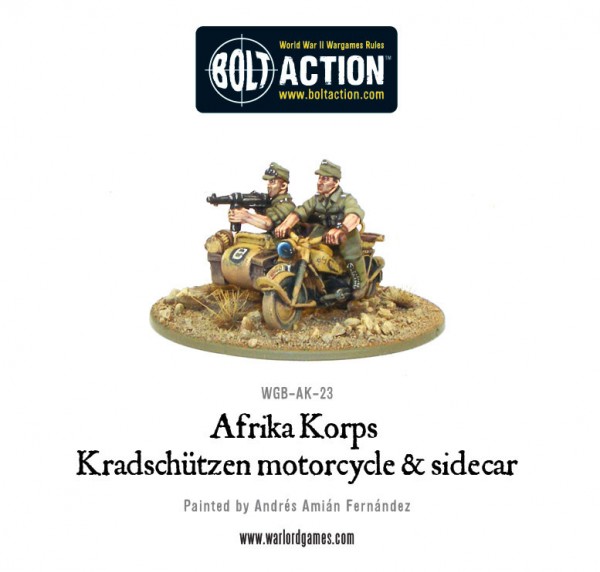
AFRIKA KORPS KRADSCHUTZEN MOTORCYCLE AND SIDECAR
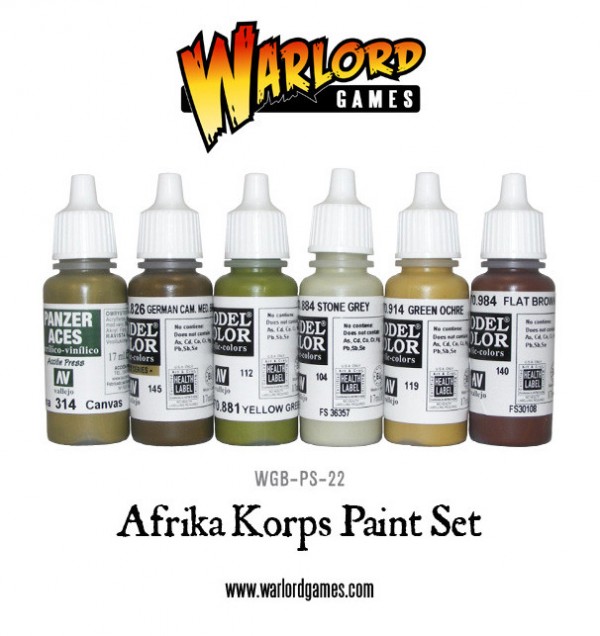
AFRIKA KORPS PAINT SET
That’s a really great tutorial because of how easy it all sounds. Plus it gets great results and you can’t ask for anything more. So hobbyist out there if you’re looking for an great way to paint up desert units give Bryan’s tutorial a shot!
Nice paint job! I feel like I need some Sun Tan lotion and a cool drink from being in the Desert!

