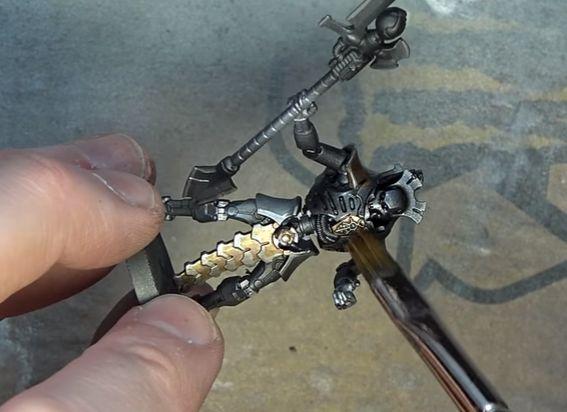
4 Easy Steps To Painting Metal & Gold Trim


Here’s a quick tutorial on how to paint gold trim & metals on your infantry in 4 easy steps hobby fans!
We have a quick tutorial for all of those out there that need some good tips on painting your gold trim and metals quickly while still producing a good finished product. You can make your minis’ gold trim look with with these four easy steps!
Well the first step actually is to airbrush your metals, BUT you can also just substitute that with a metal spray primer base like Leadbelcher from GW, or either of the Army Painter metal sprays! All three will go great with step 4 of this tutorial.
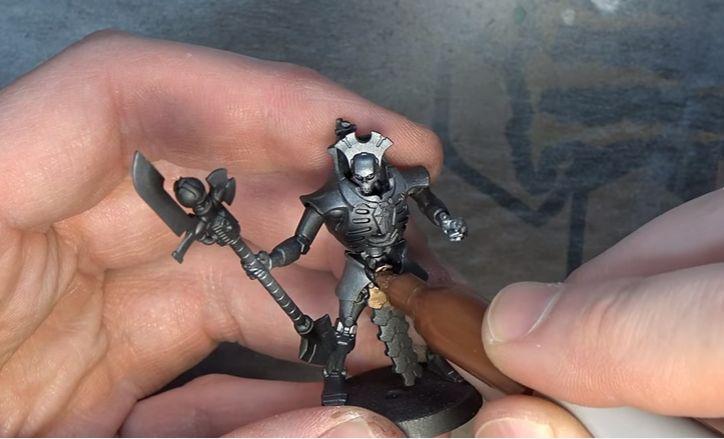
Step 1: First we take a Bronze Sharpie and hit all the areas we want to give a gold accent.
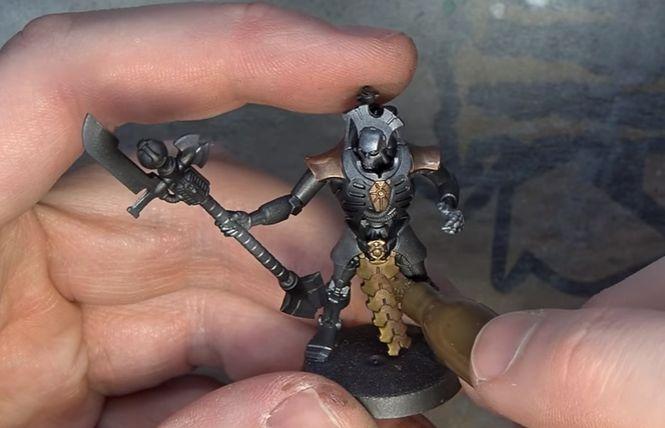
Step 2: Next we take a gold Sharpie and do our first highlight hitting everything we want to be gold but still leaving some bronze visible.
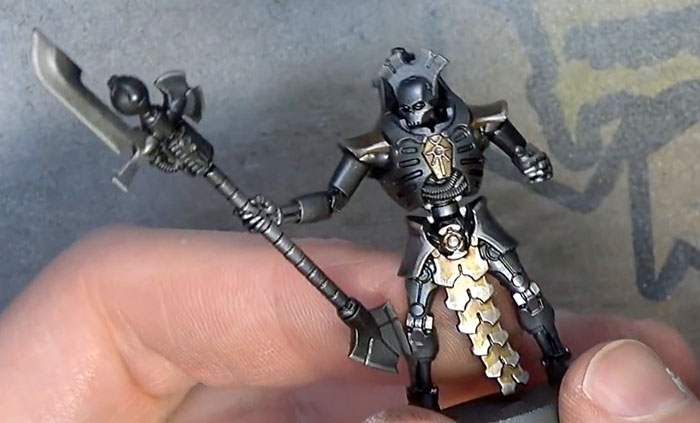
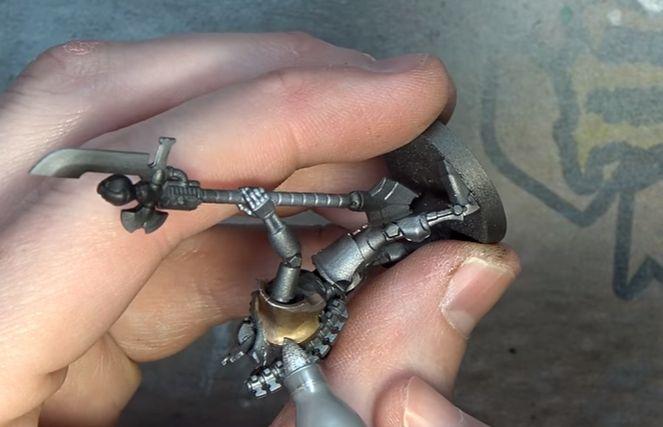
Step 3: For the final highlight we take a silver Sharpie and hit just the very edges of everything that’s gold. You can also highlight the raised edges of the metals as well, or do it after Step 4 for extra POP!
Step 4: Finally we take Citadel Nuln Oil Gloss wash, thin it with a 75/25 of water and Future floor wax, and wash the entire model from top to bottom.
Bonus Step: Wait for the wash to dry and use the Silver sharpie from step 3 to highlight the very edges of the Necron’s metal armor!
~There you have it guys. Gold trim done fast and easy!

