Warhammer 40k: Painting A Genestealer Hybrid Part 3


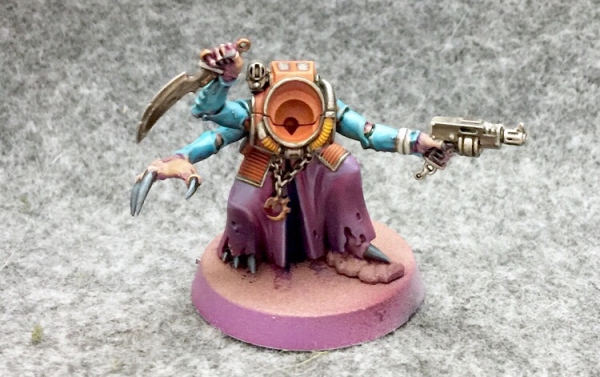
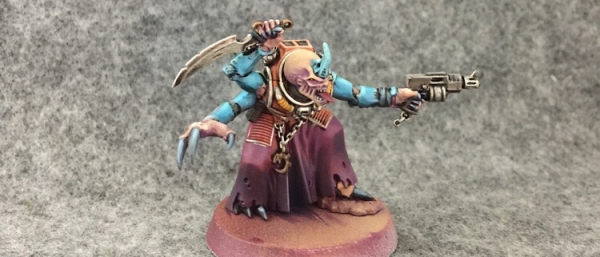
Let’s finish up this hybrid – come join GentleBen and complete the Hybrids just in time for the arrival of the Chaos Legions to Vigilus. Come, let’s paint up some GSCs step by step.
If you’re just joining us, here’s Part 1 and Part 2 of this Genestealer Hybrid Painting Tutorial. Grab a brush, a mutant xenos heretic traitor, and let’s get to it!
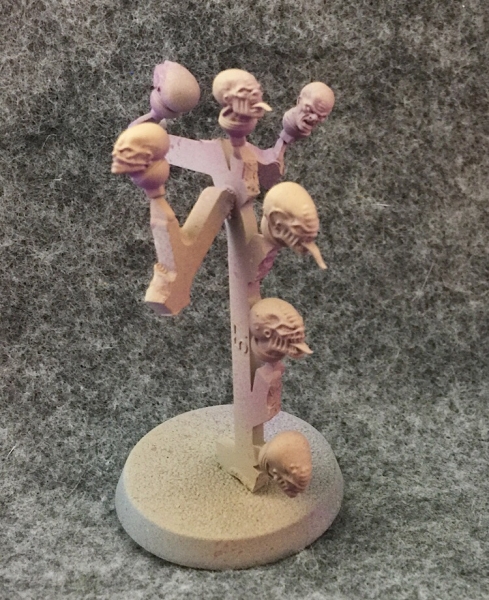
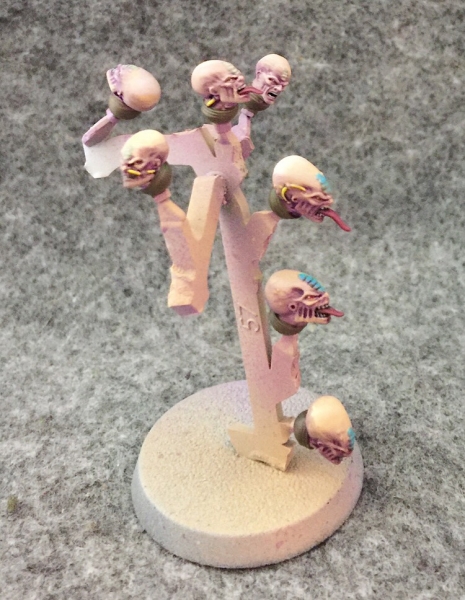
I chose to paint the heads separately. It’s not as critical with the Acolytes, but the neopyhte heads can sink pretty deep into the torsos making it tricky to get all the details.
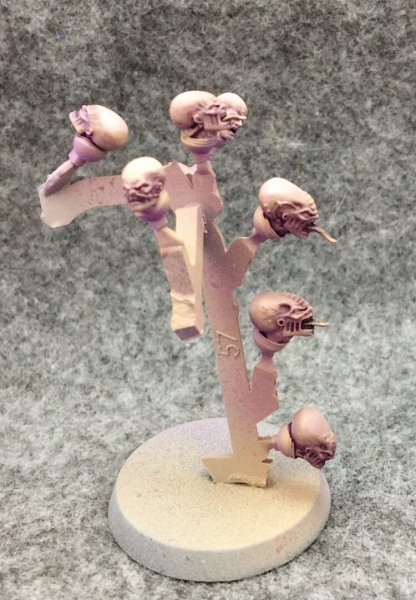
I left them on the sprues and even glued pieces of sprue from different areas together to make holding them easy. That lead to the creation of a lot of these “head trees” (just in time for the holidays no less). Each head tree got an airbrush blast of Genestealer purple as a basecoat followed by a blast of Kislev flesh from above. If you don’t have an airbrush a simple basecoat of Kislev Flesh should work ok. Or you can drybrush Kislev Flesh over purple.
Next I add some more highlights and shading.
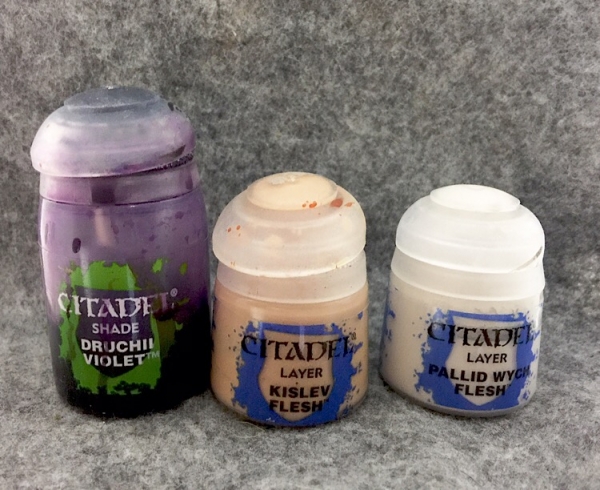
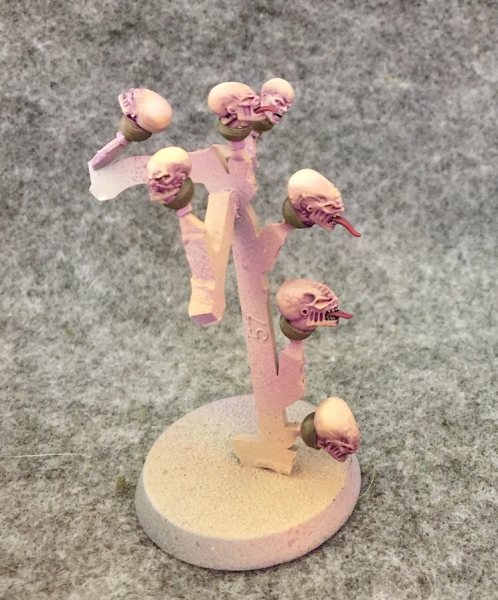
I paint a thin coat of Kislev Flesh on the top of the head and while it’s still wet I brush on some Druchi Violet into the recesses and lower areas, blending it in as best I can with the wet Kislev Flesh. It will almost certainly need to be cleaned up a bit since the Kislev may bleed into the cracks some. Mixing the violet and flesh together creates a nice midtone that can be glazed on to help with this.
Next I mix some Pallid Wych Flesh into the Kislev Flesh to add some paleness to the tops of all the heads, the eyebrows, and the tops of the cheeks.
Each eye is then painted Evil Sunz Scarlet and given a tiny dot of White Scar. The teeth are painted with Screaming Skull and the tongue with Screamer Pink. I also paint their collars with the same dark green-gray I mixed up in the last article.
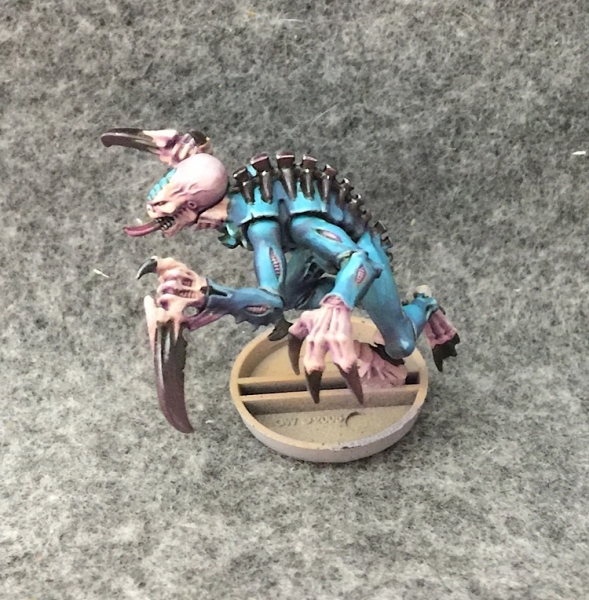
The head crests on the 1st and 2nd generation are done in the same way as the rest of the chitin: a basecoat of Coelia Nightshade highlighted with Temple Guard Blue.
The third and fourth generation are a little different. To make their mutations more subtle I paint each crest with a mix of Coelia nightshade and Kislev Flesh. Then I add some White Scar into that mix and give each ridge a highlight with this lighter tone.
For the purestrains I use the same palette but I work in more of the Pallid Wych Flesh so they seem more pale and inhuman.
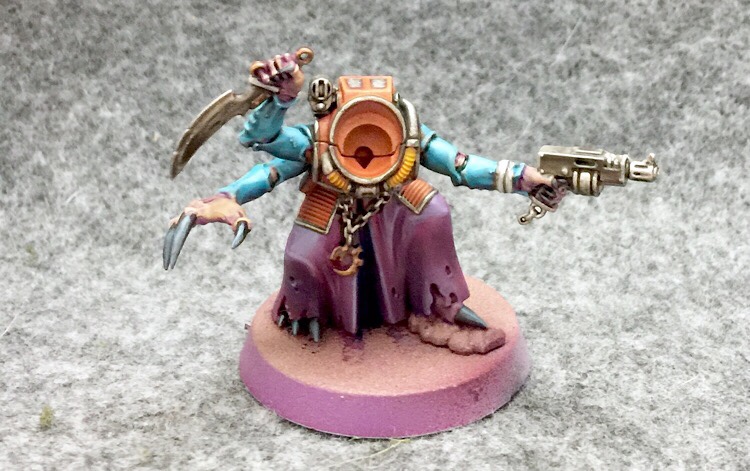
We’re finally near the end. The only remaining step is to paint the tubes and wires.
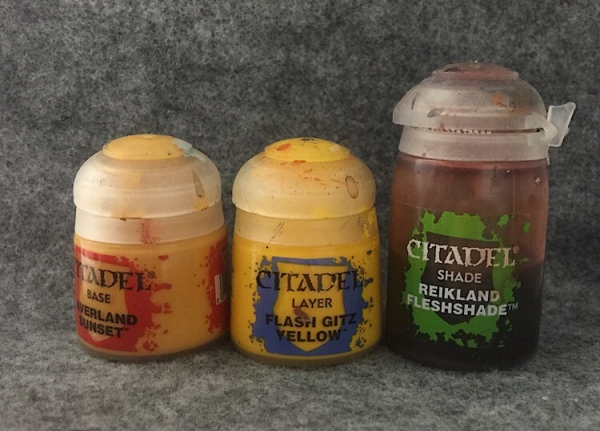
I always use Averland Sunset as a basecoat for yellow. The next step is the Flash Gitz yellow. I was able to drybrush the flash gitz onto the tubes carefully and get each segment to stand out. The wires (which you can see on some of the heads above) just get a careful line of yellow painted over the sunset base.
The last step is to give them all a thin wash of Reikland Fleshshade. This will pool around the base of each segment to help them stand out.
Then you can glue the heads on!
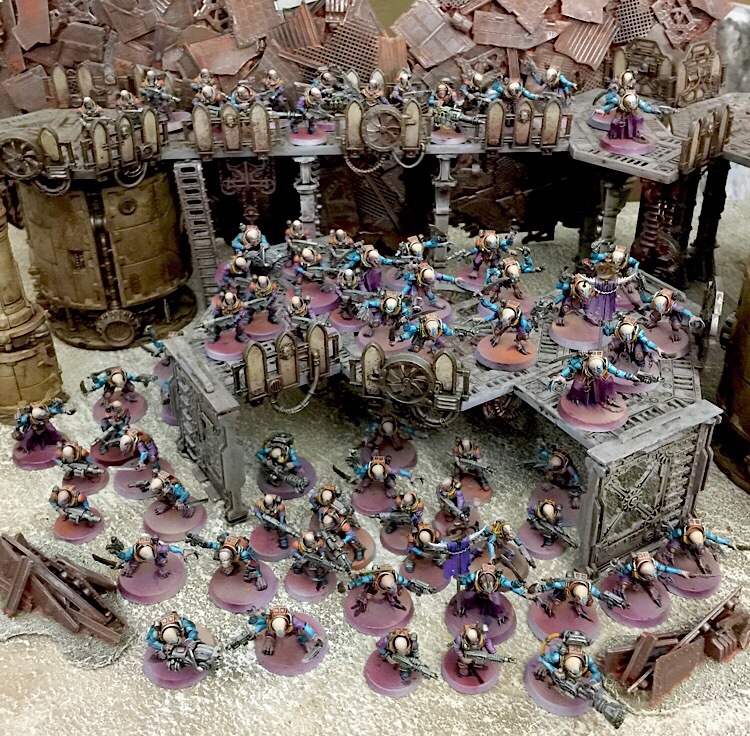
The just repeat dozens of times until you have a full swarm ready to go.
Hope you’ve been enjoying the cult articles. When I finish everything I hope to post pics of the whole army!

