Tactics: Shaltari Tribes – Battlegroup Selection
7 Minute Read
Jan 22 2015

Advertisement
The Shaltari return this week for another look at tactics. This time – Battlegroup selection.
Welcome back for the third instalment in the Shaltari Tribes tactics series. Today we’re going to discuss the proper construction and usage of Battlegroups. While this topic applies to all armies, we’re going to be looking more specifically at how proper assembly and activation order can maximize the Shaltari advantage.
1. Maximum Numbers for Efficiency
I’ve found that it is always advantageous to maximize the number of Battlegroups you bring to the table. At 2,500 points, I’ve never played with fewer than the maximum seven Battlegroups allowed. Regardless of the points limit, I will always work to maximize groups before I buffer the size of units.
There are many reasons I do this, but the biggest motivator comes in what I call reaction denial. With fewer of your total forces maneuvering and firing after each activation, there is a larger portion remaining to act later in the turn. If you opponent has a few big blocky Battlegroups, it leaves them in the dark as to the intentions of several Shaltari groups. It also leaves you with more activations once the opponent has done his wind down.
This tactic is not strictly limited to the Shaltari, but given our “make them guess” approach to warfare, the benefits are amplified. This tactic is most useful on the first turn, but it also applies throughout the game. The ability to hold your Spirit Gates and Firstborn squads until the last moment is indispensable, as it gives you the drop on the weakest enemy groups in range.
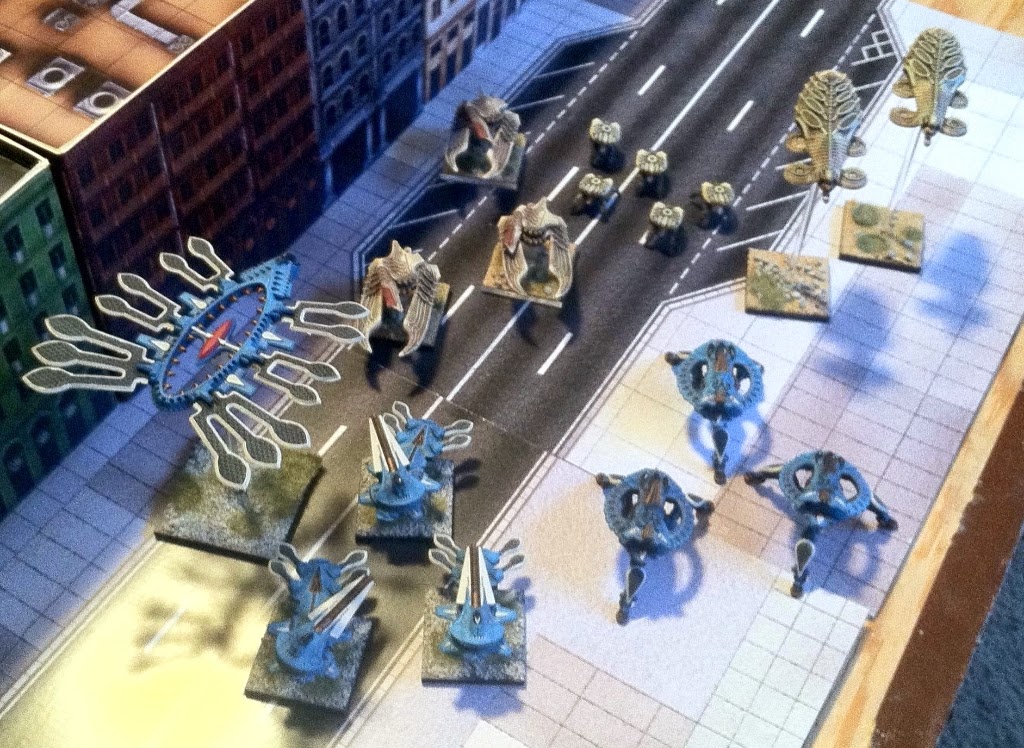
With my standard 2,500 point list, my last activation on the first turn of the game is usually either my Speartip or my Court of Elders. The idea is to wait until the enemy has deployed their fast, dangerous units. The race-specific CQB specialists are generally going to defeat Braves, so we want to see where they’re planning to make their presence known. This also allows any enemy Fast Movers who get lucky on the first turn to go ahead and buzz the table, leaving the Spirit Gates free to move about. Once the enemy specialists are in place, I will bring Spirit Gates up 15” and drop out two groups of four Yaris, moving them to midfield to swing early gambits in my favor. Given that I almost always take a CV6 Commander at 2,500, I have a very good chance of going first in the second turn. If the enemy was aggressive with their Light Dropships, there is a very good chance that my Yaris can take them down before they move further up the table. Stranded CQB specialists are dead CQB specialists.
If the mission has objectives in easy reach of my board edge, I will frequently bring in my Braves as my final activation. This means they’re not on the table to receive punishment from enemy units that might be wheeling on from the edge. If I know there are no enemy units doing so, or if I am playing a non-objective game, I will use those empty Infantry activations at the beginning of the turn as more fuel to watch my opponent’s forces deploy.
There is a caveat worth mentioning to the ideas I’m presenting here. You don’t want to break down units into smaller sizes purely for the sake of maximizing Battlegroups. I’ll cover this more under point number three below, but the idea is to create streamlined, efficient units that are as small as possible while still getting the job done.
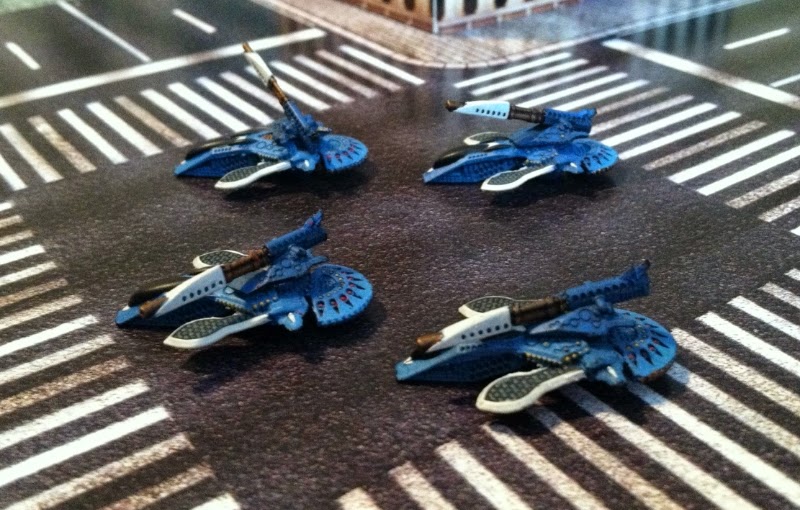
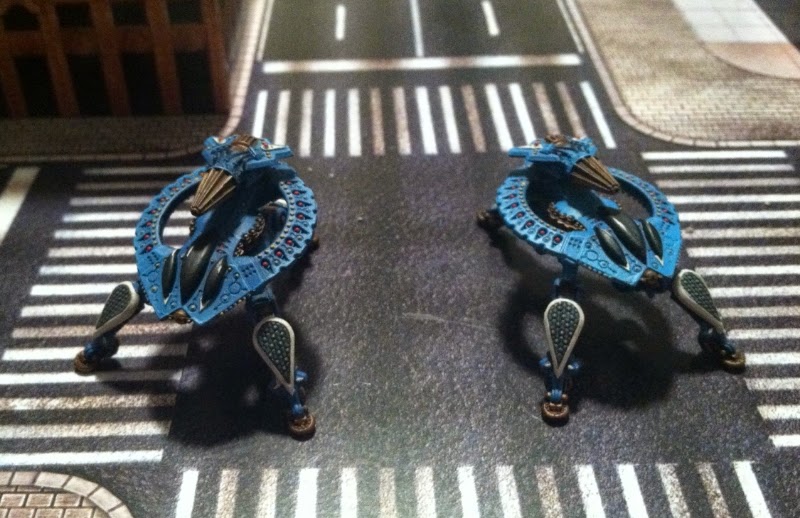
A good example of this comes in my standard Swordpoint formation that I run as backup to my Tomahawk/Kukri Battlegroup. All I put in this group are four Tarantulas. They are an easy Battlegroup to burn with no actions early in the game, and later it becomes easy to hold them for last while you watch for the enemy’s heavy hitters to rear their head. An Annihilator doesn’t want to spend the whole game in flight mode, but it also doesn’t want to come down until it can be sure no Tarantulas are waiting to spring a nasty surprise. I use this tactic most frequently against my regular UCM opponent, and it becomes a waiting game as he tries to force their deployment before his Gladius squad is committed. He has now broken them into two separate units of two, so that he can spread out and lessen the effect of my Tarantulas. Perhaps I should mimic him and run two units of two Tarantulas? Time will tell as I face his new thought process, but for now I like the ability to use my Quick Thinking card to get all four Tarantulas on-target in an out-of-sequence maneuver.
2. Order of Operations
Once your finished constructing your army list and setting up the initial plan, you have to take the ideas to the tabletop. The problem comes in the tired cliché that says, “No plan survives contact with the enemy.” This is usually true, as a plan will rarely unfold exactly as you envisioned it. Because of this, it is important to know when to activate your units, and what triggers their timely activation.
I’ve often found myself eager to jump on a unit that has just exposed itself to incoming fire. A good example is the block of nine Sabre MBTs that my regular opponent runs. When these fall from their Albatross to begin their advance, I immediately feel the urge to do them damage before they can return the favor. I run through the assets in my head that can readily move out to attack them, and then my first instinct is to go ahead with the plan.
I’ve only recently changed approach, reminding myself that the Sabres can do me no damage until the next turn. While it is a good idea to get this damage in before that happens, there is no reason I must make it my next activation. In fact, it would be better to move against his elements that haven’t yet activated this turn. As the final activations come down, I can use the Battlegroups dedicated to damaging the Sabres before they activate again.
Earlier activations should be used to save units that are in potential distress, or to maneuver to cause distress for the enemy’s units. Consideration must be given for enemy Fast Movers and their potential attack vectors, as well as quick ground units that will be able to move out and engage later in the turn. Everything should be bent to determining what your opponent will do later in the turn, and then making those actions as difficult for him as possible.
3. Apples with Apples
This last point is contentious among many players, but for me it is a standard operating procedure. Whether I am playing Dropzone Commander or Warhammer 40,000, I would rather group together as many of my similarly purposed units as possible. AT units form one or two Battlegroups, Structure demolition units together, general support units together, etc. While this approach does require a greater depth of focus as the game progresses, it also allows the Shaltari player to deliver maximum punishment to the primary target at each stage of the game.
For a quick example, let’s assume that your UCM opponent dropped nine Sabre MBTs at the middle of the table in his last activation of the previous turn. This unit is an incredibly difficult nut to crack for the Shaltari, as almost all of our AT weaponry is damaging them on a 5+. If you’ve grouped a small amount of AT into each Battlegroup, you will only be able to accomplish a few shots before the tanks get to return fire. Three Tomahawks are doing fine to knock out a single Sabre, which means the return punishment will be severe!
However, if you’ve brought a similarly focused group, you can quickly turn this situation to your advantage. This is another reason I always believe in superior commanders for the Shaltari, so that all-important Initiative roll will fall in your favor more frequently. With a single block of nine Tomahawks, plus the potential for some Tarantulas (or more Tomahawks, depending on the points level), you can quickly knock the wind from this formation’s sails, slipping back into cover once the damage is done. By doing this, you’ve delivered most or all of your AT firepower on-target before the enemy can respond. Since they were all in the same group, it also allows you to remove them from retribution, effectively giving you two turns to shoot before the Sabres can respond. Depending on order of operations, you can effectively continue to move out of harm’s way, activating the Tomahawks last and moving out to shoot, then activating them first and returning to cover.
The only exception to my “apples with apples” approach comes in the AA department. In Dropzone Commander, the important areas of the battlefield shift rapidly. There is no way to know when a key objective is going to be uncovered, or an Infantry unit is going to make a break for your important structures in an attempt to drive them out in CQB. To avoid this, I think it is important to have AA ready to activate at a moment’s notice throughout the turn. By shutting the enemy’s air power down, you are given a very good chance to seize the initiative and dictate the terms of the battle as it progresses. Legionnaires in Bears are not nearly as big a battlefield factor as Infantry in Condors and Ravens!
I hope these tactic articles are proving useful to some of you. Leave a comment to add to the tactics discussion, and check back with us next week for another tactics article.
For a healthy dose of gaming insanity, visit us at
Enter the Maelstrom.
Author: Randall Madden
Advertisement

