HOBBY: Heat-distressed Metals – The EASY Way!

Add a bit of flair to your army’s boring metal barrels. Finally a use for all these metallic paints you’ve been collecting!
Greetings Fellow Wargamers!
Caleb with White Metal Games here! And today I have a short and sweet tutorial for you!
Over the years I’ve had plenty of chances to work on heat distressed metal effects.
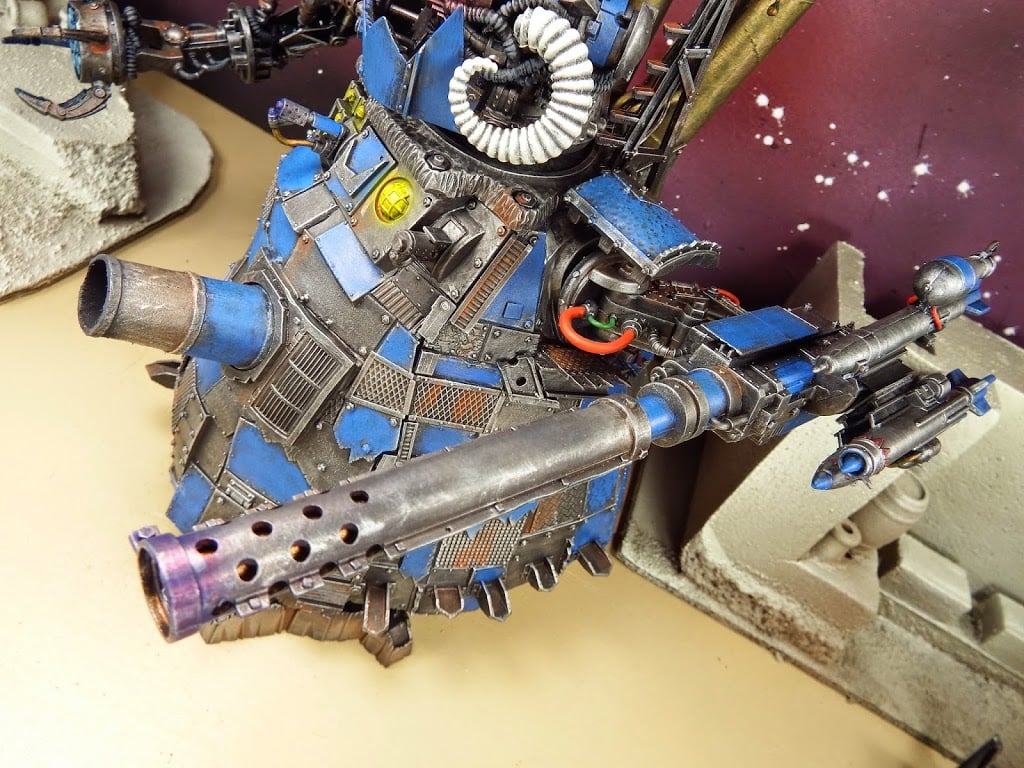
I’ve tried pigments and weathering powders, such as on this Custom Big Mek Stompa, below.
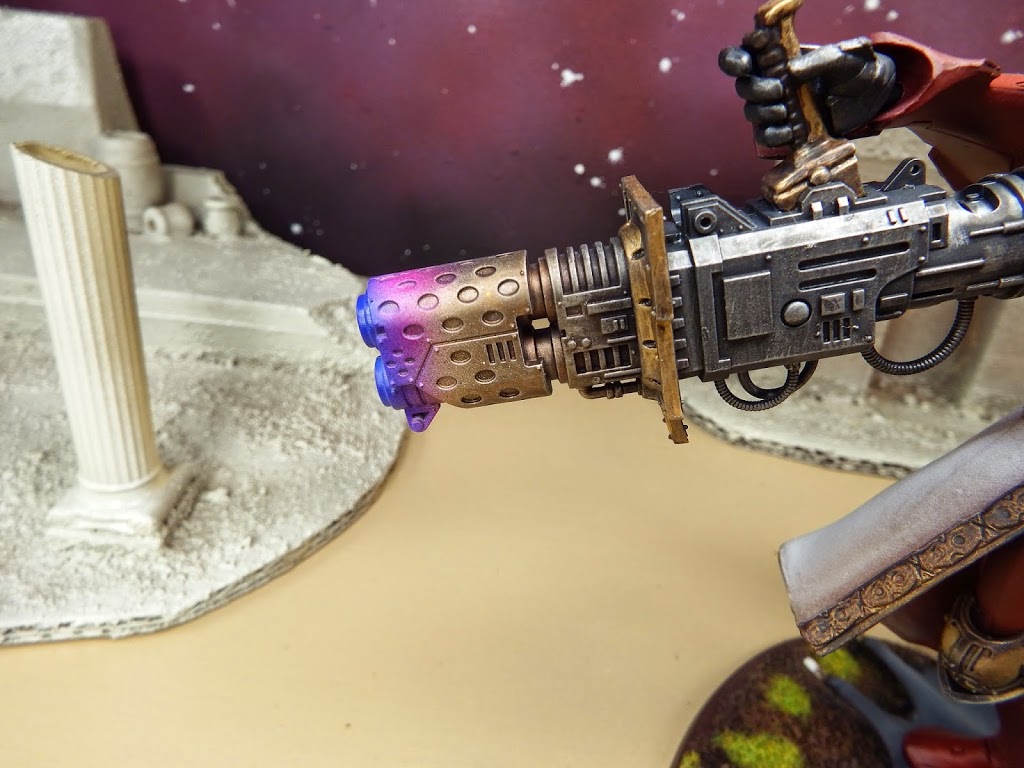
I’ve tried Ghost Tints, such as seen below on this Adeptus Soritas Knight.
 Each has their advantages, but a thought occured to me the other day . . . why not use metallics to represent distressed metal? I have all these pearlized paints from my early airbrushing days just sitting around . .. why not put them to good use!
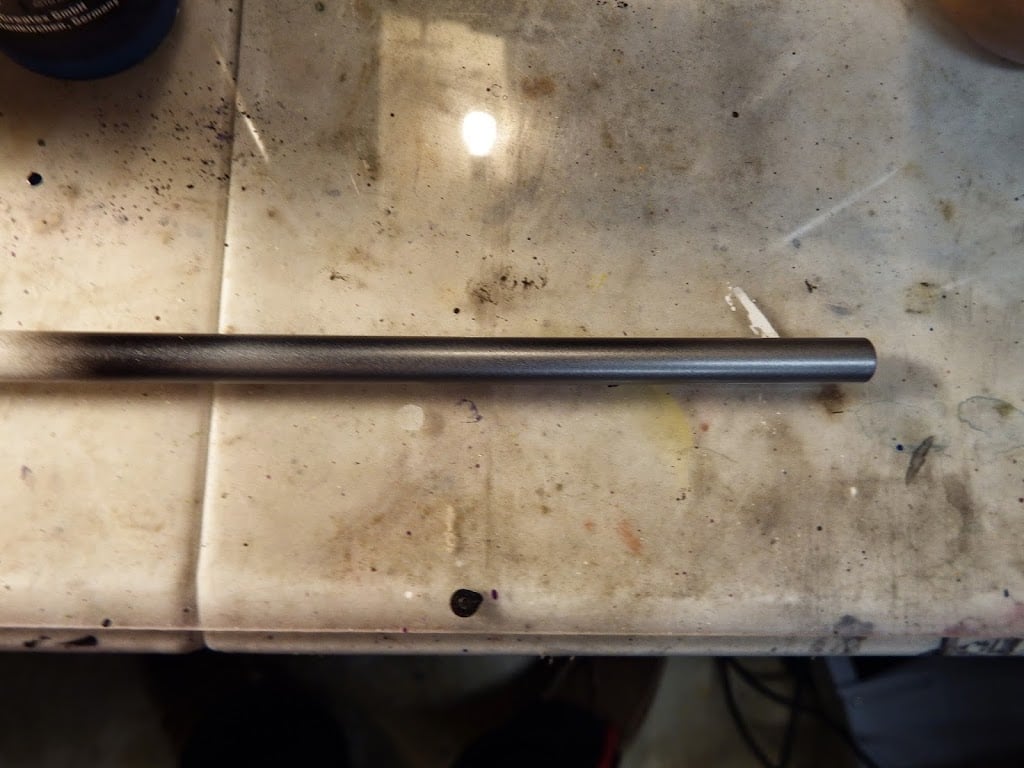
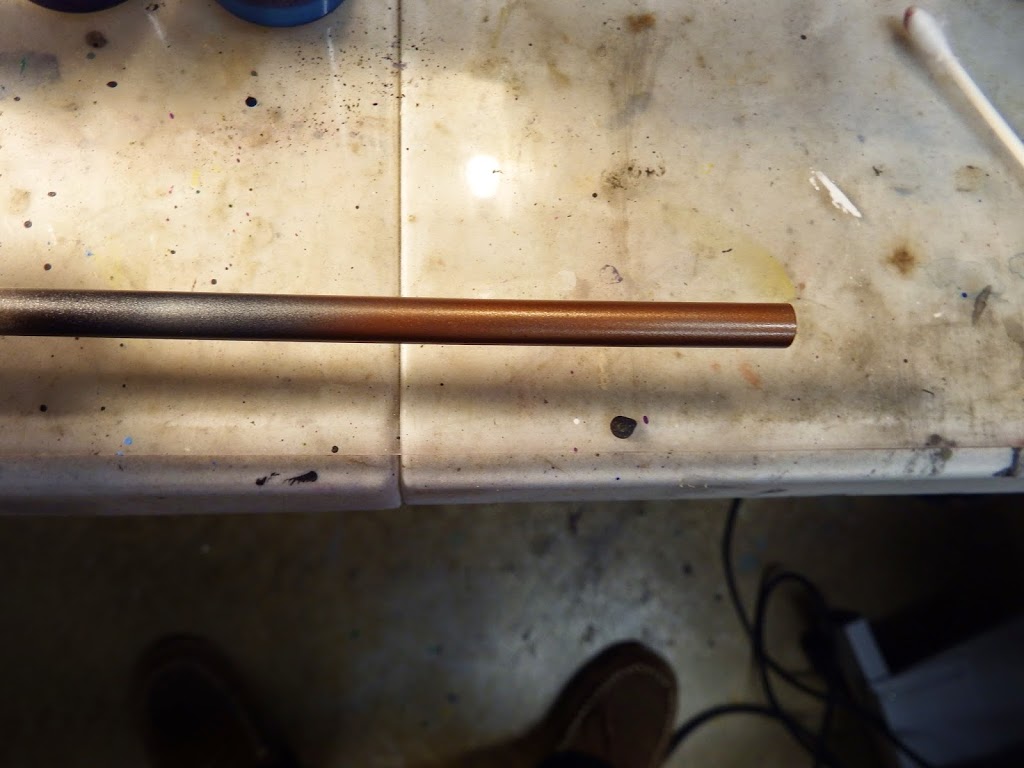
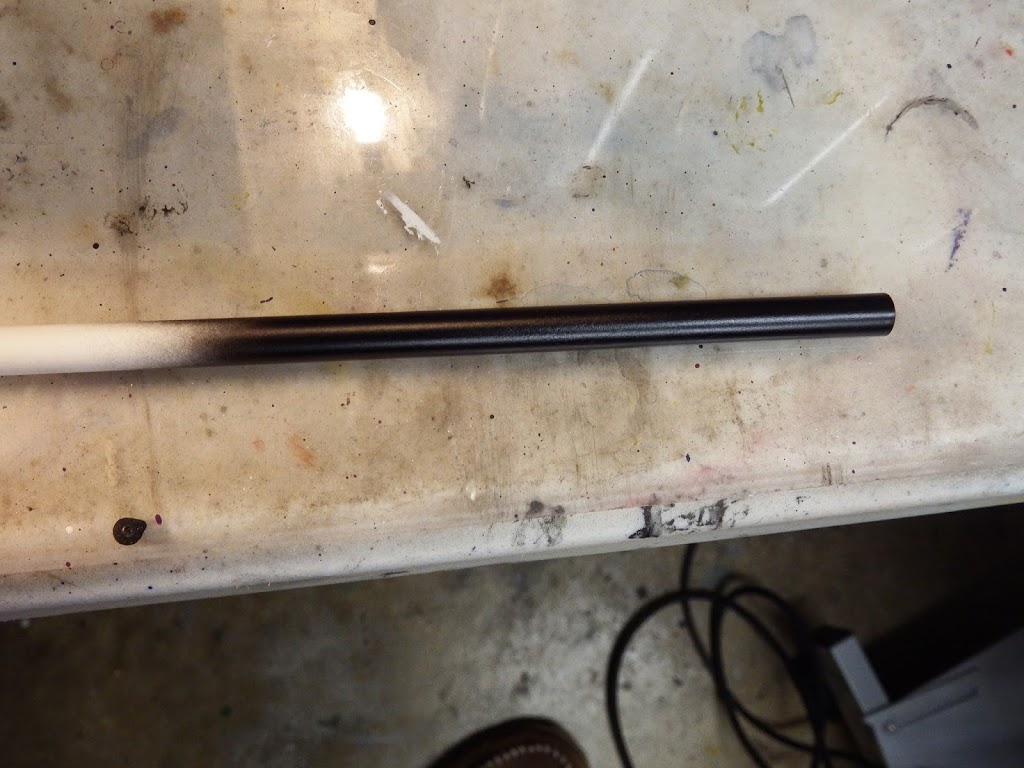
Prime black, then basecoat with a gunmetal type color. I used Vallejo Model Air Gunmetal for this. Bear in mind when using metallic airbrush paints, the metal flakes will often clog the airbrush, so thin the mixture down slightly and be sure to clean the airbrush well after use to avoid any dried metallic flake left over in any component of the airbrush.
Next lay down a warm metallic color. I used Vallejo Model Air Rust, because it’s a warm copper like metal color. I think gold or copper would be fine, depending on the effect you are going for, but I’m really digging VMA Rust at the moment! Just be sure to leave some of the original gunmetal color showing, since you want to indicate where the heat effect begins!
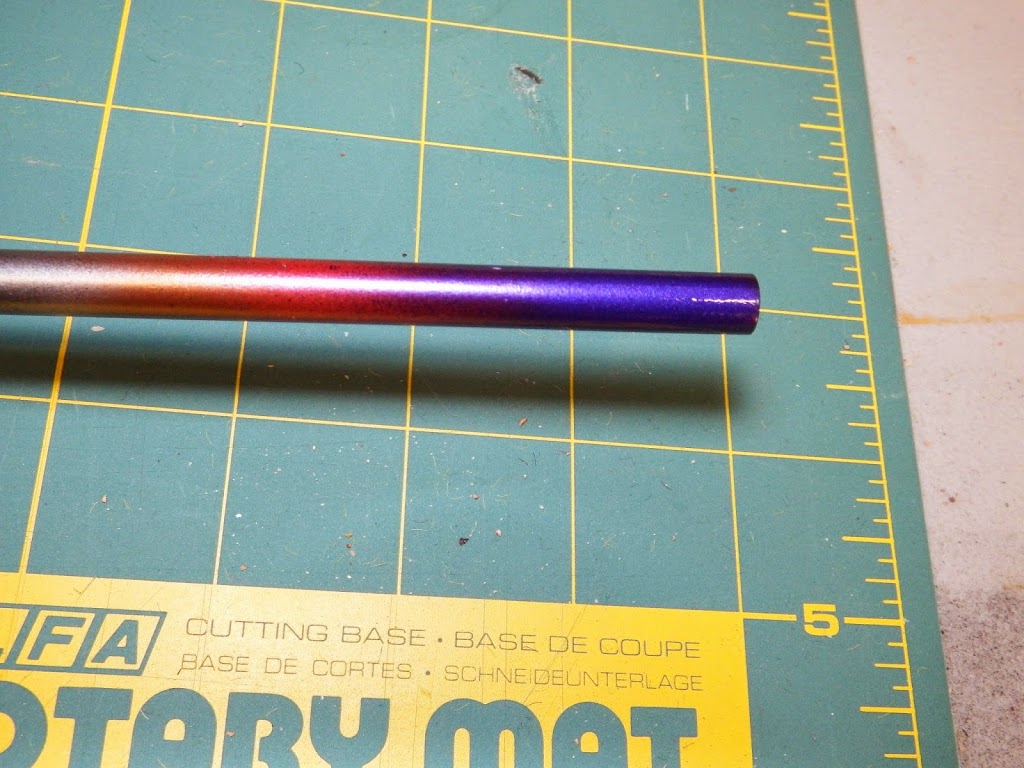
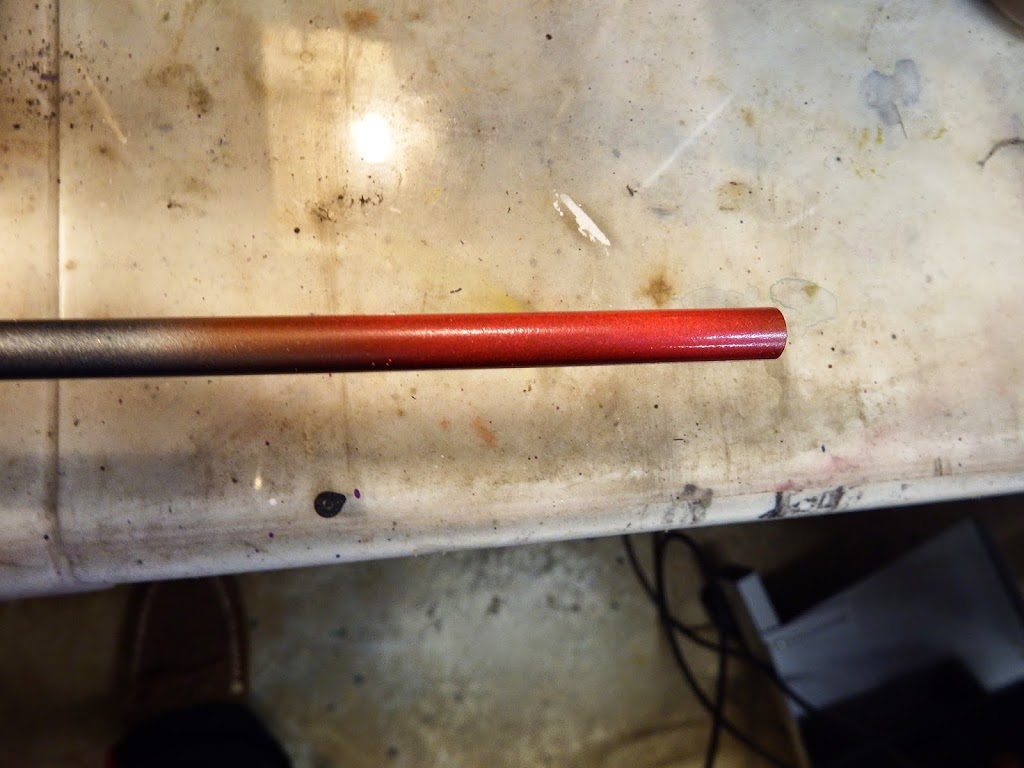 Next, lay down some Red Metallic. I used Createx Pearlized Red. It’s a bright bold, red! Createx makes some great airbrush paints, and why they aren’t used by the wargaming community more is a mystery to me.
As before, be sure to leave some of the underlying color shining through. Airbrushes are great for blending, since the outer edges of the spray cone are by default a thinner spray that your targeted area. So just go light on the end and you should be fine.
Next, apply some Purple Metallic. I used Createx Pearlized Purple (seeing a trend here yet). The purple blends really reall with the red from the next step, and being a natural color progression from red to blue, you’ll see how easily this blends in the next step.
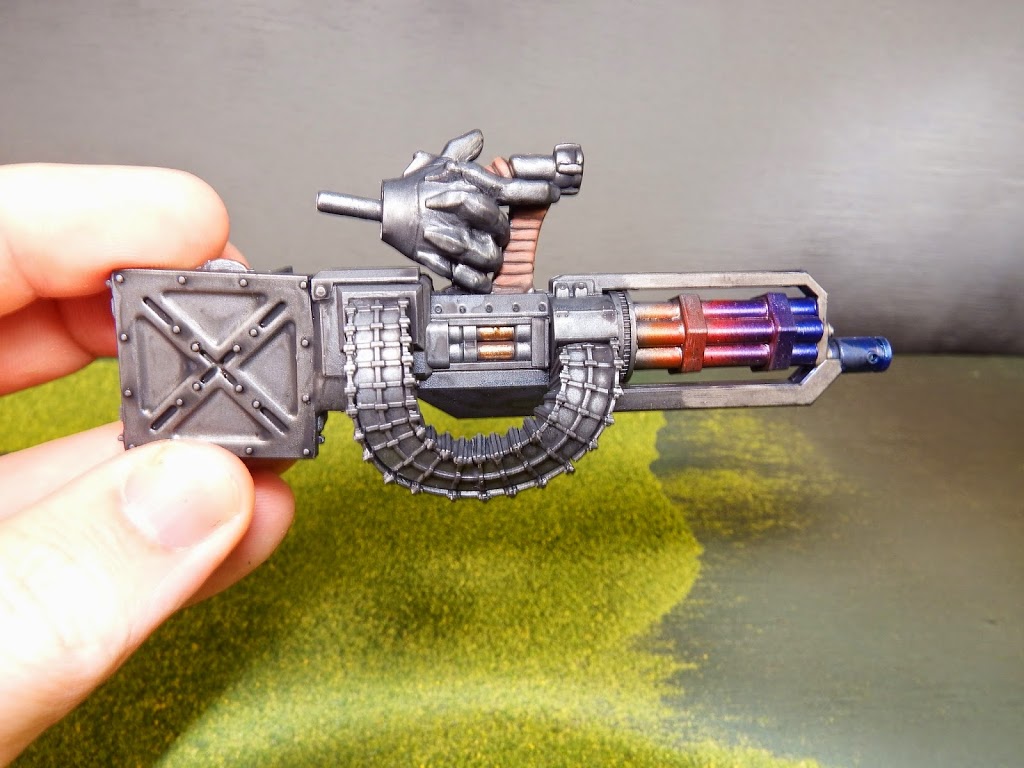
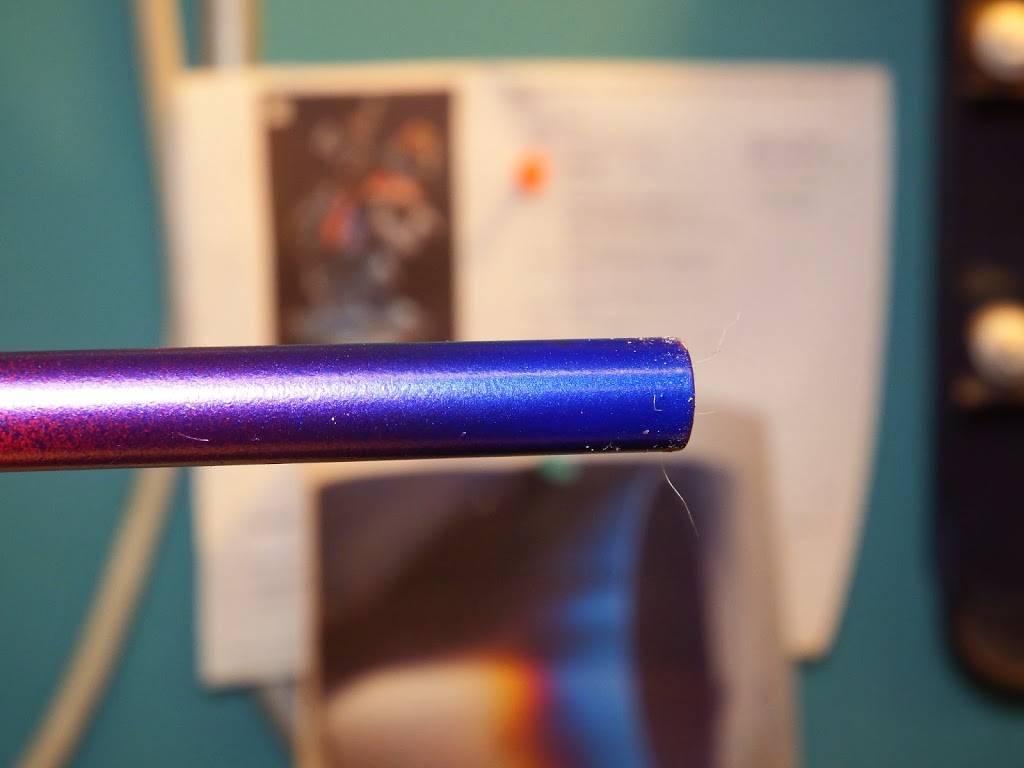
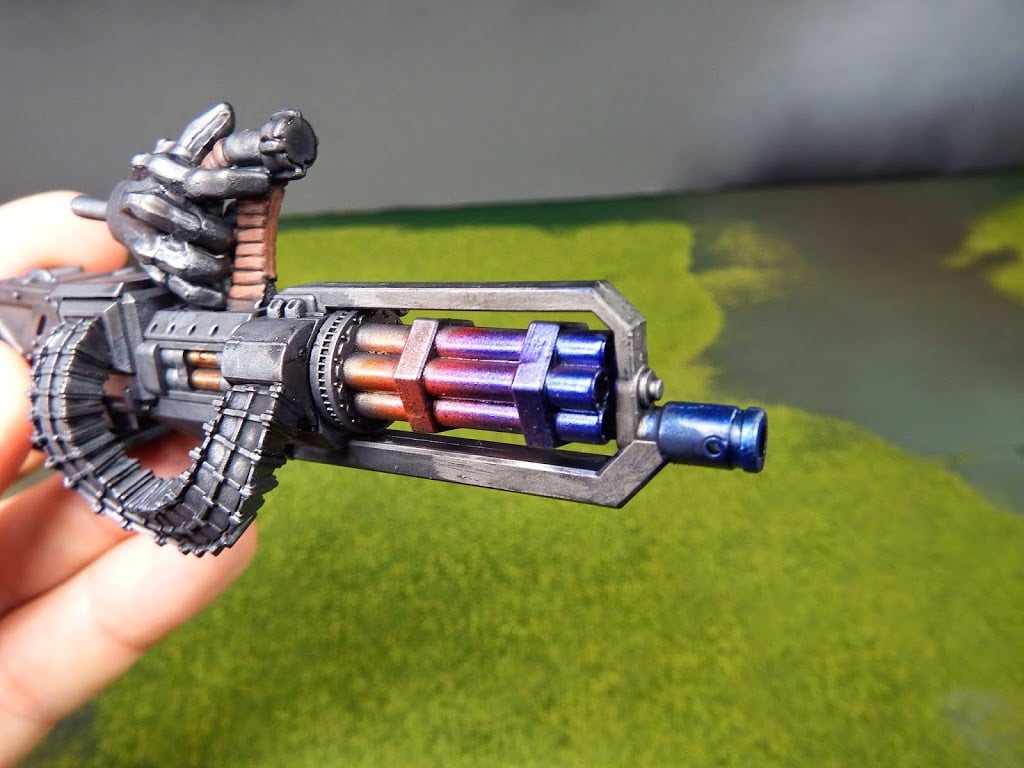
Finally, apply some Blue Metallic. Guess what I used? Createx Pearlized Blue. 10 points if you guessed it. In the background you can see a heated metal picture of a car engine I used as a reference point for this tutorial. To see an actual example of this effect in action, see the pictures below.
Breaking up gun barrels with a slight heat effect is a wonderful way to add a little color to a normally otherwise dull part of most models. Imagine Tanks and Cannons with heat distressed barrels trundling around the battlefield. This is an easy way to distinguish your favorite vehicles without spending a great deal of time or energy on the project.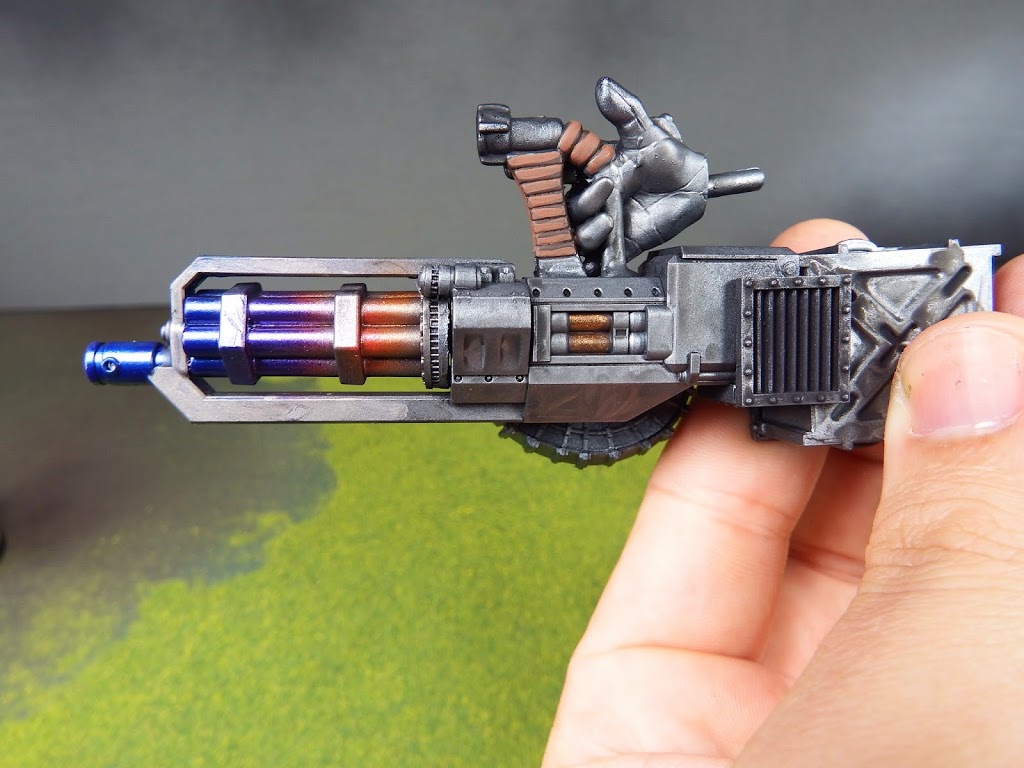
If you found this tutorial at all useful, be sure to Like Us on Facebook! It really does help!
PS: No sooner had I finished this tutorial then I came across this incredible video tutorial by Savage Forge Minis. His tutorial is slightly different than mind, including the good idea to add some soot to the weapon tip. I guess great minds think alike. Way to go guys! Be sure to check out all their fabulous video tutorials while you are watching the above vid.
Until next time, put your Minis Where Your Mouth Is! Caleb, White Metal Games

