HOBBY: Let There Be Light! – Making a Fire Prism Glow
When Rob (MBG) asked me if I wanted to try out my modeling skills with the new PoweredPlay Gaming LED lighting kit, I jumped at the chance. Time to light up a Fire Prism!
I love modeling and converting the entire range of Warhammer 40K kits so I chose an Eldar Fire Prism because it has plenty of clear plastic parts that would lend itself to the lighting effects of the PoweredPlay kit.
My first thoughts were to illuminate both weapon crystals, both cockpits, engine exhausts and several of the ‘jewels’ on the model. But after looking at the kit and the nature of the LEDs, I decided to forego illuminating the jewels and just focus on the weapon, cockpit and exhausts (I didn’t want it to end up looking like the Griswald house at Christmas after all).
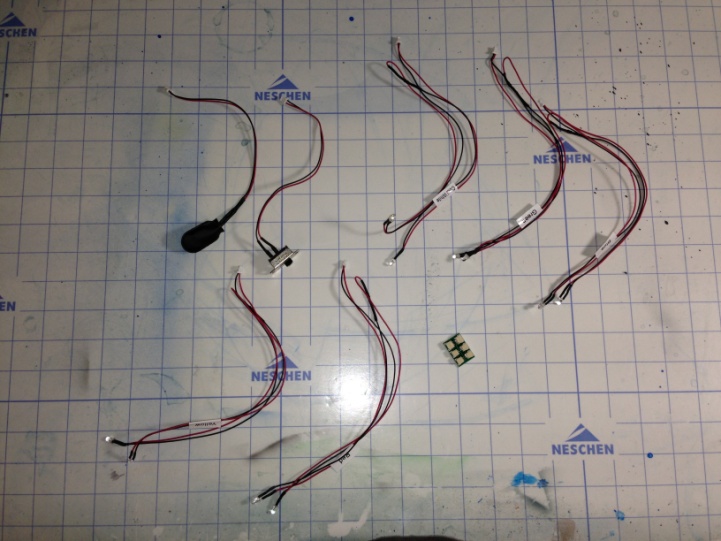
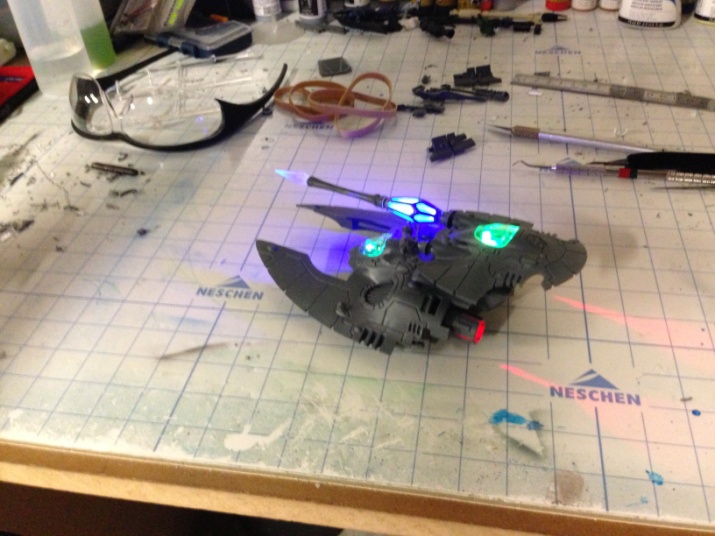
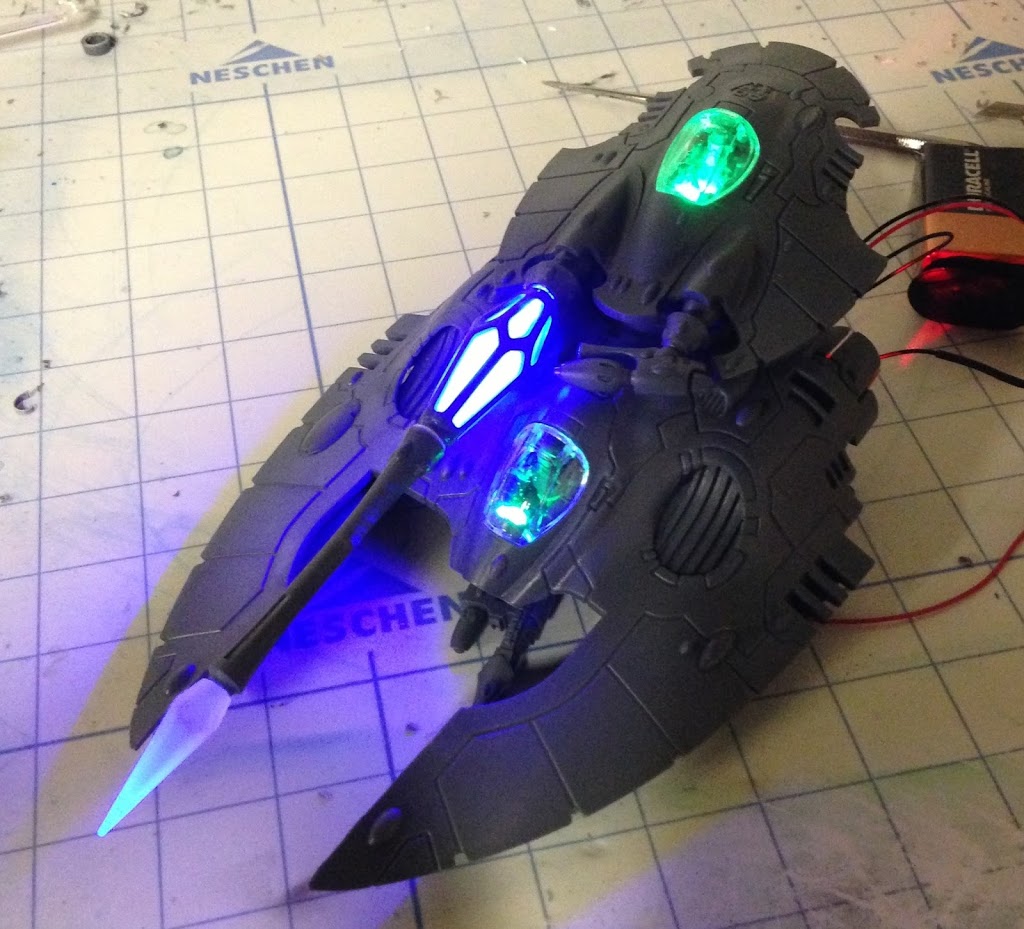
Opening the PoweredPlay Alpha Kit revealed the circuit board with sockets for battery lead, switch lead and four LED leads. I noticed that each LED lead has two LEDs wired onto it in series so that would give me exactly what I needed to illuminate both weapon crystals, both cockpits and both engine exhausts in their own colors- blue for the crystals, green for the cockpit and red for the exhausts. I know what you are thinking- blue and green don’t play well together on the color palette, but I wanted a bit of diversity in the lighting. The other options in the kit were white and yellow LEDs and neither of those grabbed me as a great option for any of the effects I wanted to create.
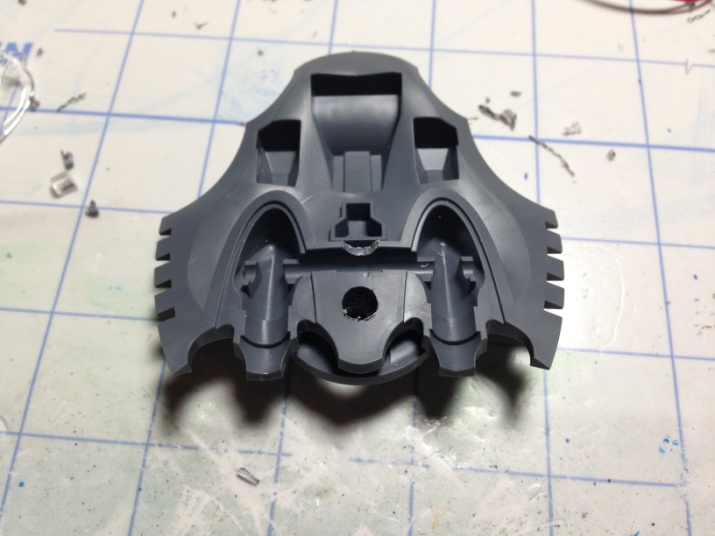
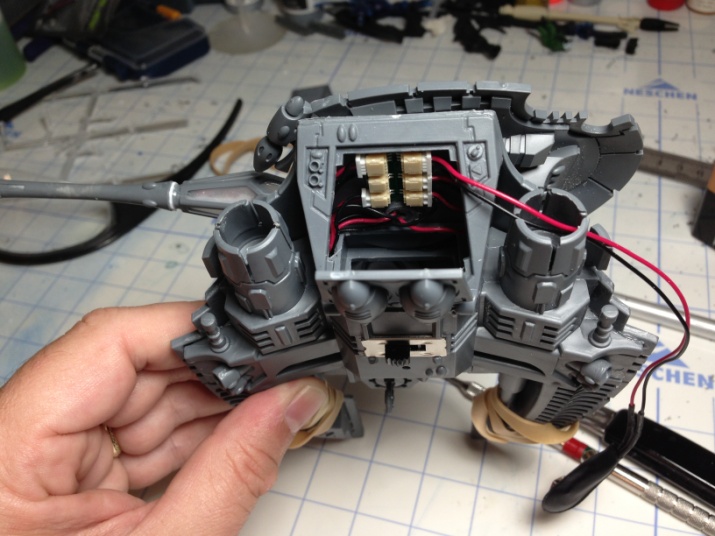
I wanted to keep the model as clean as possible and didn’t want any exposed wires running down a flight stem or anything like that. Looking at the hull of the Fire Prism, the obvious choice for battery mounting is the passenger compartment. With a little simple cutting, the space was perfect for the required 9v battery. The floor of the passenger compartment has a perfect section for mounting the power switch and required a simple cut-out and a little hot glue to fix it in place (I did compromise on my clean look by having the switch exposed on the belly of the model).
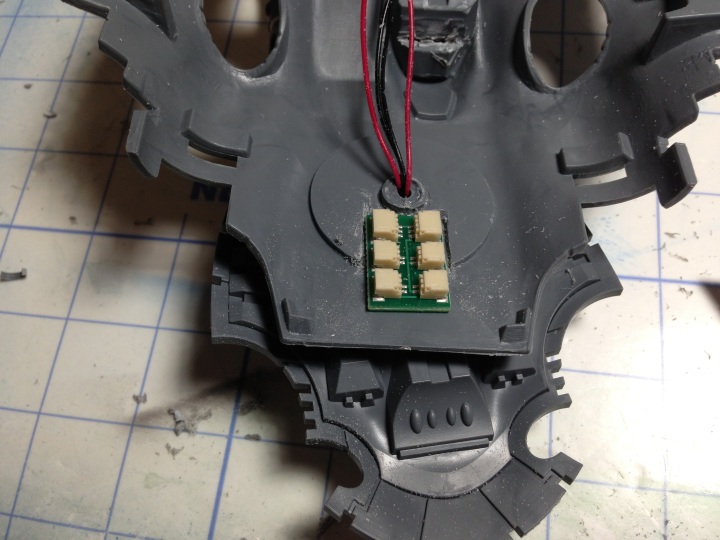
The circuit board posed a slightly more challenging mounting problem. The 9v battery takes up nearly all of the available space in the main hull compartment so a little creativity and space management was required to mount it where all the leads can be easily routed into it without stressing the wires on each lead with excessive bends or kinks. I noticed that the roof of the rear cabin area has a little space left after the battery is in place, and with a little Dremel shaving just aft of the turret pivot hole, I could create a great spot for the circuit board that would allow the leads to run freely to it while keeping it accessible yet still making the battery easy to replace.
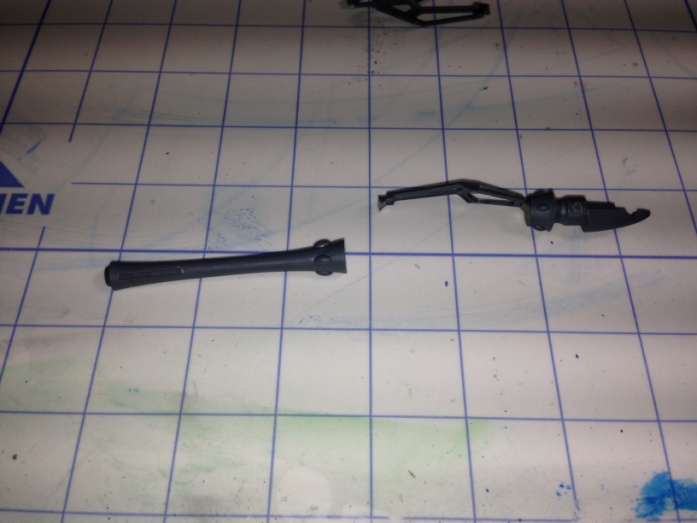
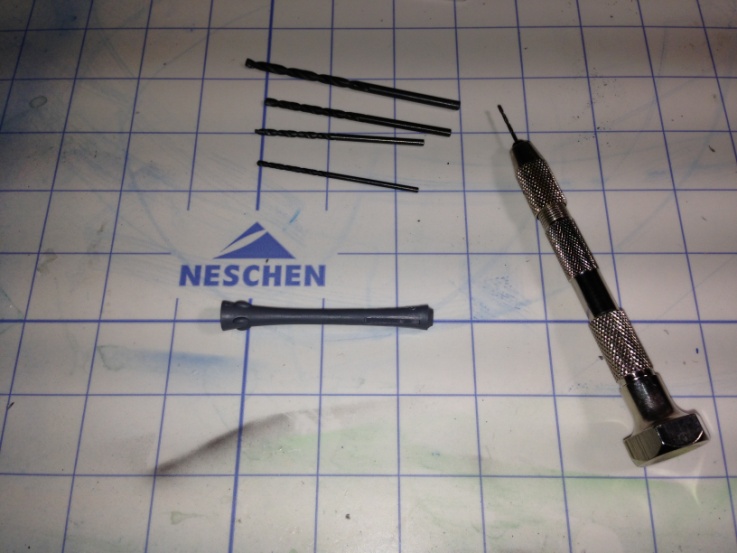
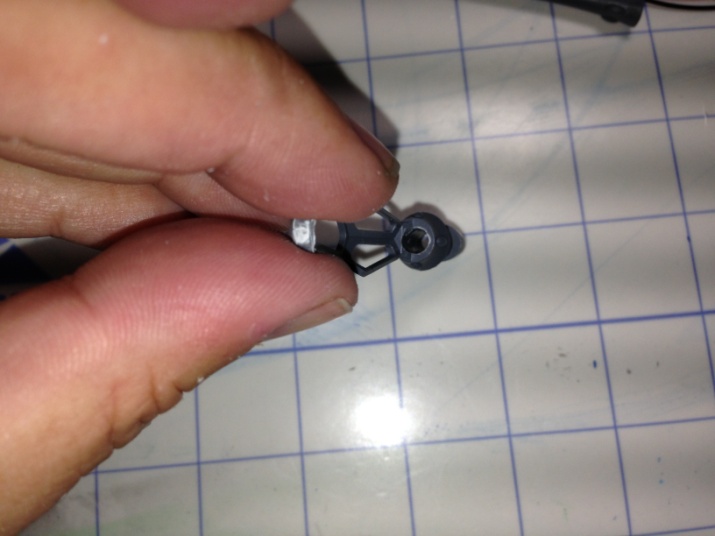
This allowed me to drill through the barrel without worrying about breaking the delicate crystal support structure. Drilling through the barrel was a challenge in itself though. I can’t stress enough the importance of starting with a small drill bit and stepping up in gradual stages until the hole is large enough (and accurate enough) for your needs. I needed to use a bit that was just slightly smaller than the diameter of the barrel in order to make the hole large enough to let the full force of the LED light through to the end crystal itself (the LED itself is just too large to fit through any hole I could ever hope to drill through the barrel).
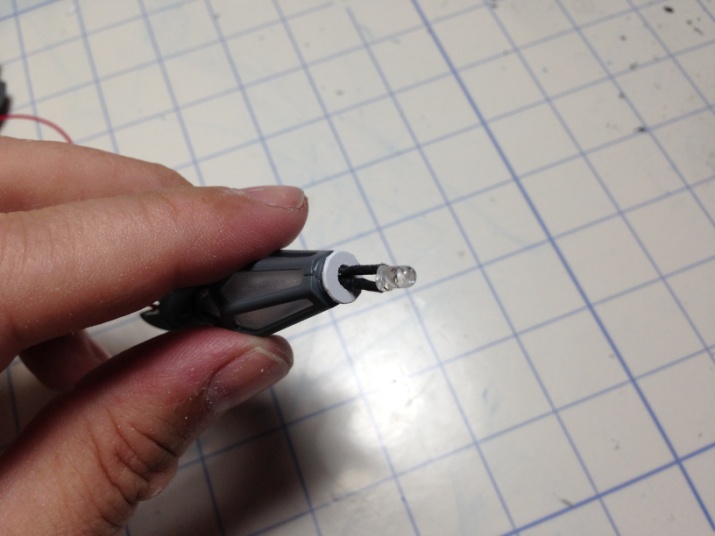
This means you have to be very patient and accurate that you drill through the barrel as close to dead center as possible. It also means the barrel will end up having a thin wall and will be somewhat delicate. I ended up filing down the lip on one of the LEDs so I could pass it through the crystal and into the end barrel section a short way, allowing as much light as possible to the tip crystal. (Safety note: the LEDs appear to be glass, and glass dust = badness for your lungs and eyes so use safety glasses and a mask if you are going to file down the glass lips of the LEDs)
The other LED I mounted at the base part of the center crystal after drilling a large hole (starting with a small bit and working up again) through the weapon barrel’s base section.
When re-attaching the barrel sections, there was not much material left to glue together due to the size of the holes I had to drill, so I made a little plasticard ‘washer’ to re-create sufficient gluing surface area.
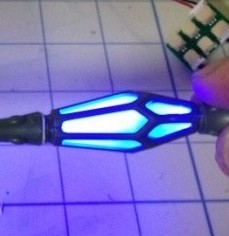
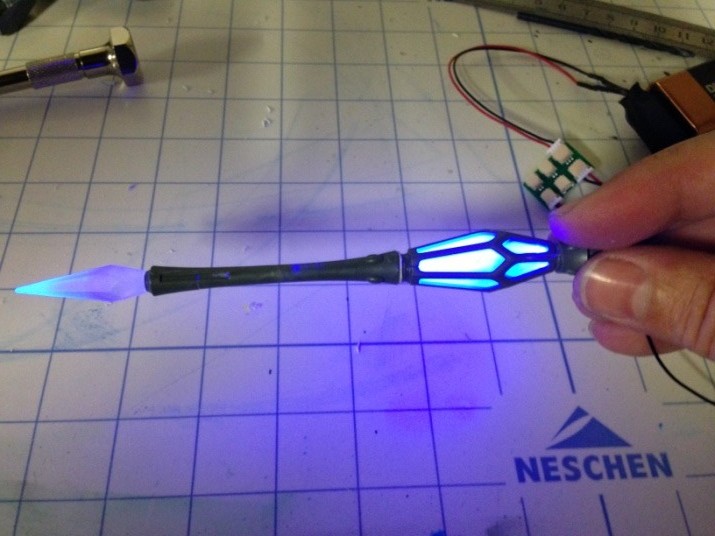
I found that spraying the crystals with dullcoat dramatically increases the light dispersion from the LEDs across the crystal surface and greatly enhanced the effect I wanted for the crystals.
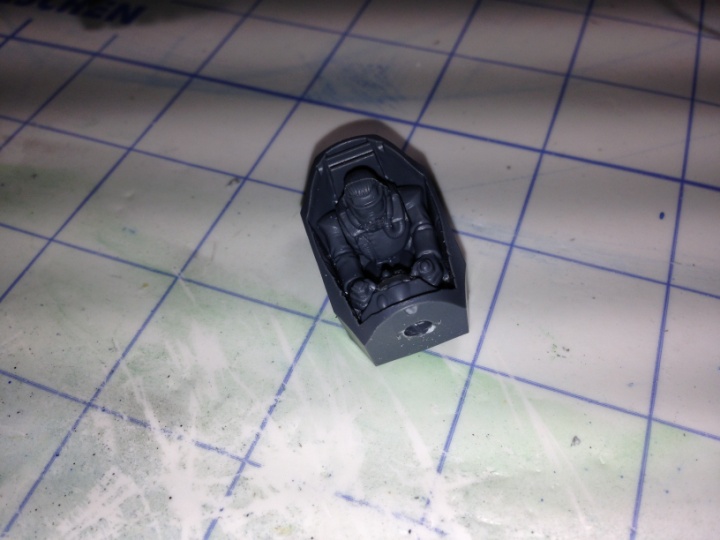
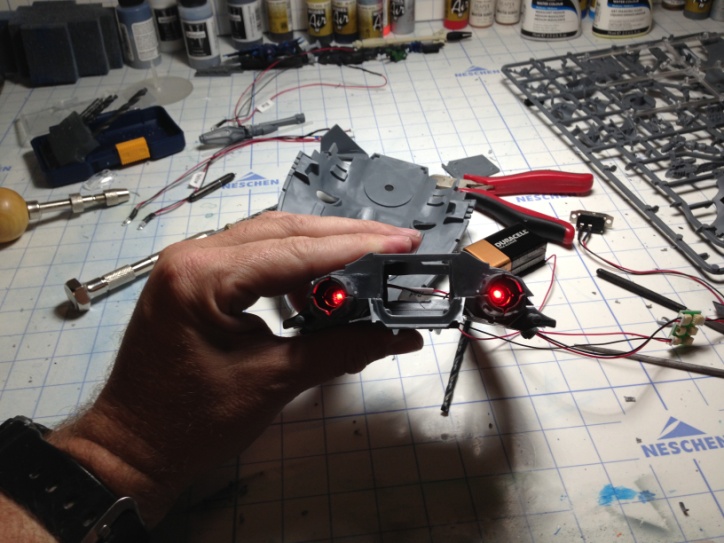
The cockpits were a slightly easier problem to solve for lighting. I wanted the sensor screens in each cockpit to glow and also wanted a ‘general glow’ throughout the cockpit. I drilled and cut out the display screens on each crew’s dashboard and inserted a section of clear sprue (from the Fire Prism kit) into it since they transmit light nicely. I filed and scuffed the end of the new sprue ‘screen’ to create a similar effect to that of the weapon crystals so it would look like the screens were uniformly backlit.
It also required some creative routing and minor carving to get the wires where they needed to go efficiently and with minimum stress on the electrical connectors. There is a bit of extra wire length that you will have to bundle up and stuff into empty space. But that extra wire length is very nice when you are working with the routing of the leads. Once I began to glue the turret hull together, I just stuffed it around the back of the cockpit and hot-glued it in place.
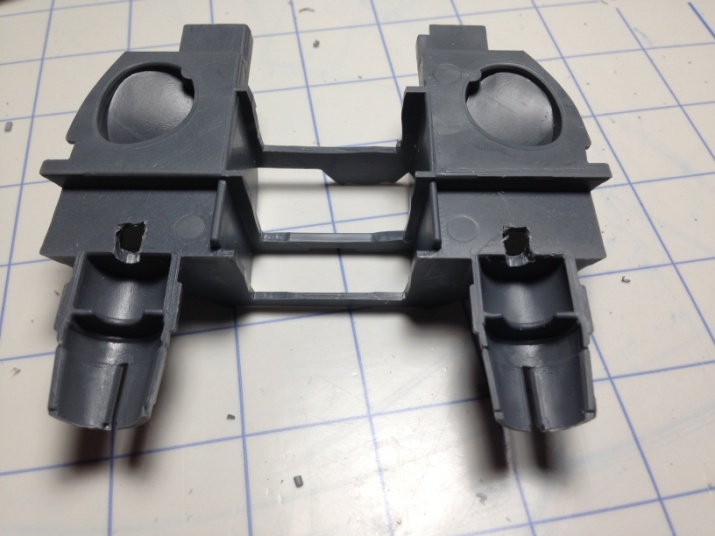
The exhaust LEDs were the simplest to mount. After drilling and cutting a hole for them, I mounted them centered in the ‘front’ wall of the exhaust section and hot glued them in place along with all the extra wire I didn’t need (I had absolutely no desire to cut the leads to length and re-solder them…).
In order to run all the leads to the circuit board, I cut pass-thrus from the passenger compartment into the ‘engine areas’. This was required because the battery takes up all the available room in the main compartment and would not allow the volume of wiring to pass through. Once this was done, I routed all the wires to the circuit board and op-checked everything.
Lastly I glued the lower hull sections together and added all the ‘fiddly bits’ like shuri-cannon, antennas, jewels and the Fire Prism vehicle add-ons. Overall I was pleased with the effect (despite blue and green not playing well together). The PoweredPlay Alpha Kit is excellent and very easy to use. As I said before, the Alpha Kit has a variety of colored LEDs (red, yellow, green, blue, white). The LED leads were plenty long enough for this project and all the components were small enough to feasibly fit in the Fire Prism’s available spaces (just barely). At the end of the project, I would say this level of customization is not for the novice modeler though (at least not on a Fire Prism).
Much of the cutting, drilling and wire routing was what I consider to be ‘varsity’ modeling that requires a wide range of hobby tools and techniques (and a bit of engineering background helps). A larger model such as a Baneblade or other super-heavy sized model would be much easier to wire up for illumination, although this project was still within my moderate capability.
Likewise, Rhino varients, Valkyries, Stormravens, Leman Russes, etc ,etc would all be easily wired up with this kit. I give Chris at PoweredPlay a big thumbs- up and thanks to MBG for the chance to try out this cool new option for 40k modellers!
Cheers!

