Hell Dorado: Painting a Blessed Warrior

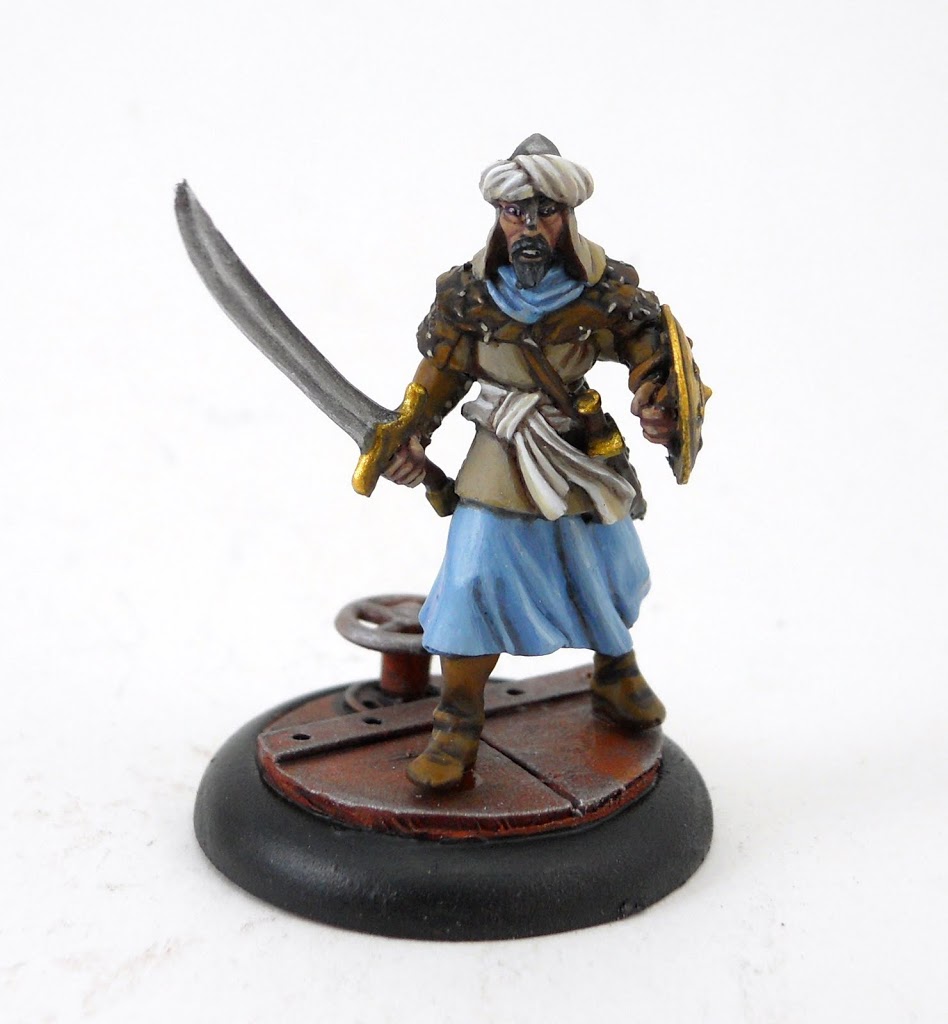
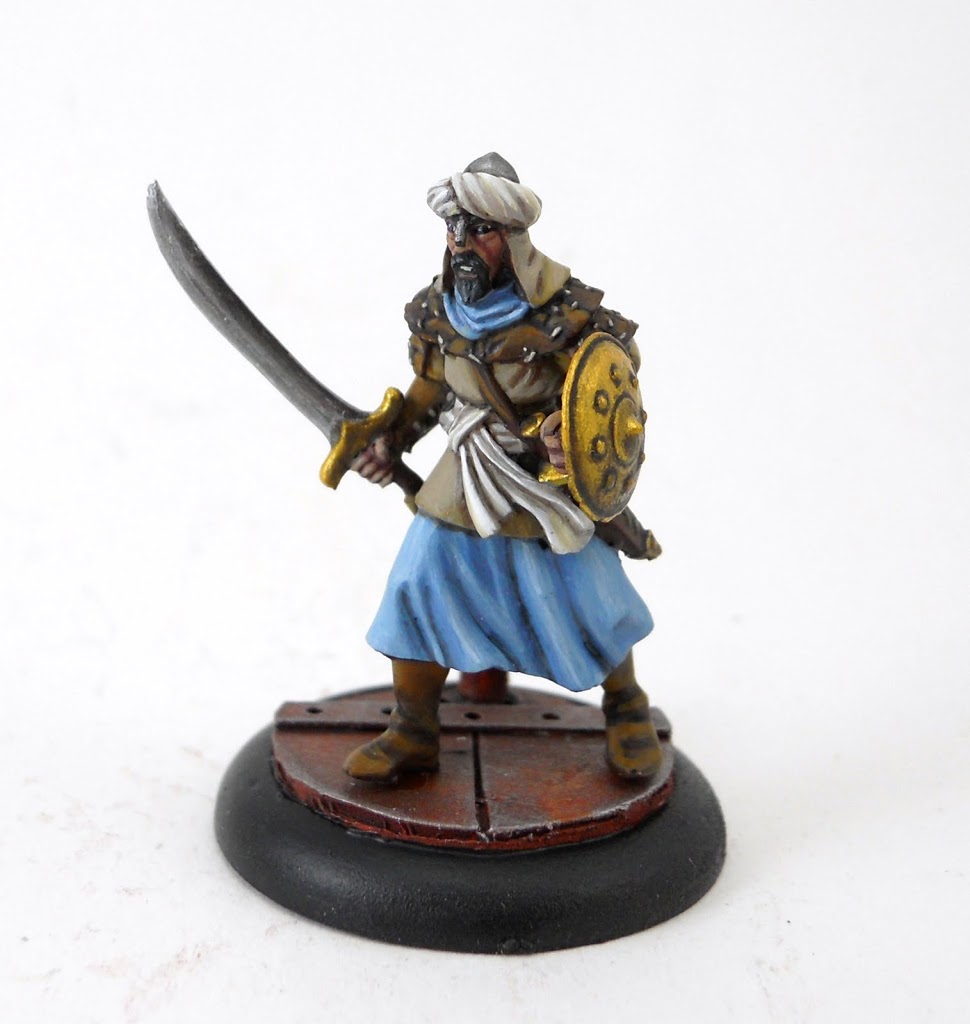
So I finally finished the Warmachine projects I had on my painting table and was able to move on to my latest venture: my Hell Dorado Saracens.
I went with some fairly safe color choices, picking tones that I thought would fit the subject well. Mostly Earth tones with some nice blue accents.
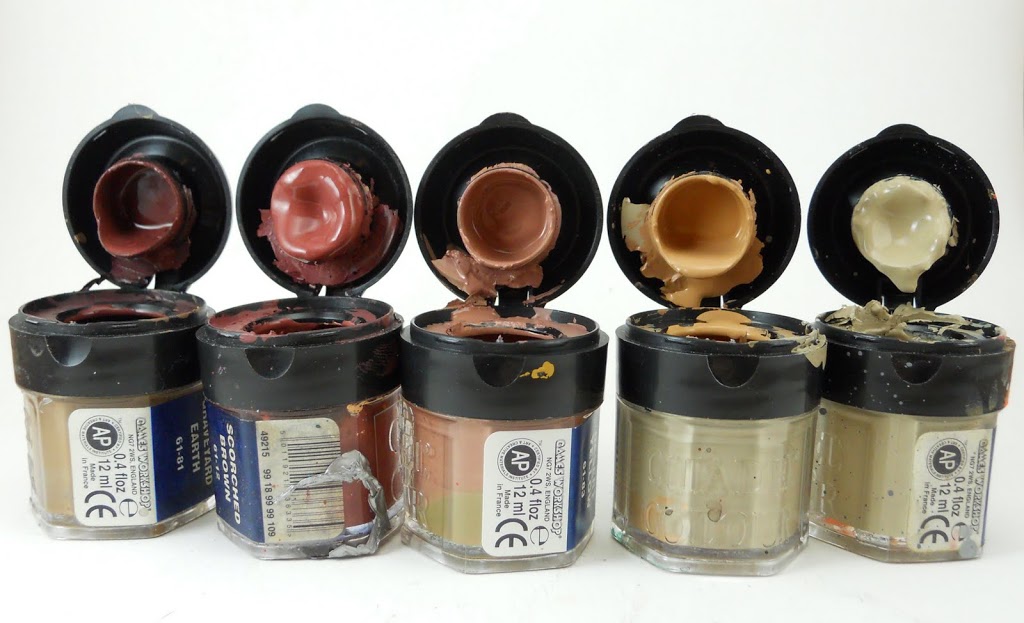 I started, as I usually do with the skin tones. My gradation here is somewhat similar to the one from my Lord Carver painting article, but with less emphasis on pinks and more on oranges and browns.
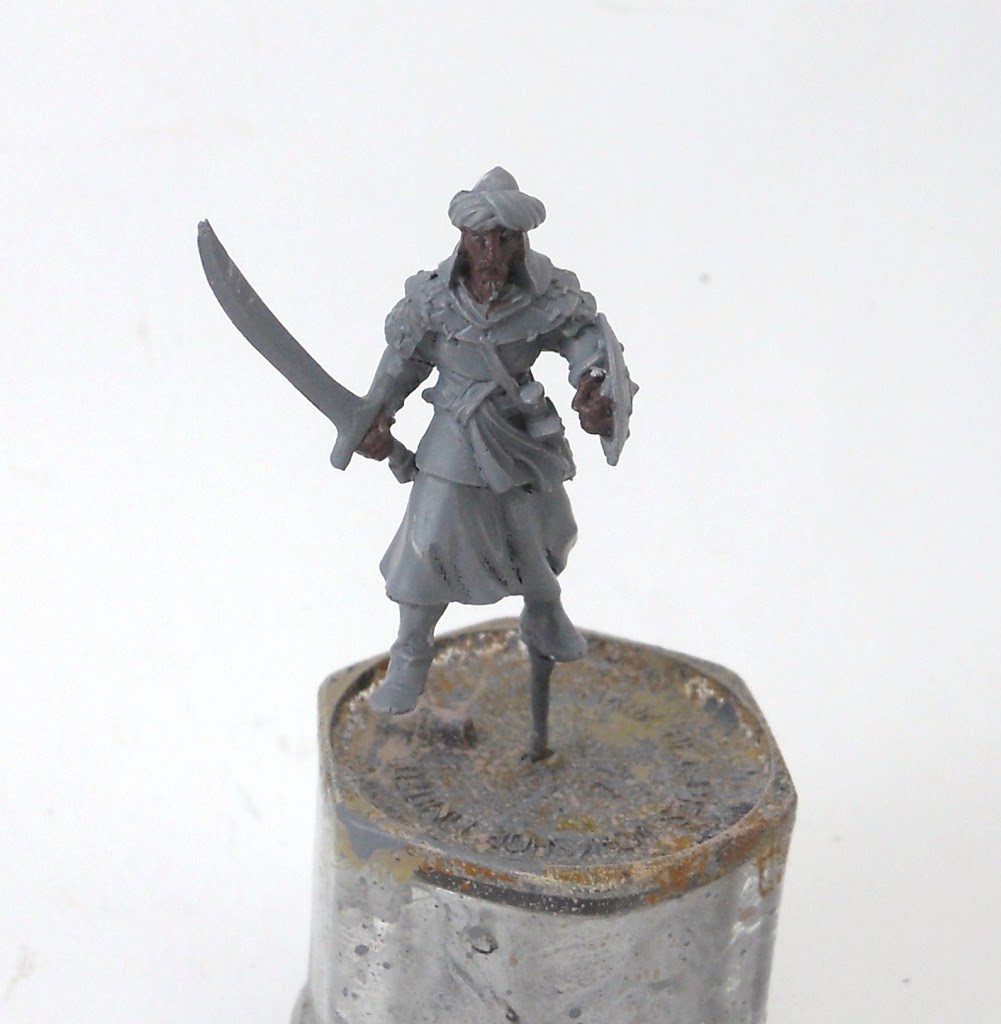 The basecoat is Scorched Brown, mixed with Tanned Flesh and some Liche Purple.
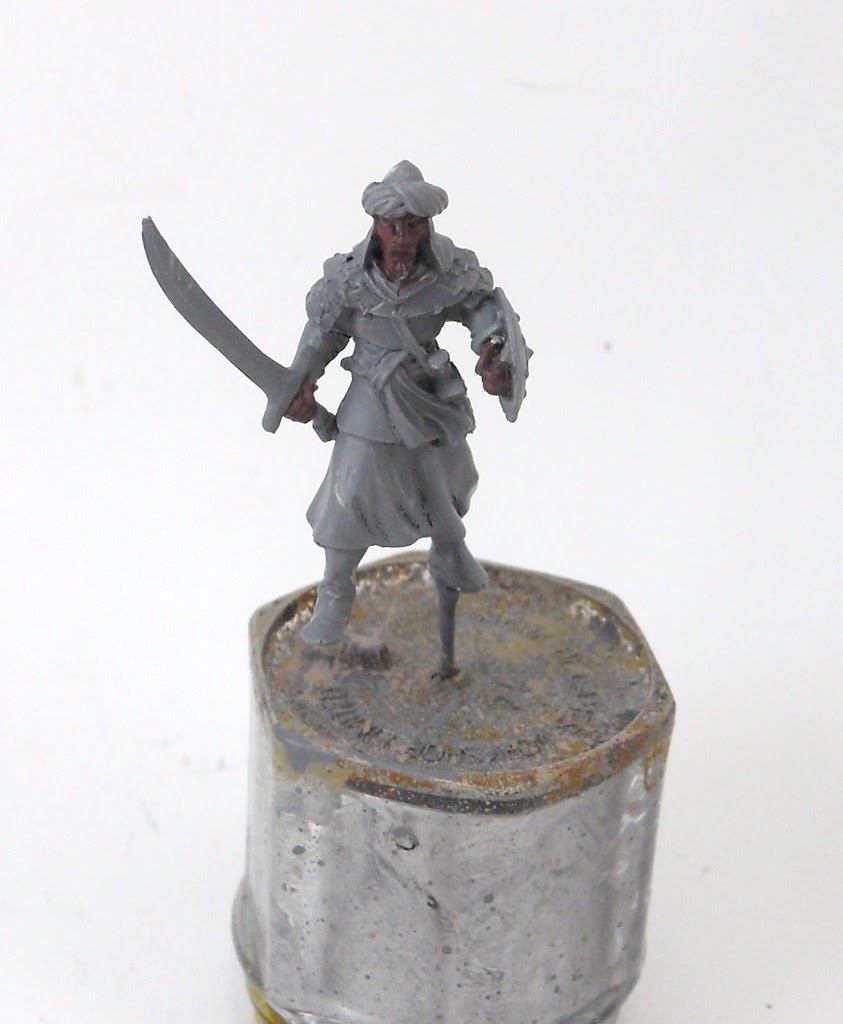 The first highlight layer is the same as the previous color but with more tanned flesh.
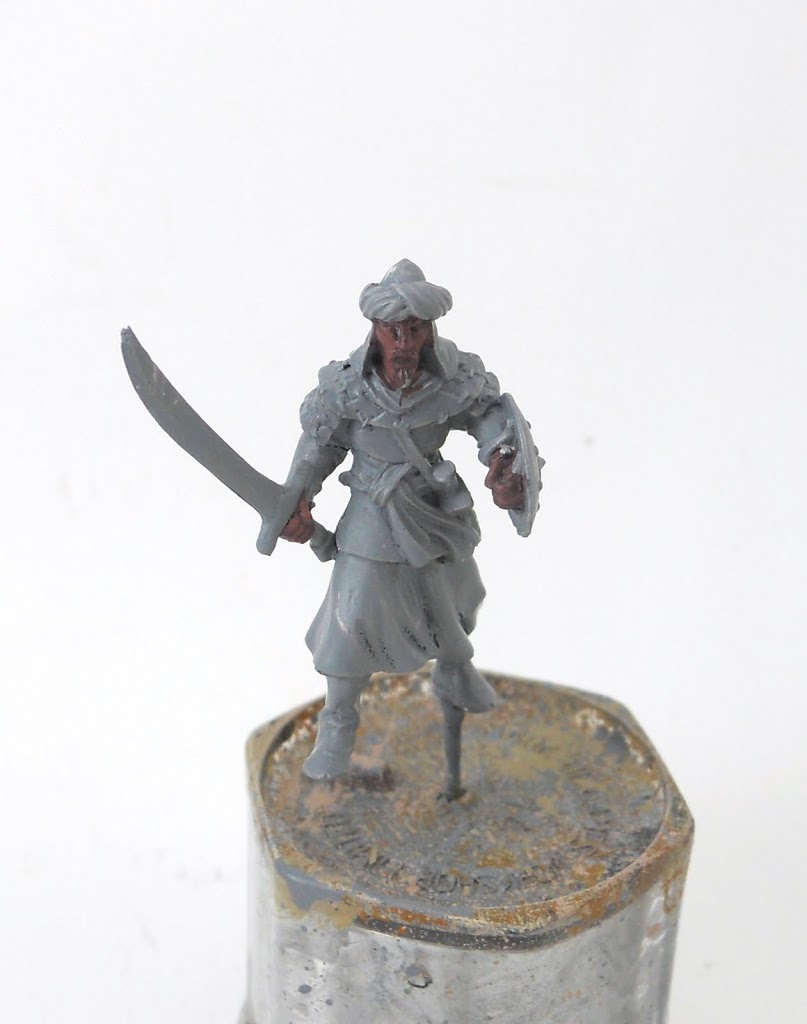 I begin to add vomit Brown to the mix for the third highlight.
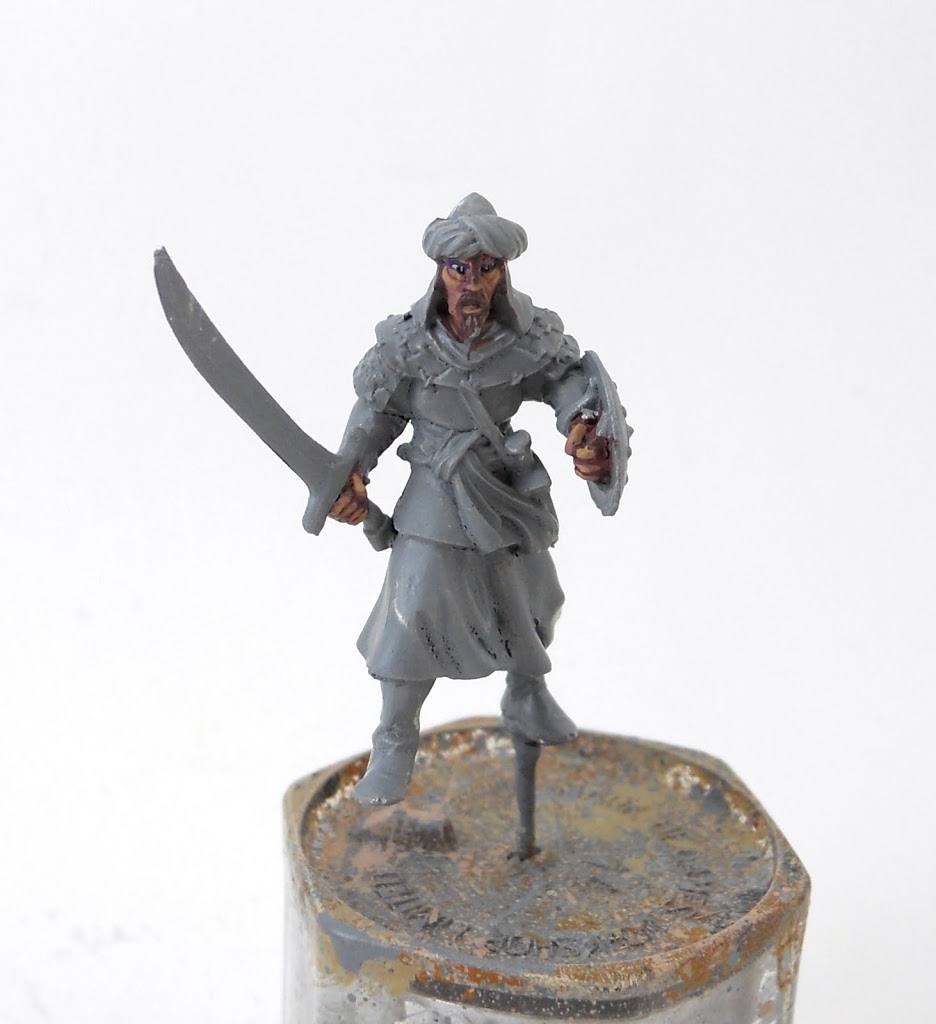 Now more Vomit Brown and some Elf Flesh is added.
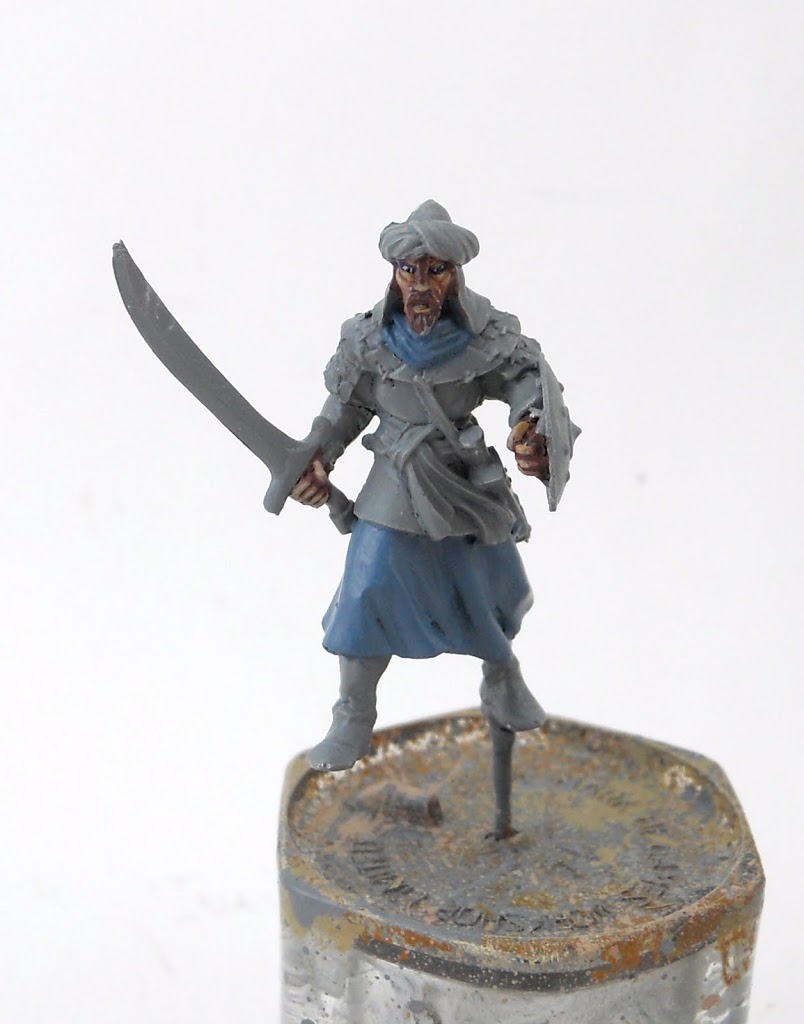 The final skin highlight is just a very thin layer of Kommando Khaki. As some of you may know, this particualr color is very translucent. This means it works well to lighten the area while still allowing some of the previous layer to show through. With the skin finished I moved on to the blue cloth. The base coat is Shadow Gray mixed with just a bit of Enchanted Blue.
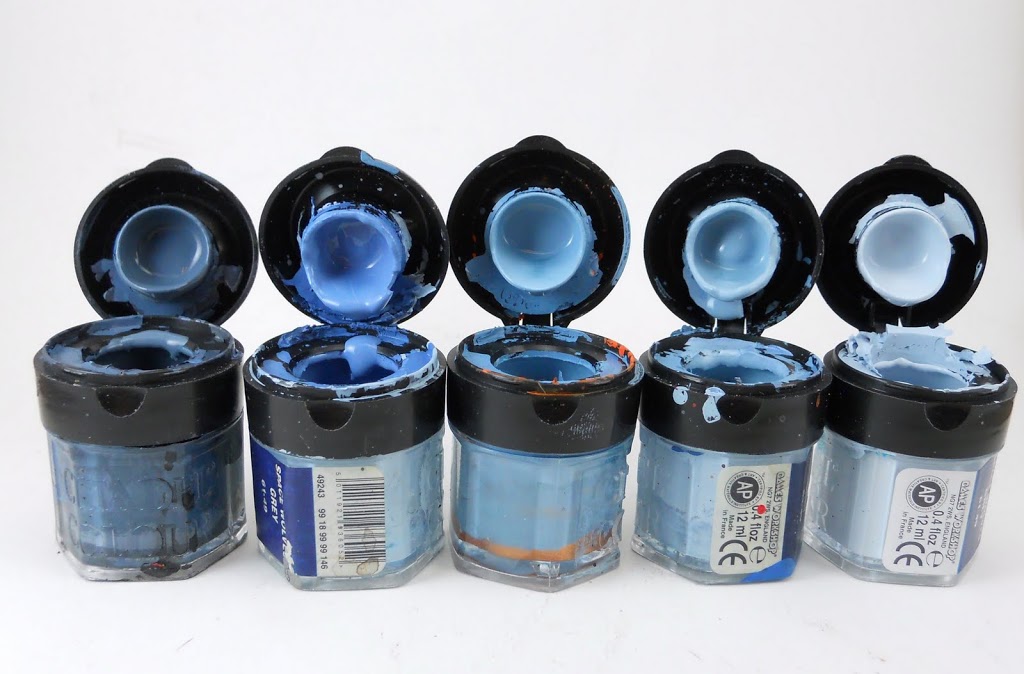 Here’s the breakdown of the blues.
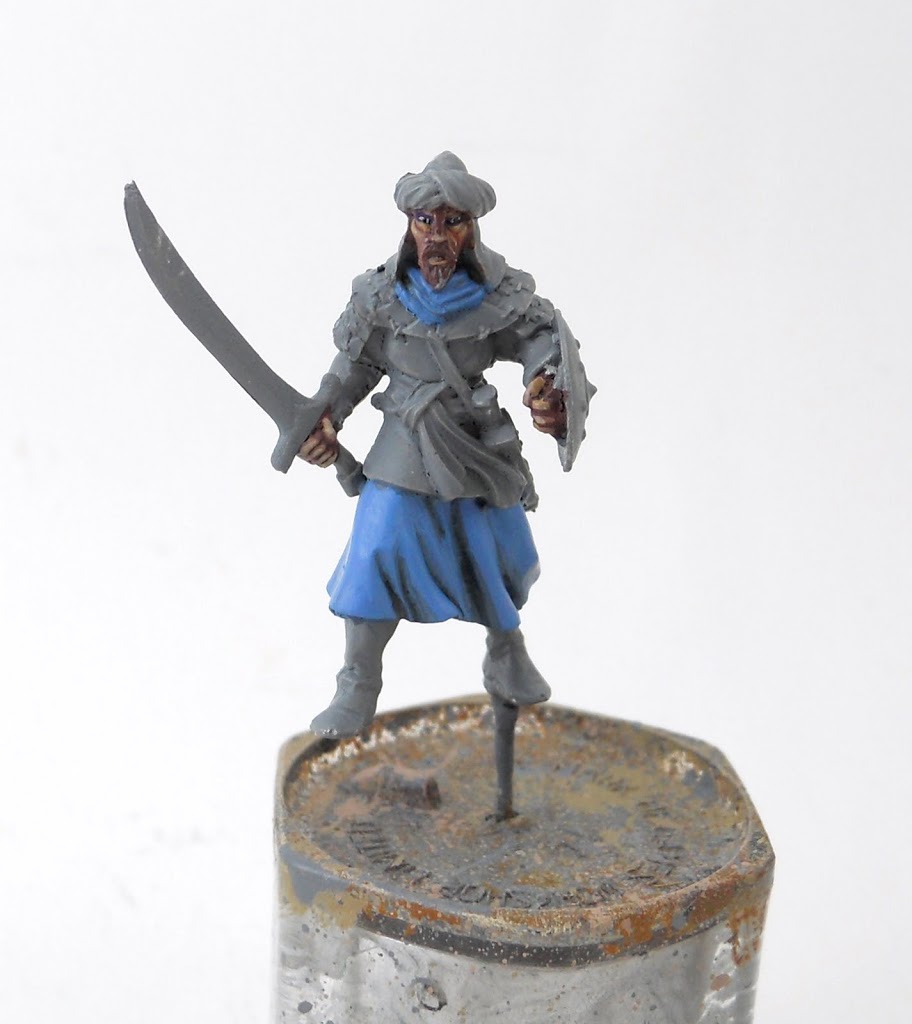
The first highlight layer is the initial basecoat with some Ice Blue mixed in.
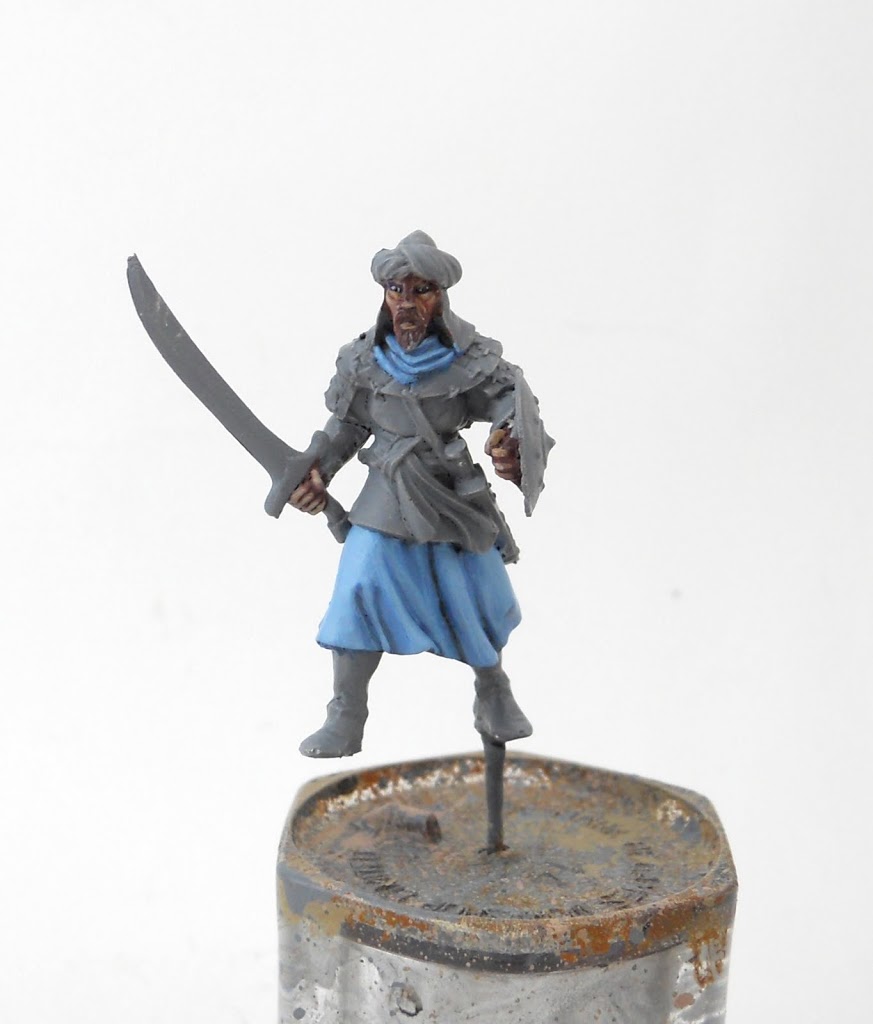
Then its Ice blue mixed with a little bit of Vallejo Somber Gray. Pure Ice Blue was just a little too… well… blue, so I toned it down a bit.
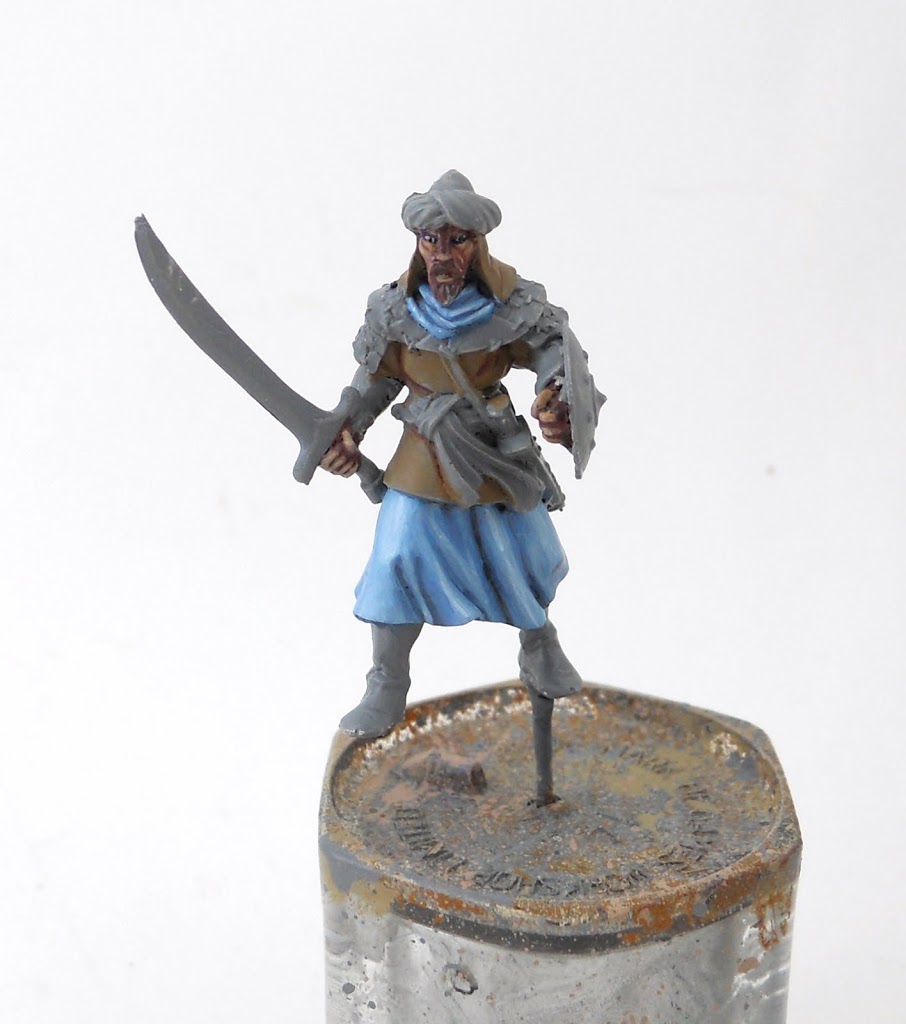 The next highlight is just the previous color with some Space Wolves Gray mixed in with it. Then to finish it off, I give a few areas a final highlight of pure Space Wolves Gray. Then I move on to some of the other cloth pieces starting them off with Graveyard earth. I shade the recesses with some of the skin basecoat from before since that little bit of purple mixed into it will go nicely against the yellow tone I have planned for this area of cloth.
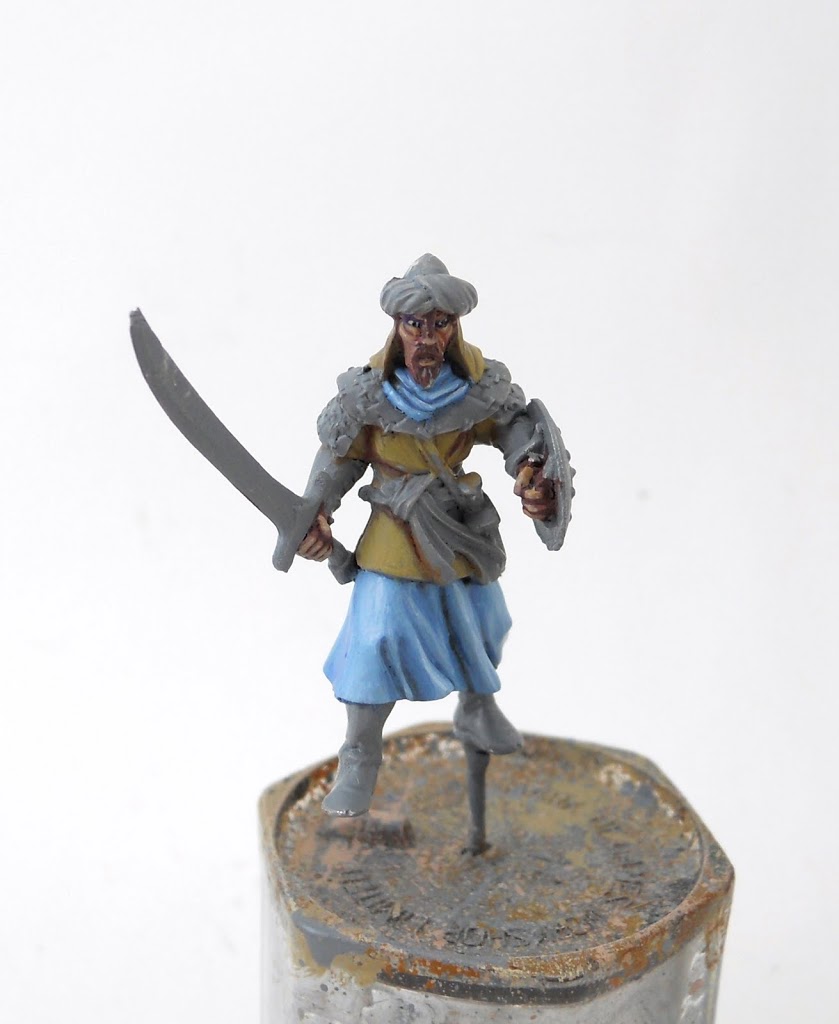 And speaking of yellow, Desert Yellow is the next highlight.
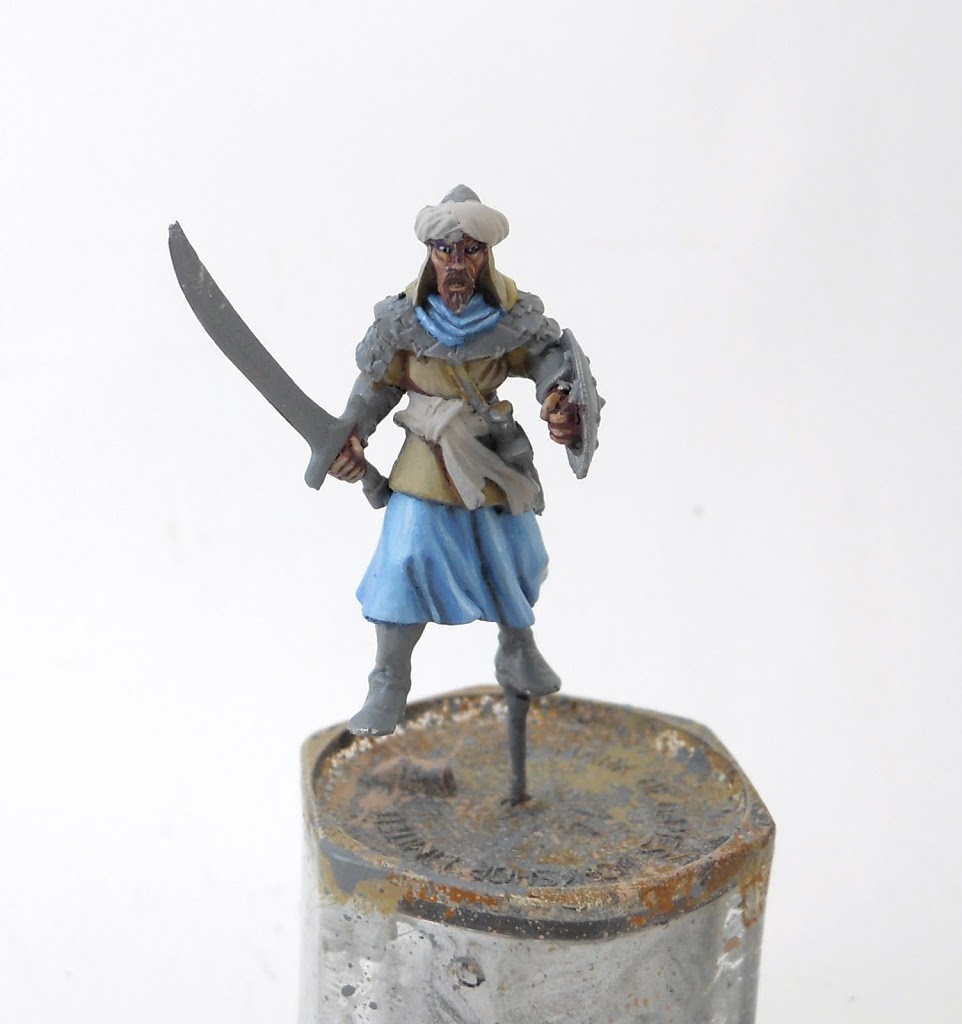 Then its Kommando Khaki again for the final cloth highlight. I want the final cloth areas to be a nice earthy white, so I basecoat them with Dheneb Stone.
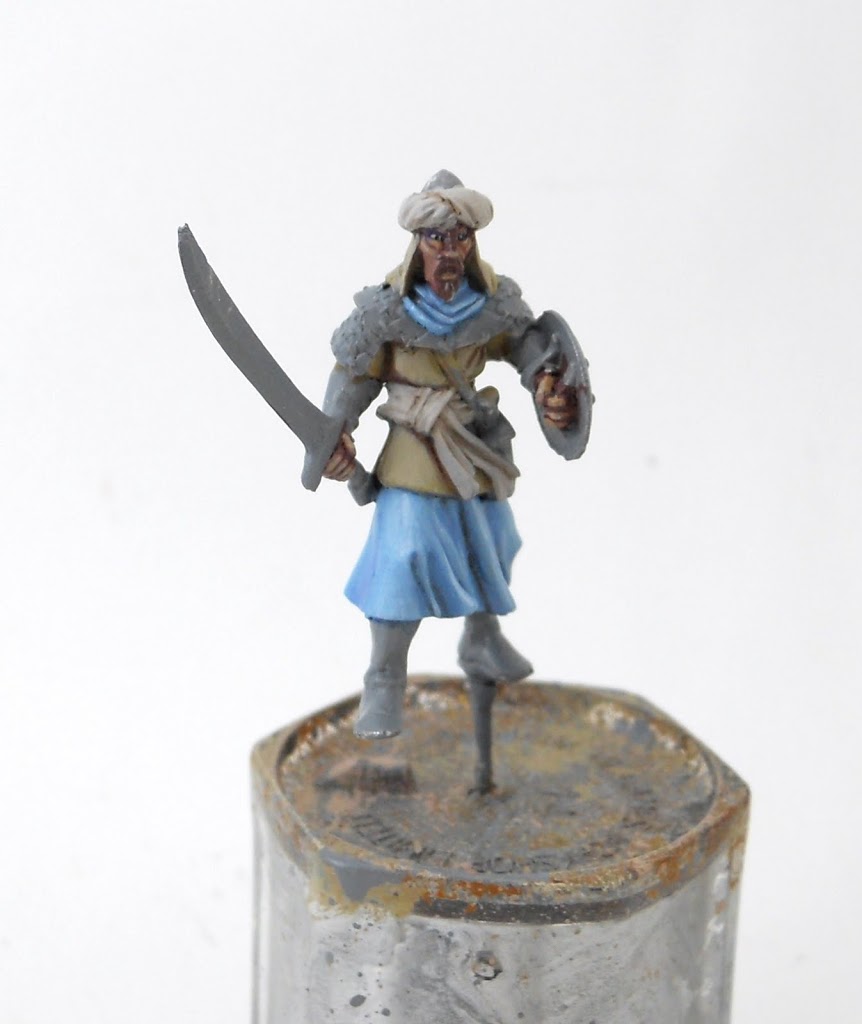
I shade the recesses with Devlan Mud, and begin highlighting with Bleached bone.
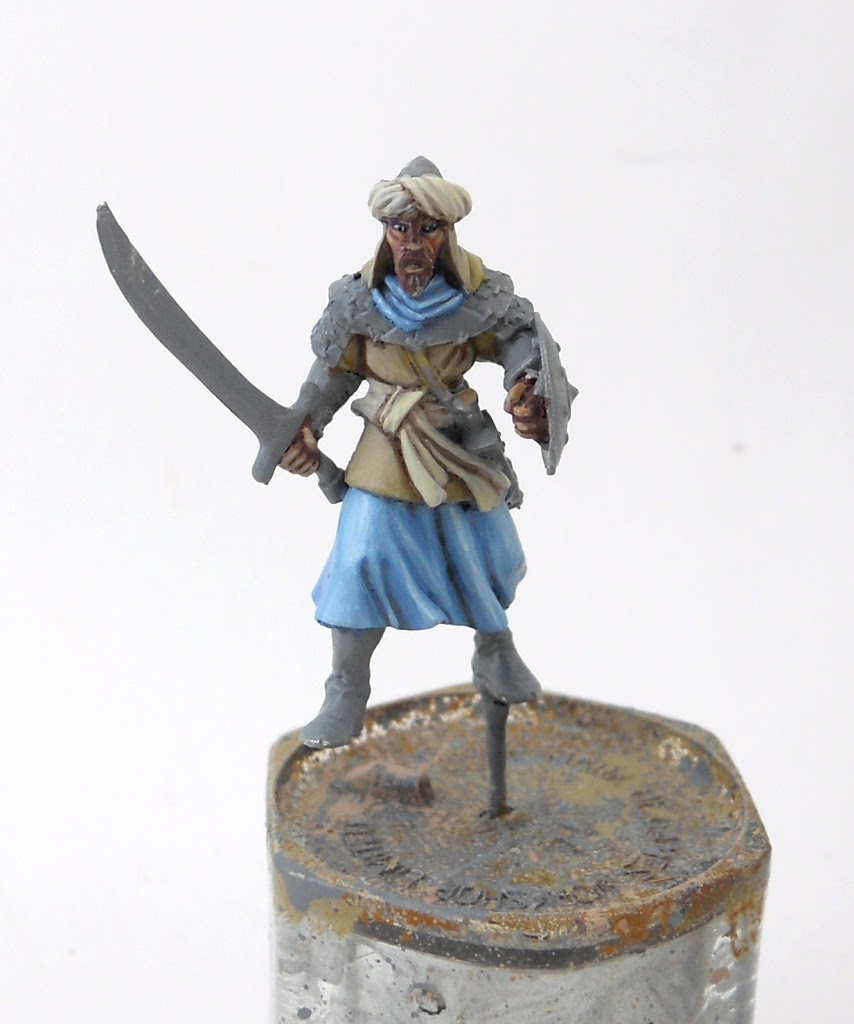 Then its Bleached Bone mixed with Skull White.
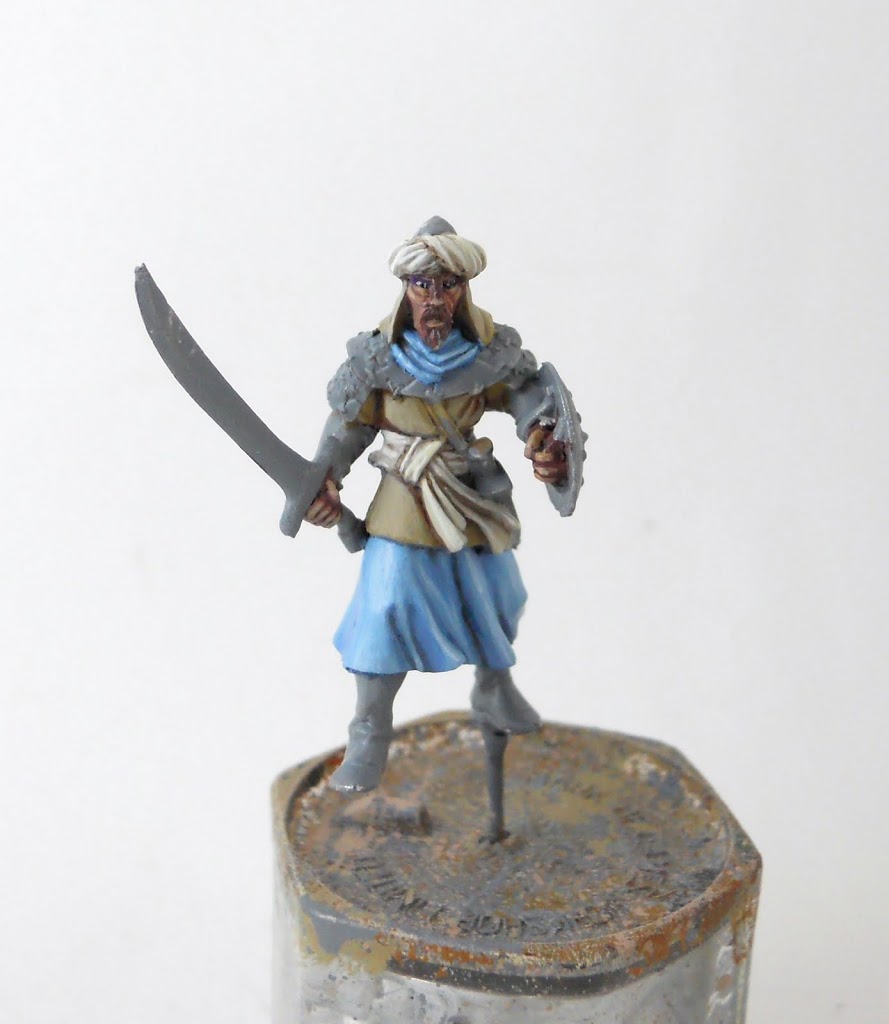
Then a little bit of pure Skull White for the final highlights.
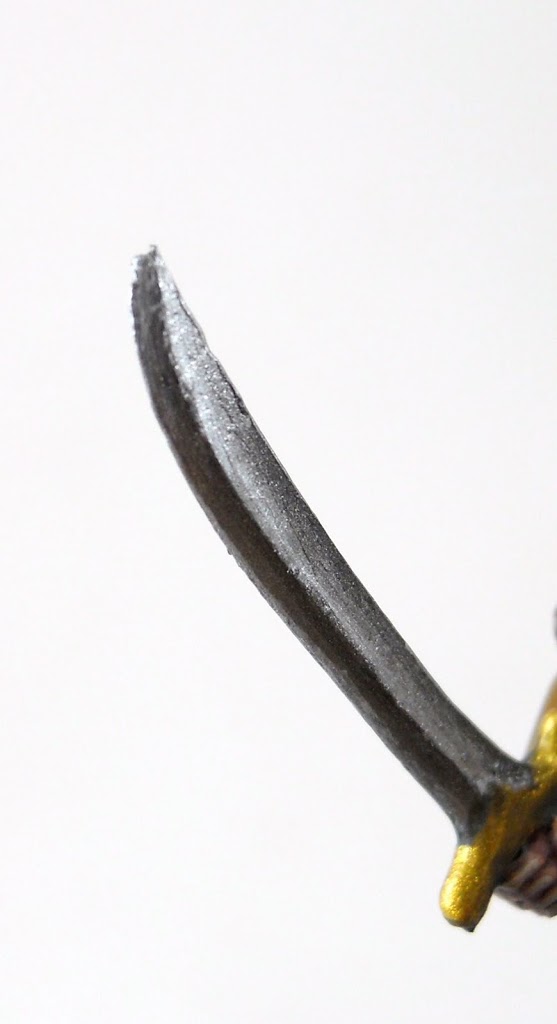
But seriously, I was trying out some new techniques on this guy so capturing wip shots just didn’t happen. Basically whats going on is I’m trying to use some NMM styles with actual metallic paints. I started by painting the entire sword with Chainmail. Then I gradually blended that into a darker area of Chainmail mixed with Chaos Black, with Mithril Silver used as the lightest color in the gradient. Both Slo-Dry Blending medium and flow improver were essential in making the metallic paint something I could actually manipulate and blend with. The sword as you see it here was actually the very last thing I did. As I got closer to the end of painting this guy I grew more and more unsatisfied with my first attempt and did the whole thing over.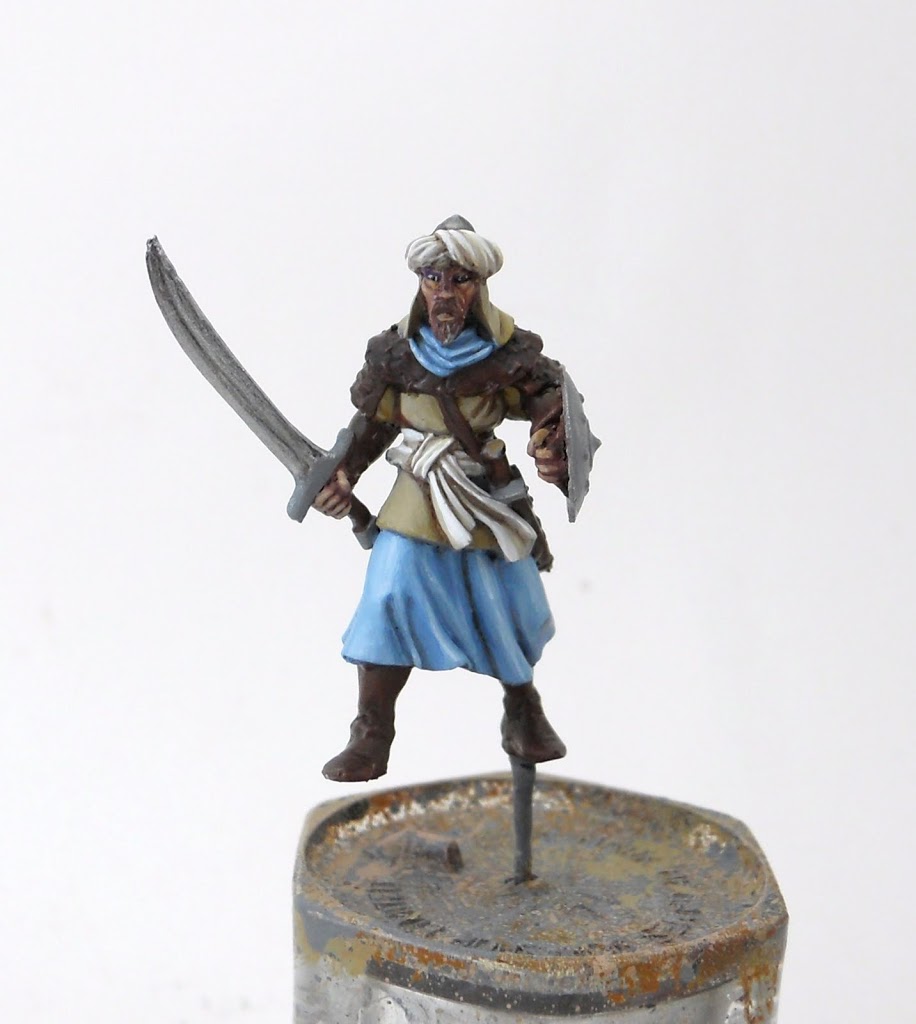
With the sword out of the way I move onto the leather areas. I start with Scorched Brown washed with Devlan Mud.
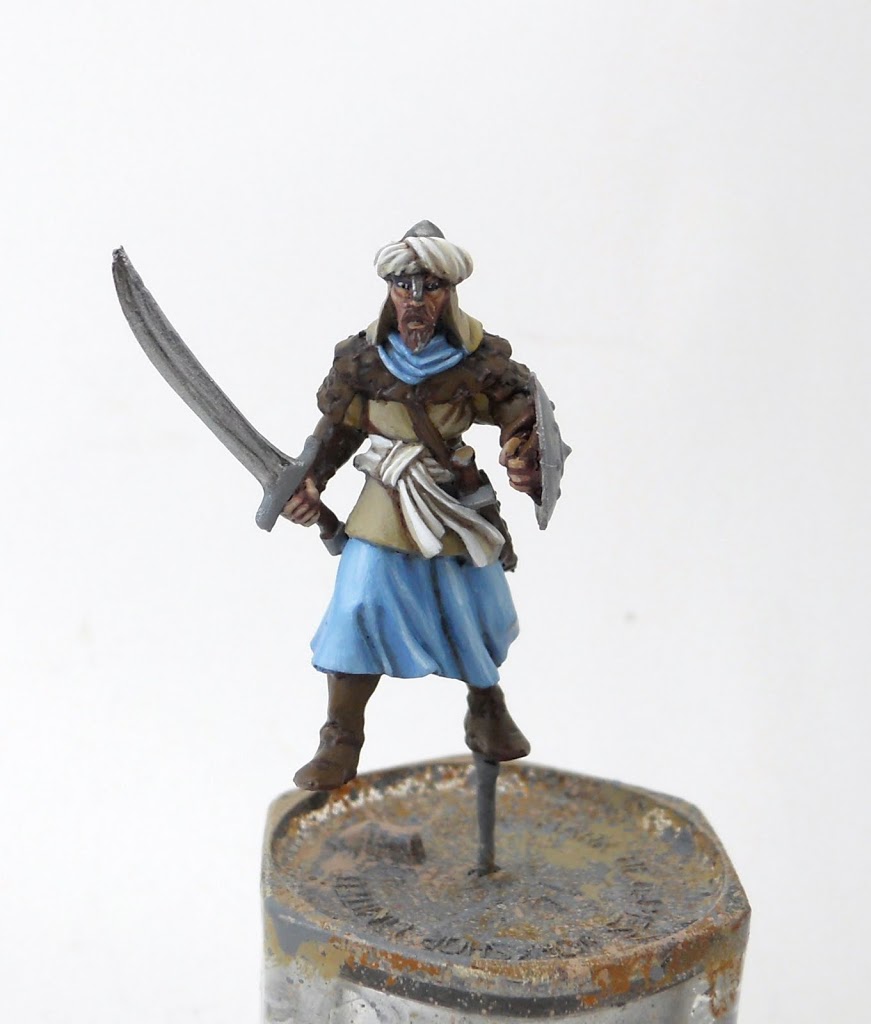 I begin highlighting with Snakebite Leather mixed with Scorched Brown.
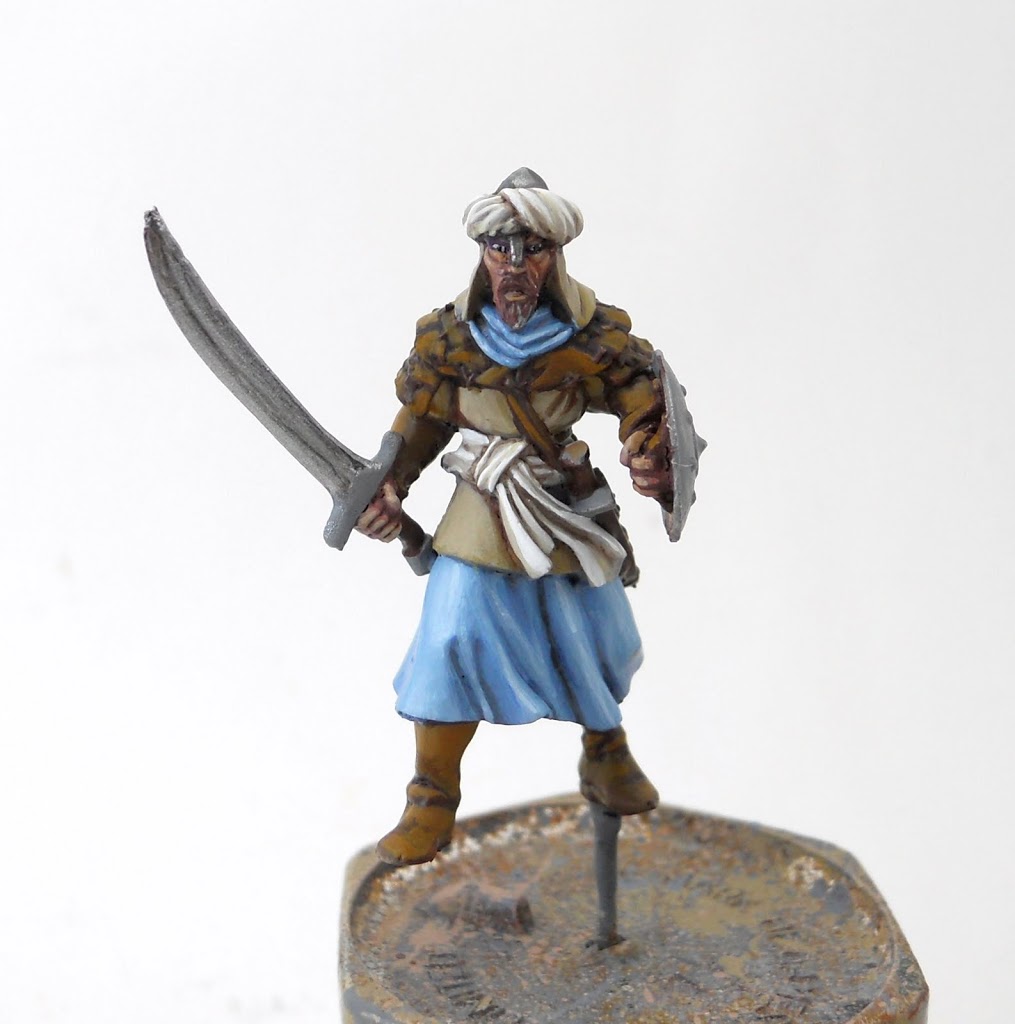
Next is pure Snakebite Leather.
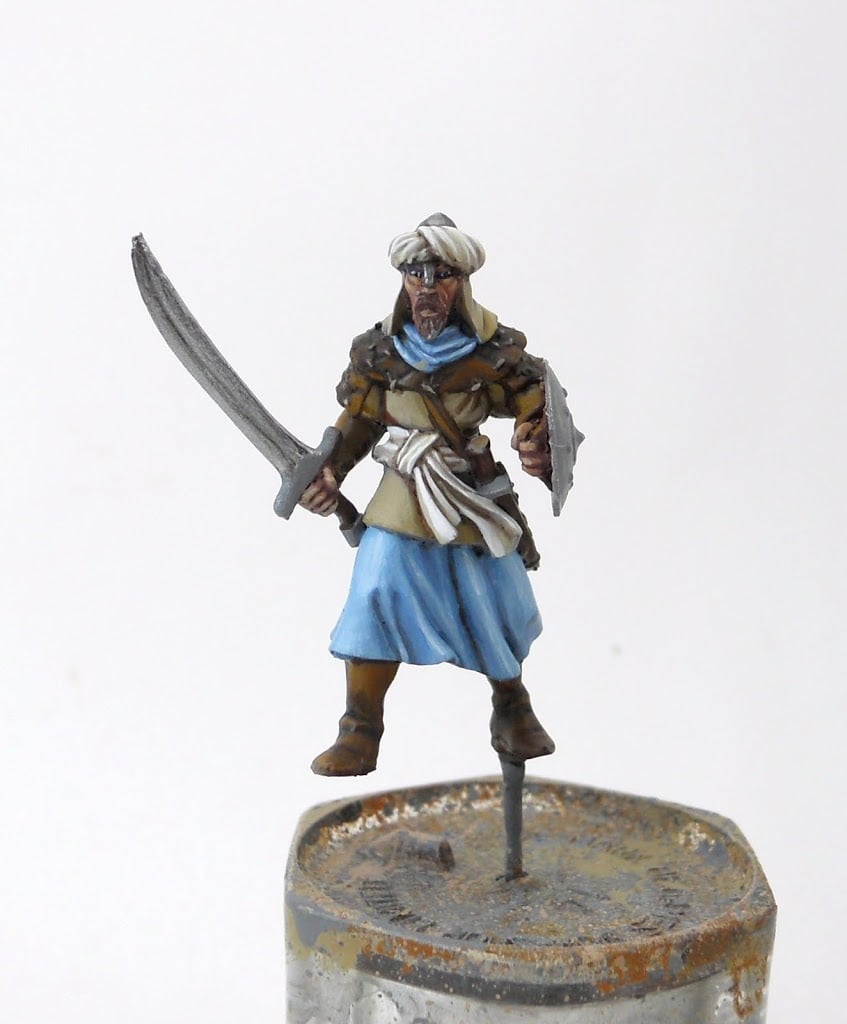
Then I paint each one of those annoying little stitches with Dheneb Stone. Then wash the areas again with Devlan Mud.
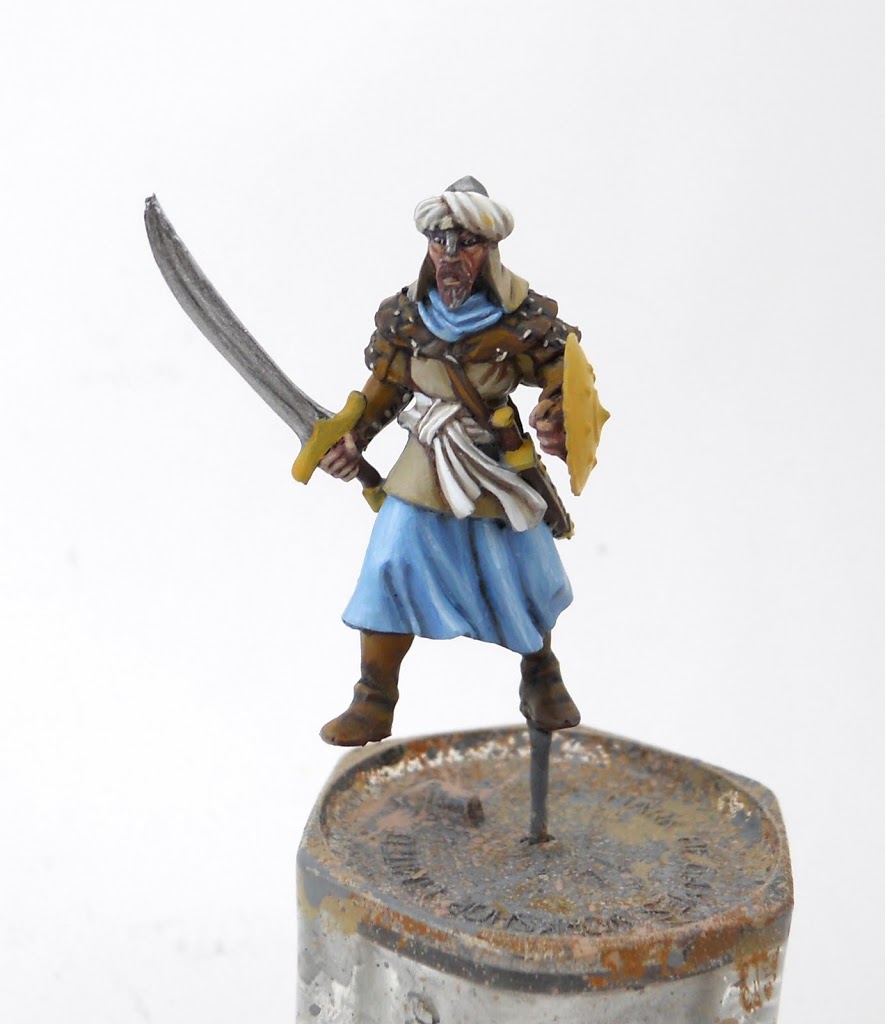
I add a few final highlights of Snakebite and go over the stitches with Bleached Bone. Then the areas I will paint gold get a layer of Iyanden Darksun.
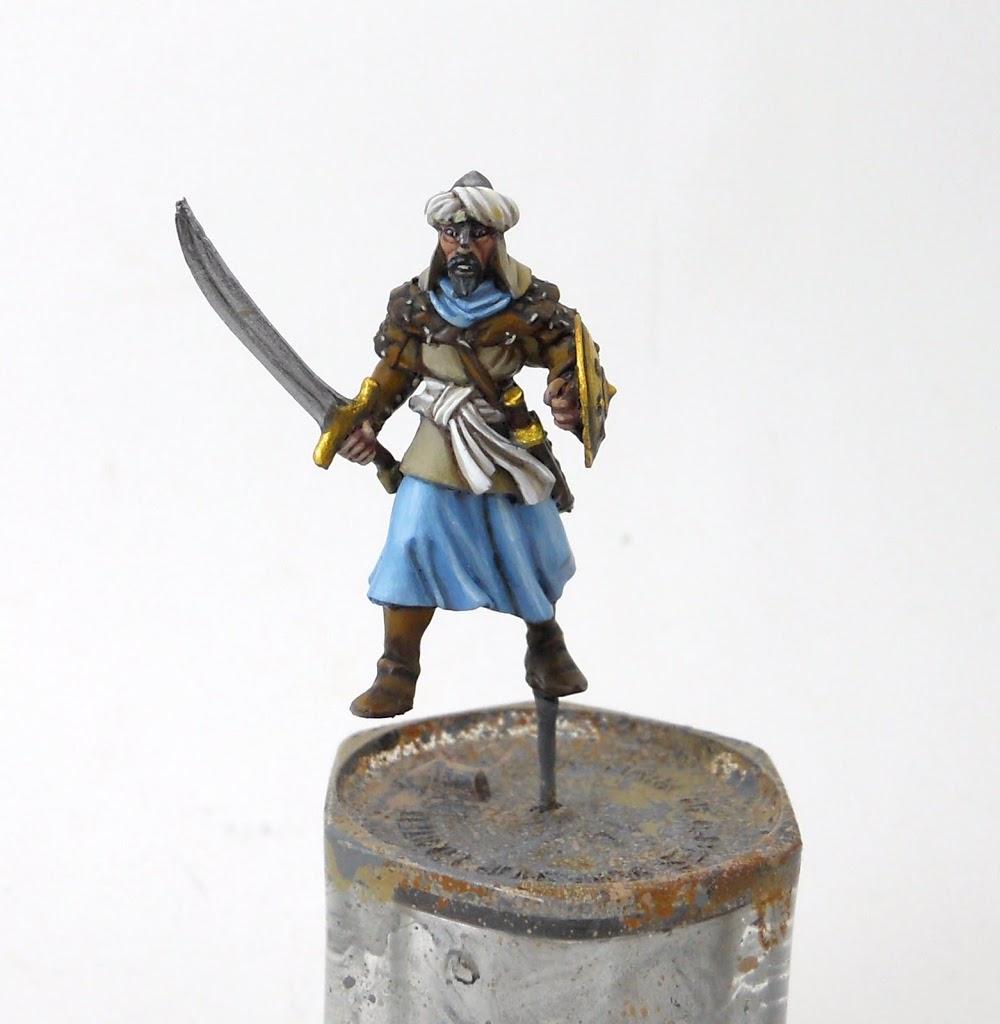
Just like with the sword, the gold areas on this guy were my attempts at pinning down a new technique. Here, rather than use blending medium and more painterly blending methods, I tried multiple applications of a wash I mixed by adding just a little bit of green ink to some of our good friend Devlan Mud. I painted the whole shield Burnished Gold then covered the entire area with the aforementioned wash. I reapplied the Burnished gold to some of the higher up areas that would be catching the most light. For the shaded areas on the bottom of the shield, I added a few more layers of the ink in successive stages. With each new application I covered less area and tried to make sure only deeper and deeper recesses got ink. By alternating inks, and highlights I was able to pick out the details pretty well. But as you may be able to tell from some of the thicker looking areas of paint, I still haven’t quite mastered this yet.
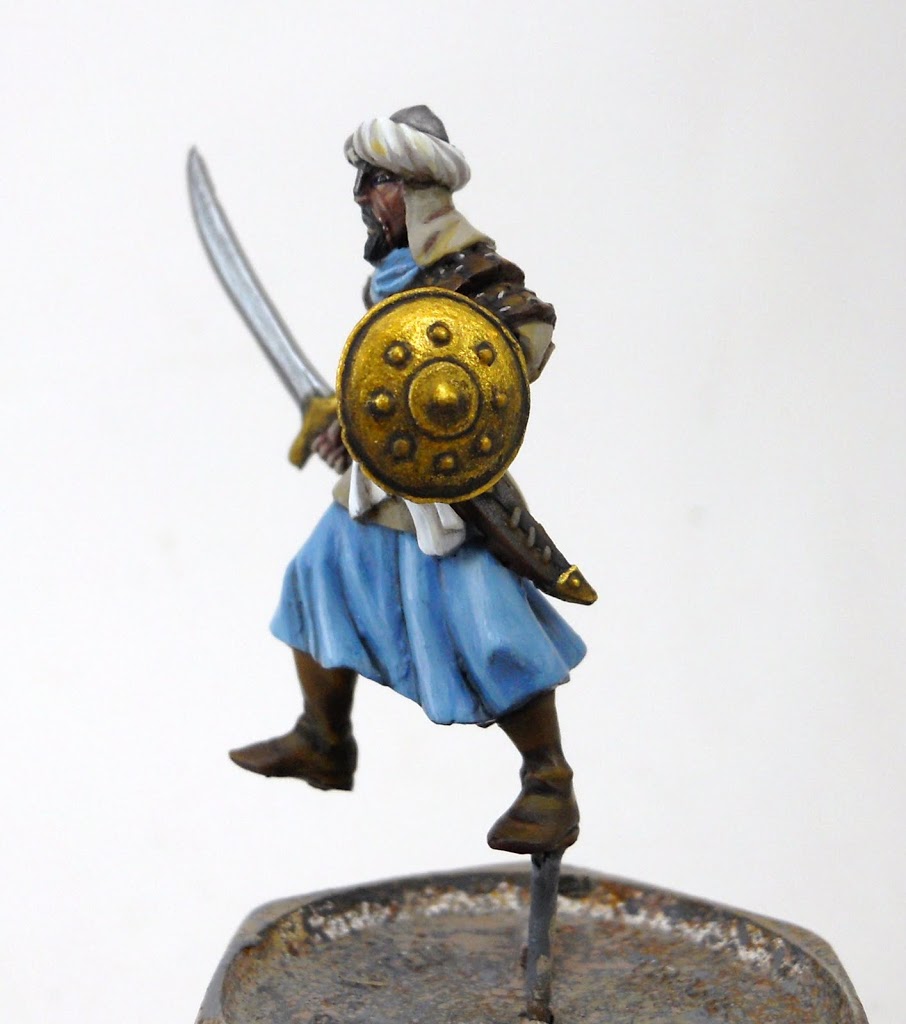 Then all that was left was to paint the beard and base him. Unsurprisingly the beard started with a black base coat which was highlighted up using some of the the same darker blues from the cloth. The I washed it with… you guessed it… Devlan Mud. Then I pinned him to one of the custom bases I made for these guys. I decided my Saracens would be in the midst of exploring a more Doom-y/Silent Hill-y heavy industrial part of Hell. I really like how out of place they seem on these bases.

 And here are some of his friends painted using the same techniques.
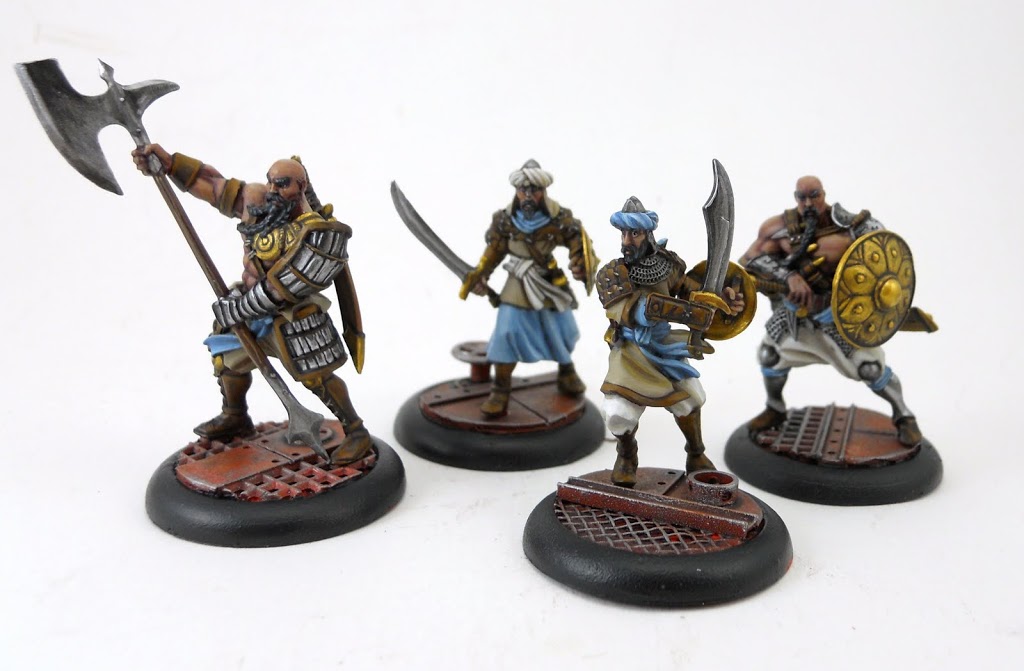 ~So once I’ve got the rest of the Warband finished (it should be done by the time you read this) I plan on playing some games and reporting in to let you know how Hell Dorado plays. I’ve also got some more Hell Dorado painting articles planned so keep your eyes peeled.

