TUTORIAL: Plaguebearer Speed Painting by Goatboy


Hi all,
Its time for a new painting article. Goatboy is back to show us his speedpainting technique yet again. While we all want to have beautiful Golden Daemon quality armies, at the end of the day I just like to get a nice paint scheme on my minis that is easy to do and looks good on the tabletop.
With that in mind, I’ve asked one of BoLS good friends Goatboy to show us what can be done by any one of us, regardless of painting skill level. His tough assignment was to paint up a squad of minis in 2 hours. He was to use methods that are easily replicated and look good on the tabletop. He accomplished it with flying colors. I present:
Speed Painting Plaguebearers in 12 Easy Steps!
Goatboy take it away:
Step 1
Black base. A broken ankle means I have to hand paint black. It sucks. I don’t really try to cover the whole model all that well. The plaguebearers are heavily detailed and it makes it a little bit annoying to get all the nooks and crannies filled with black. I try my best, water down the paint etc. Good thing I use a lot of washes to fill in the spaces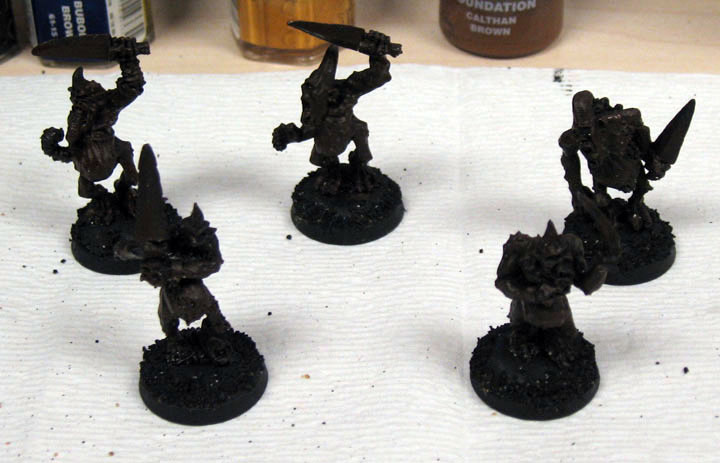
Step 2
Here I start the layering of brown. I decided to go with scorched brown as my first layer. It is pretty dark, and it has enough red to make it a more interesting brown. This is a heavy dry brush layer. What that means, is that I didn’t really pay attention to pull the brush along the raised edges. I wanted to cover the majority of the model and have tiny bits of black showing. It is easy, just do it messy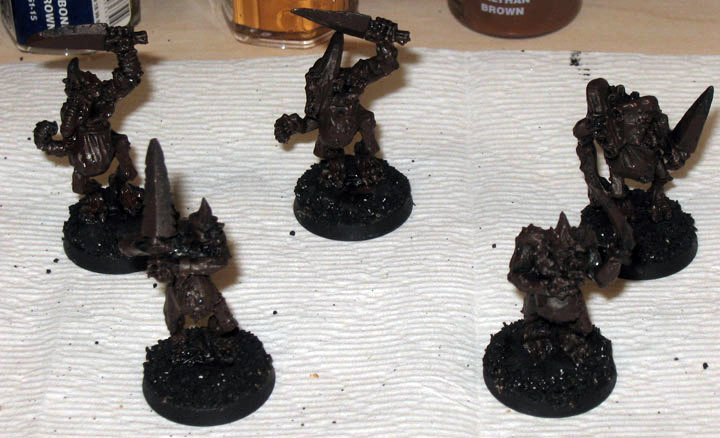
Step 3
Next I dry brush a layer of Calthan Brown. I go not as heavy as before, but enough to pull up the color from the scorched brown.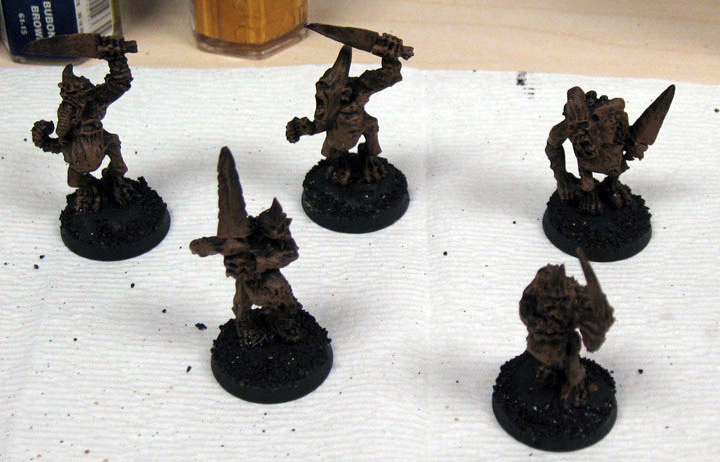
Step 4
Next up on the brown, is Vomit Brown and I dry brush a bit lighter and pull the brown to a higher color again.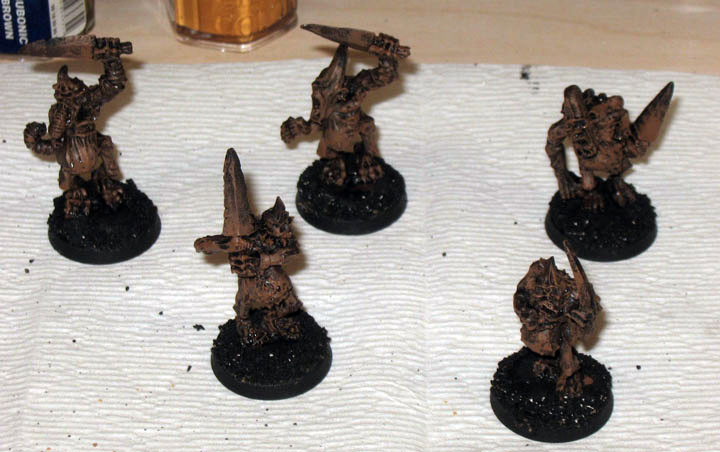
Step 5
After that is Bubonic Brown. The dry brushing is lighter and pulls the color up higher, making the brown a gross throw-up color.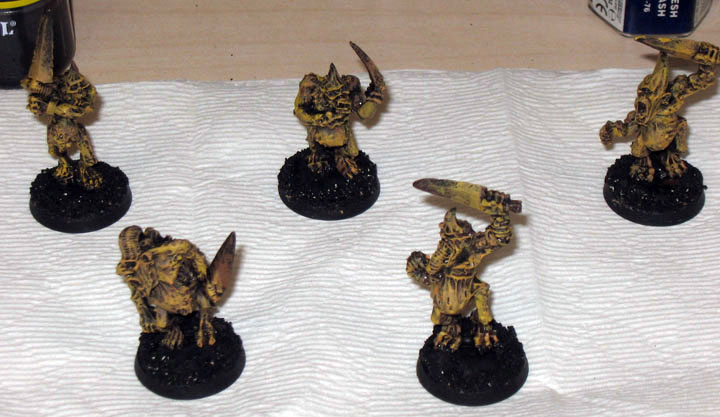
Step 6
Next I used the new wash Devlan Mud to darken the model and fill in the recesses. It brings the overall color down. It also unifies the browns, by placed a thin colored layer over them all. The biggest thing I have found with the washes, is that they do a great job of bringing all the colors together on the model.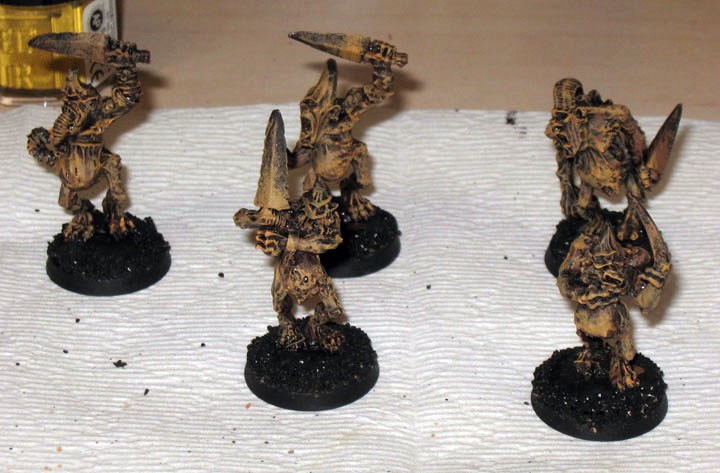
Step 7
Here I added a contrasting color. This makes the model pop more, and gives it a much more interesting look. Just like my plague marines before, the red shoulder pads break up the monotony of the color scheme. Here I added Warlock Purple on the tongues and other fleshie bits. This is a good dark base, and for a purple color, and it really isn’t too guady.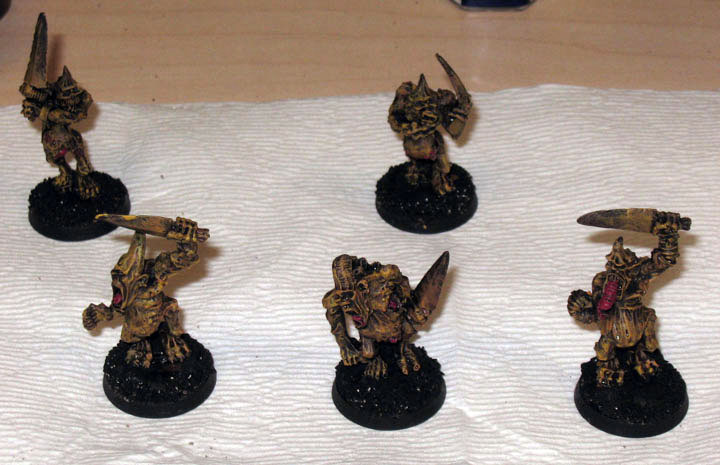
Step 8
Next I did a highlight of Tentacle Pink on the warlock purple. This is just a lighter color, used to create a start contrast. Start contrast help make things look wet or gooey. Thus the reason I put it on tongues and other rotten flesh bits.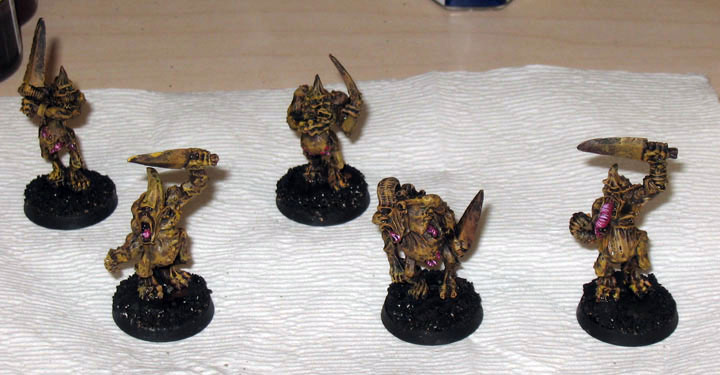
Step 9
Here I created another contrast color on the model. I painted a Snot Green on the edge of the swords. I wanted to give an otherworldly look to their plague swords.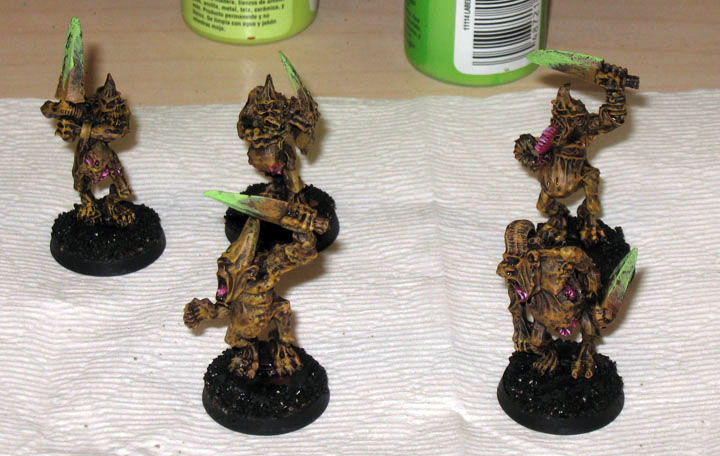
Step 10
Next I highlight the green with an even more neon green color. I don’t know what the name of it would be in GW’s pallete, but shoot for something even brighter than the base color.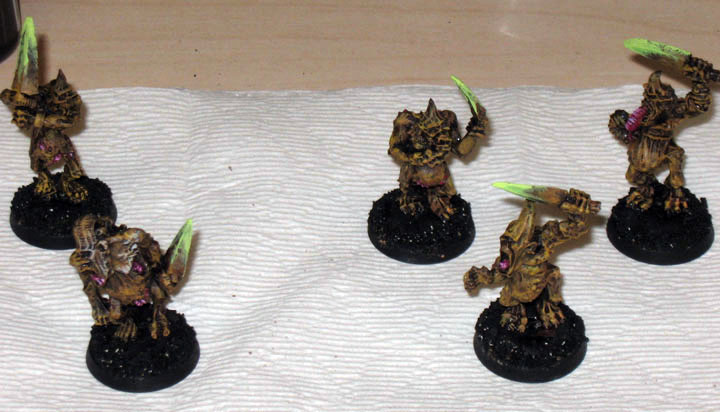
Step 11
Here I finished off the final highlight using my tried and trusted Antique white. I used it lightly to pull the highlights to the final level.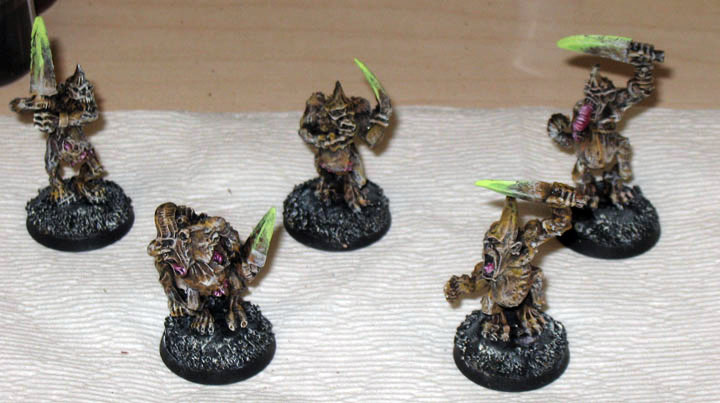
Step 12
Finally I add the Flesh Ink wash to the crevices of the model. This brings the dark parts down and creates even more of a 3d effect. Also the Flesh Ink creates more contrast within the shape of the model, and creates a nice sort of rusted, old look.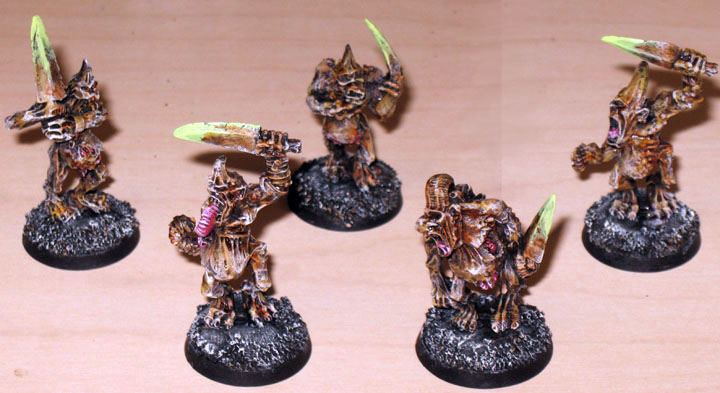
Total time to finish these five guys: 2 hours. If I had five more, it would have been about the same, due to having more of an ability to control the drying times. I find 10 models to be the best to work with in this assembly line manner. Once you get up to the 20’s it might be harder, but easily doable if you keep layering system fairly simple.
~The basic drybrushing with tight detail added in last is easy to replicate across a ton of different colors and models. This technique seen here in a brown color scheme lends itself well to CSMs, Orks, Tyranids, Necrons, IG, and many more. Almost any army out there that needs to look like its not factory fresh or parade ground polished can get from your hobby desk to the tabletop in record time with these methods. Lets hear it for Goatbay, and by all means go check out his blog for even more of his techniques.


